Paper Crafts
Easy Paper Mushroom Craft Step-by-Step Tutorial for Kids

This tutorial is ideal for kids who want to make a DIY craft project! All you need are a few materials and you’ll be able to make a paper mushroom quickly.
This article will provide a step-by-step tutorial on how to make a paper mushroom craft for kids. It is an easy and fun craft that can be done with just some basic materials like paper, scissors, and glue. This tutorial will guide you through the entire process of creating this cute and simple paper mushroom craft.
DIY Paper Mushroom Craft With Step By Step Tutorial
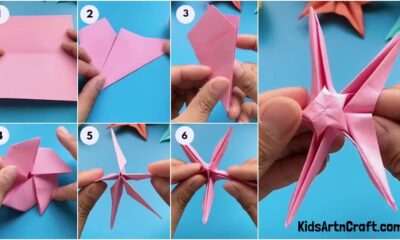
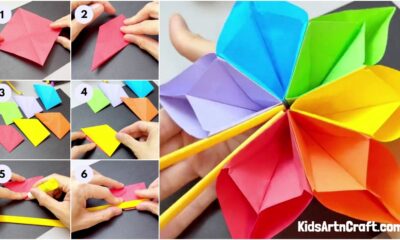
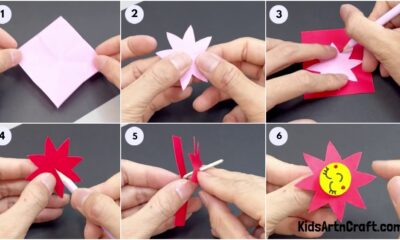
Read More: Paper Origami Frog Craft Tutorial for Kids
Materials Required
- Paper And Colour Paper
- Scissors
- Markers
- Glue Or Adhesive
- Double Side Tape
Procedure
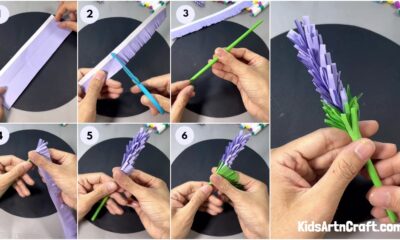
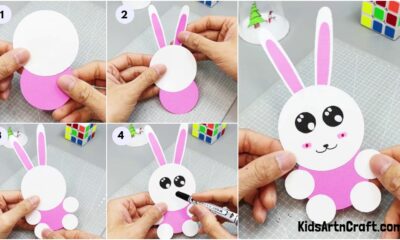
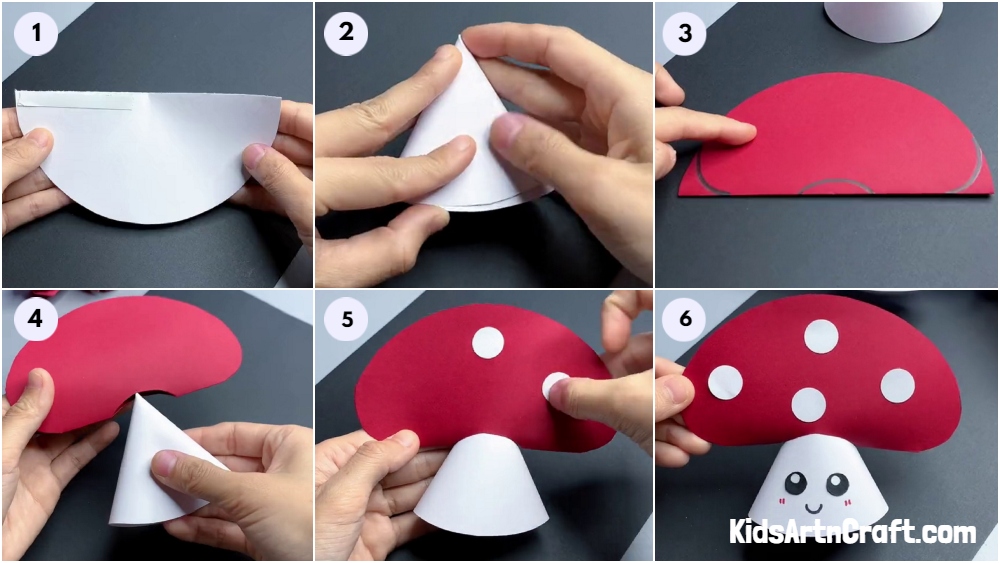
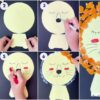
Step 1: Applying Tape On Semi Circle
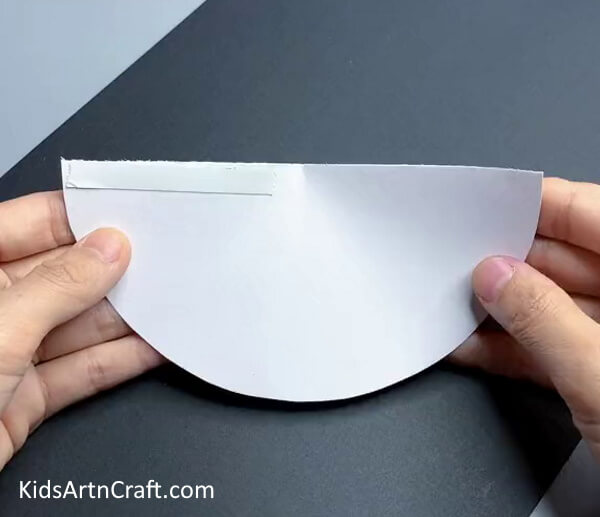
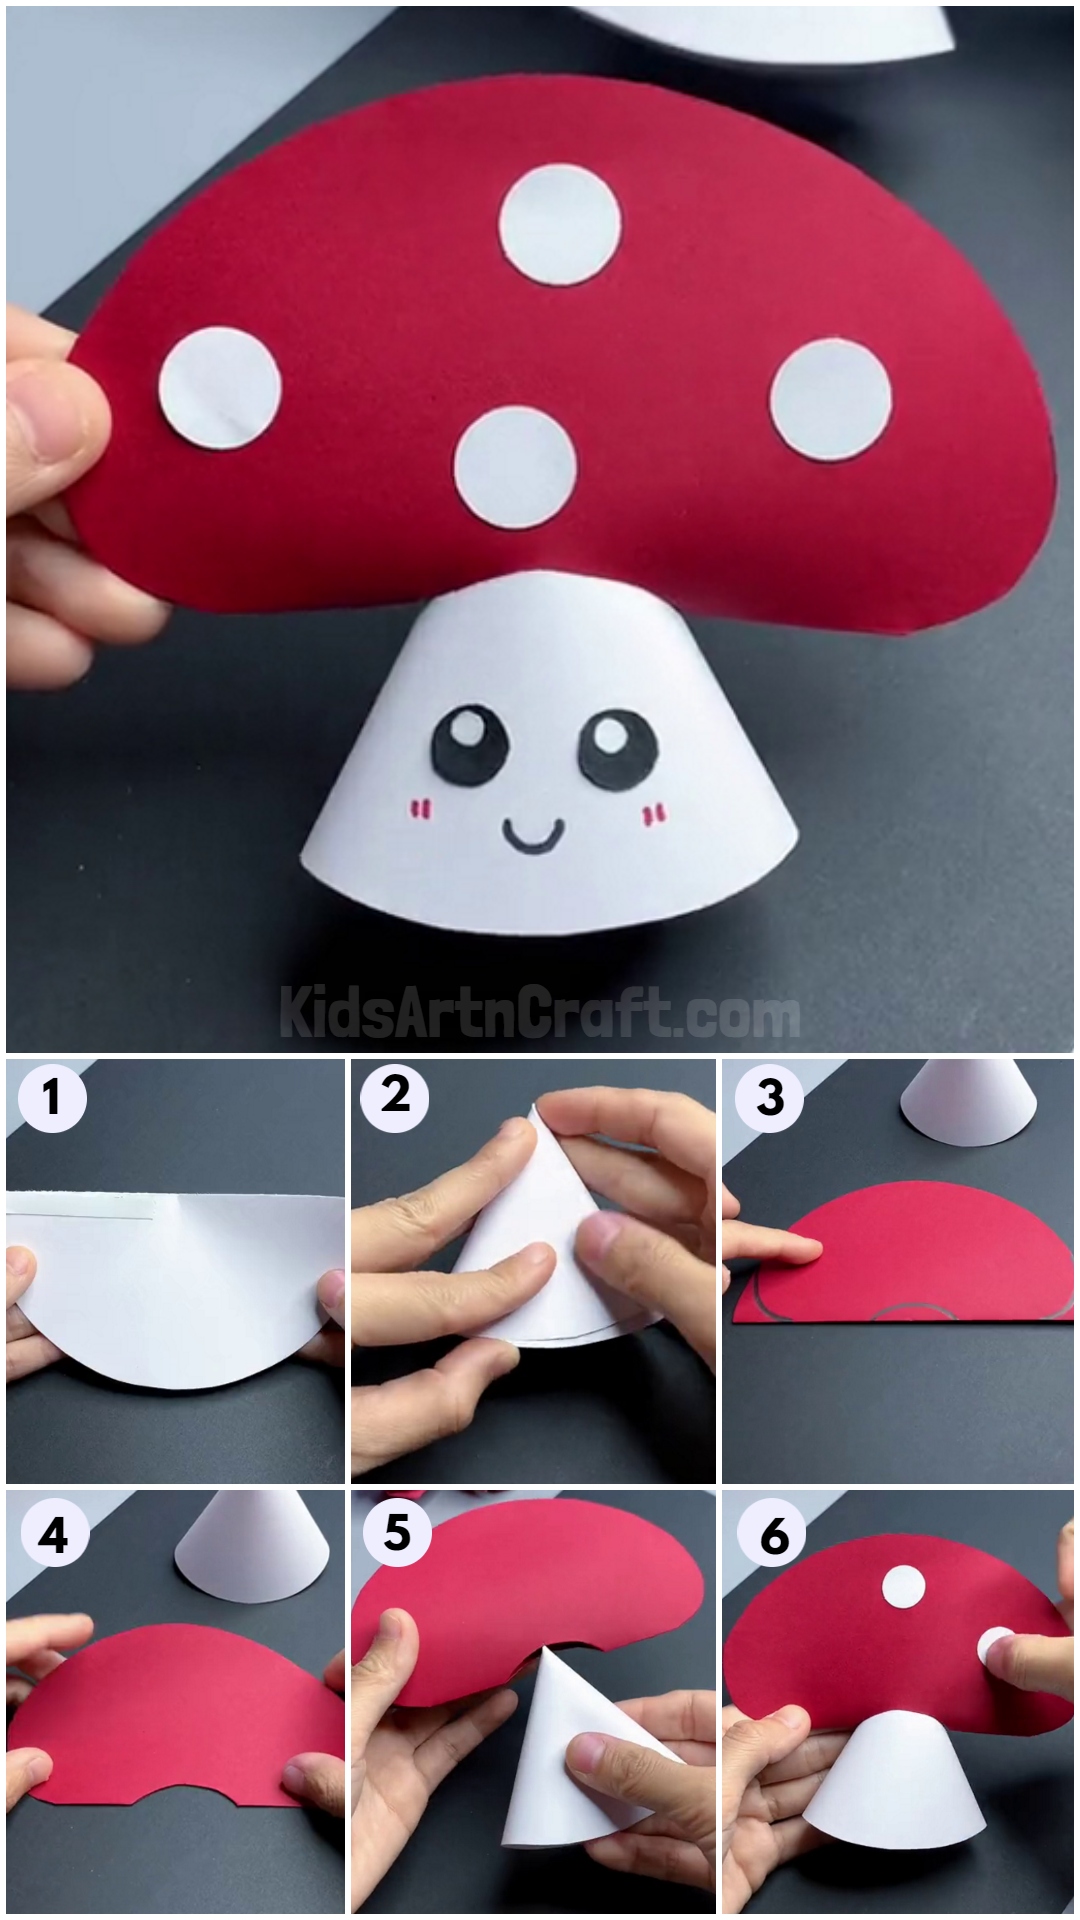
Take a piece of paper and cut it into a semi-circle, then paste the double side tape on the top left of the paper as shown in this picture.
Step 2: Making a Cone
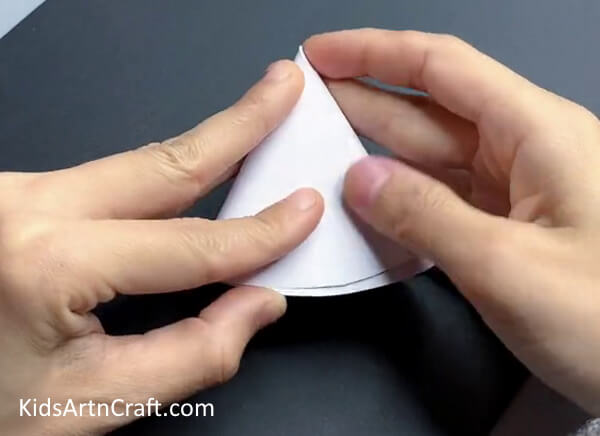
Now, roll the paper to make it into a cone size, this will become the stem of the mushroom.
Step 3: Cutting Out a Red Circle
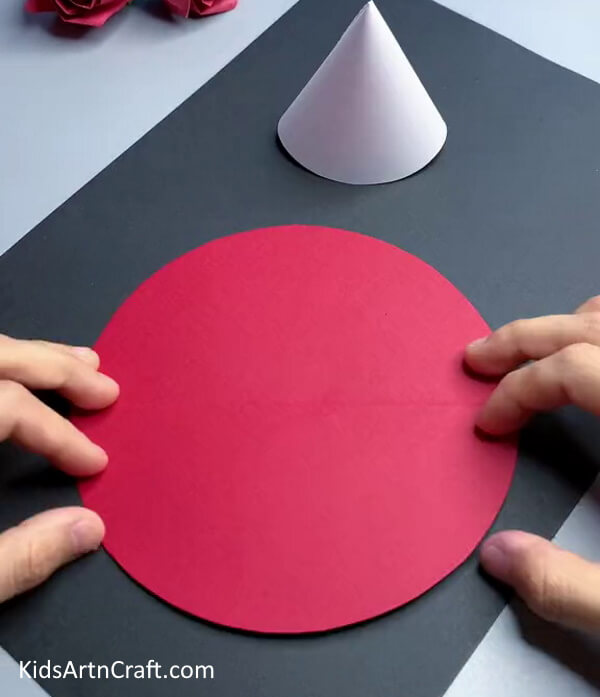
Take a piece of colored paper and cut it into a round shape, Make sure that the round size of the colored paper is larger comparatively.
Step 4: Drawing the Crown Of The Mushroom
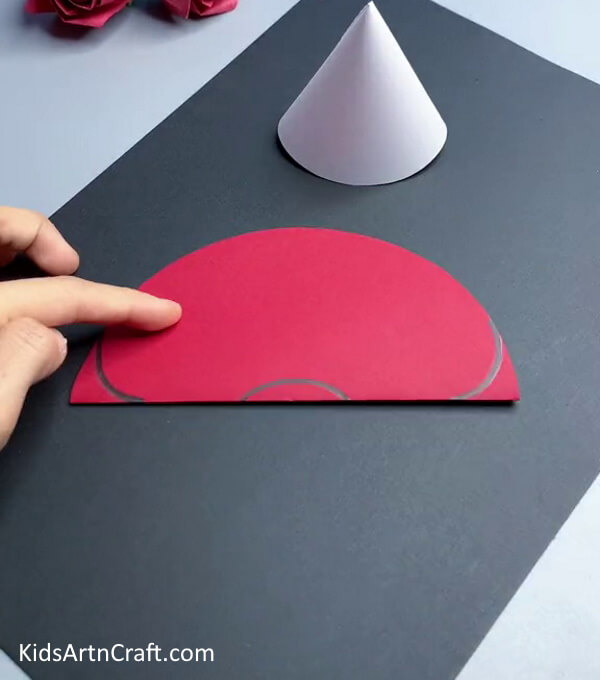
Now, Fold the round paper into a semi-circle and paste the corner (arch) parts then, draw the mushroom curves on that semi-circle with the help of a marker.
Step 5: Cutting Out The Outline
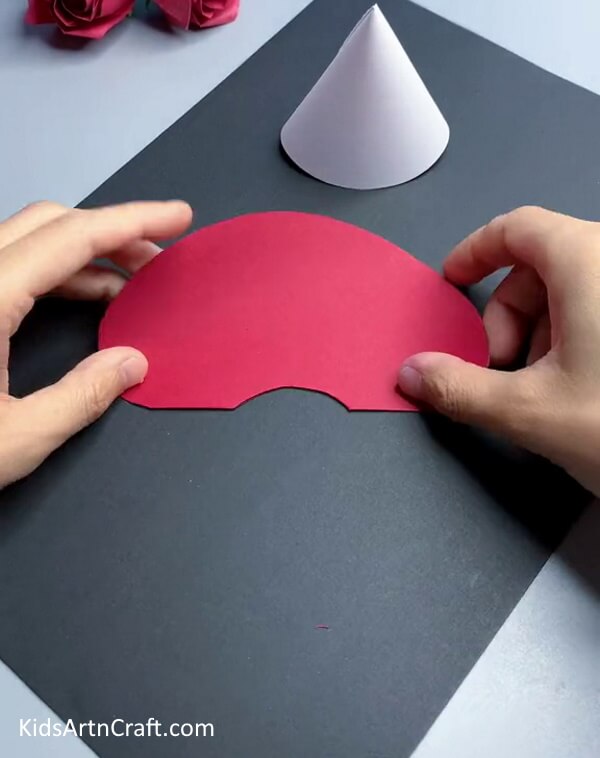
Now, Cut the marked curves with the help of scissors, this makes a hole under the semi-circle.
Step 6: Putting The Cone Inside Crown
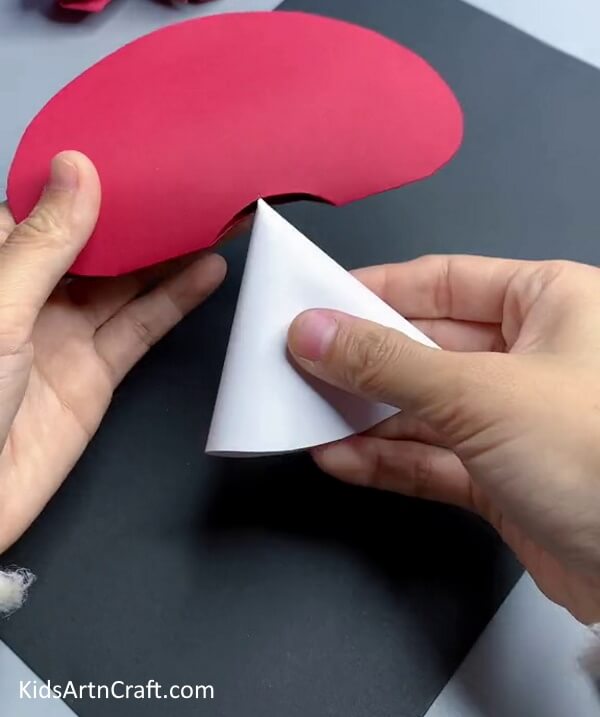
Now, fix the stem part in the hole as shown in this picture.
Step 7: Pasting Circle Over The Crown

Now, take a piece of paper and cut it into small round pieces and paste them in the mushroom (with the help of glue) and draw eyes, cheeks, and a smile on the stem of the mushroom (with the help of markers).
The Final Look Of The Paper Mushroom
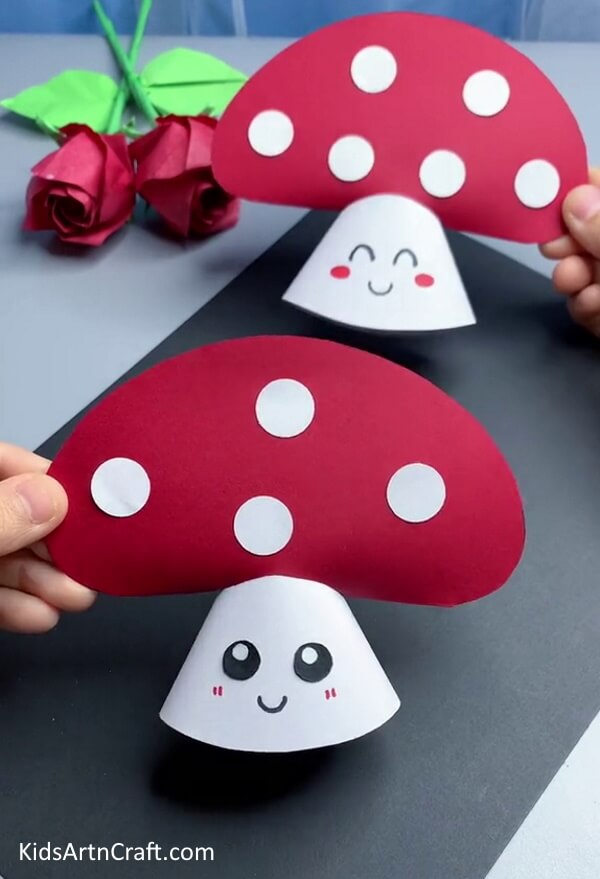
This is the final image of the paper mushroom craft is ready!!
This Easy Paper Mushroom Craft Step-by-Step Tutorial for Kids is a great way for kids to learn how to make a fun and creative craft that they can be proud of. With step-by-step instructions, it’s easy to follow and you’ll be amazed by the result.
Follow us on Youtube for art and craft tutorials and much more.
More Articles from Kids Art & Craft
- Easy Paper Robot Craft Step-By-Step Tutorial
- DIY Easy Paper Strawberry Tutorial For Kids
- Summer Paper Fan Step-by-Step Tutorial for Kids
- How to Make Toilet Paper Roll Penguin Craft For Kids
- DIY Paper Crafts Video Tutorial for All