DIY and Crafts
How to Make Dry Leaf Art Project Step by Step Instructions Easy Tutorial

Has Autumn already made its way to your place? Tired of picking up dried leaves and stacking them to burn them off? Add a new dimension to your creativity. An apt example of best-out-of-waste, use of the sore leaves to make the Dry Leaf Project by a step by step easy tutorial.
How to Make Dry Leaf Art Project
The Ingredients Of This Super art Are
- Dried leaves
- Clay
- A board/cardboard/thick sheet of paper of required shape
- Marker
Instructions

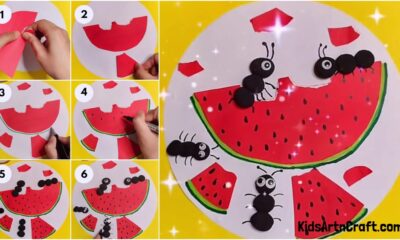
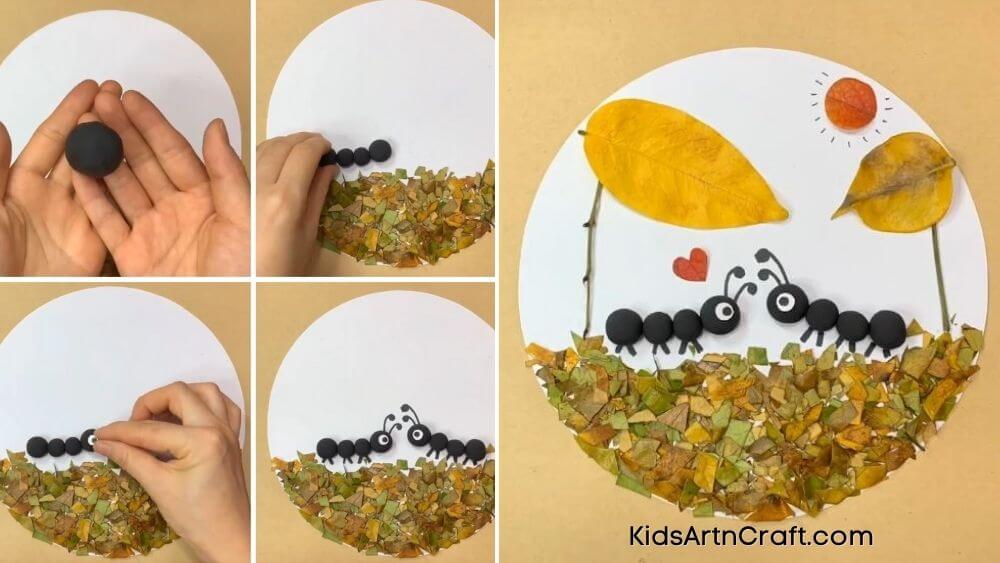
Collect a handful of dried perched leaves.

Crush them into small pieces and keep them aside.
Now take the circular hard sheet on which you are to execute your project. Apply Fevicol to the lower one-third portion of the circle.
Sprinkle the dried leaves on it.
Spread them evenly so that white patches aren’t visible.

Make a ball of black clay. Make sure to smoothen it evenly.
Make similar round pieces. Press them gently on the thick sheet in a row. Make a row of 4-5 of them.
Add details by making the eyes. You’ll soon find it looking like an ant.
Repeat the process for another ant, which will be facing the first one.
Make sure to use a marker to draw their antennas and legs(touching the leafy surface).
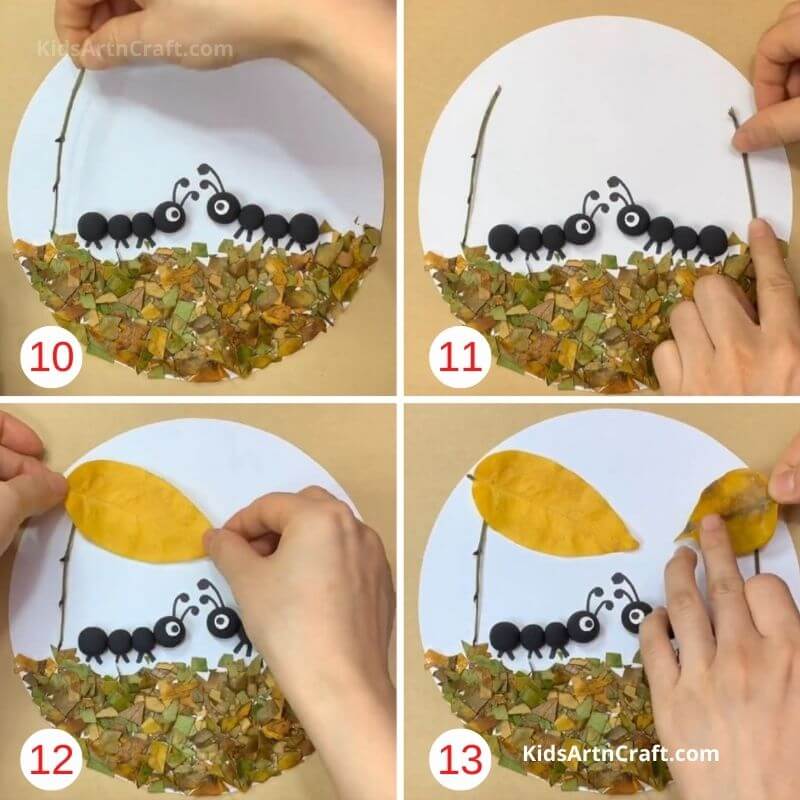
Use the additional twigs you collected along with the leaves to paste them vertically behind the ants on either side.
Paste two leaves left intact on top of the twigs, acting as a shade for the tiny beings.

Cut a ripened (reddish coloured) leaf into a circle and place it on the worksheet at the top to symbolize a sun. Add details of your choice by cutting the leaves in desired shapes.
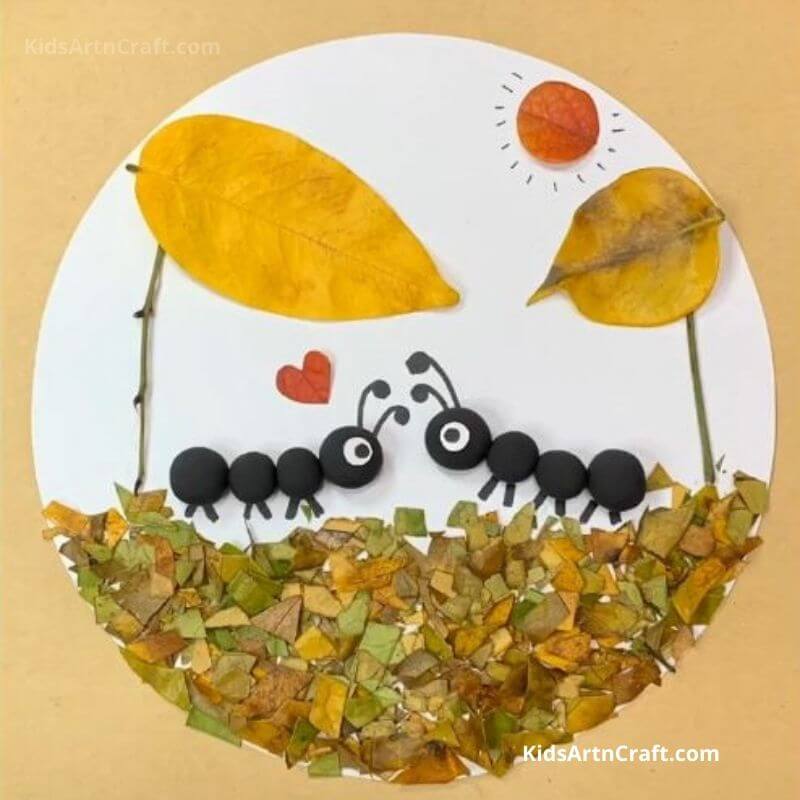
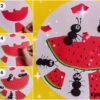
Your dry leaf project is ready in no time!
Perks of making such a project:
- You’ll learn the idea of creating innovative stuff out of the daily neglected throw-aways.
- The leaves, being dried, will not wear of easily.
- No fear of your leaves getting decomposed.
- A lot of scope of time utilization.
- Apt use of imagination and hence brain exercise, and so on.
Read More:
- Bell Pepper Crafts & Activities for Kids
- Lime Crafts & Activities for Kids
- Crocodile Crafts & Activities for Kids
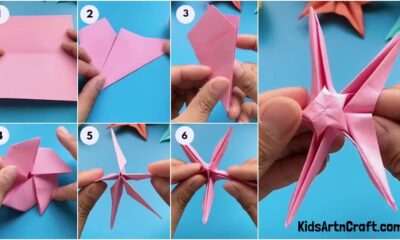
- How To Make An Origami Daffodil With Kids
- Dough Flower Bouquet Art for Kids – Step by Step Tutorial