Clay Crafts
Amazing Flower Light Garden Wood Home Decoration

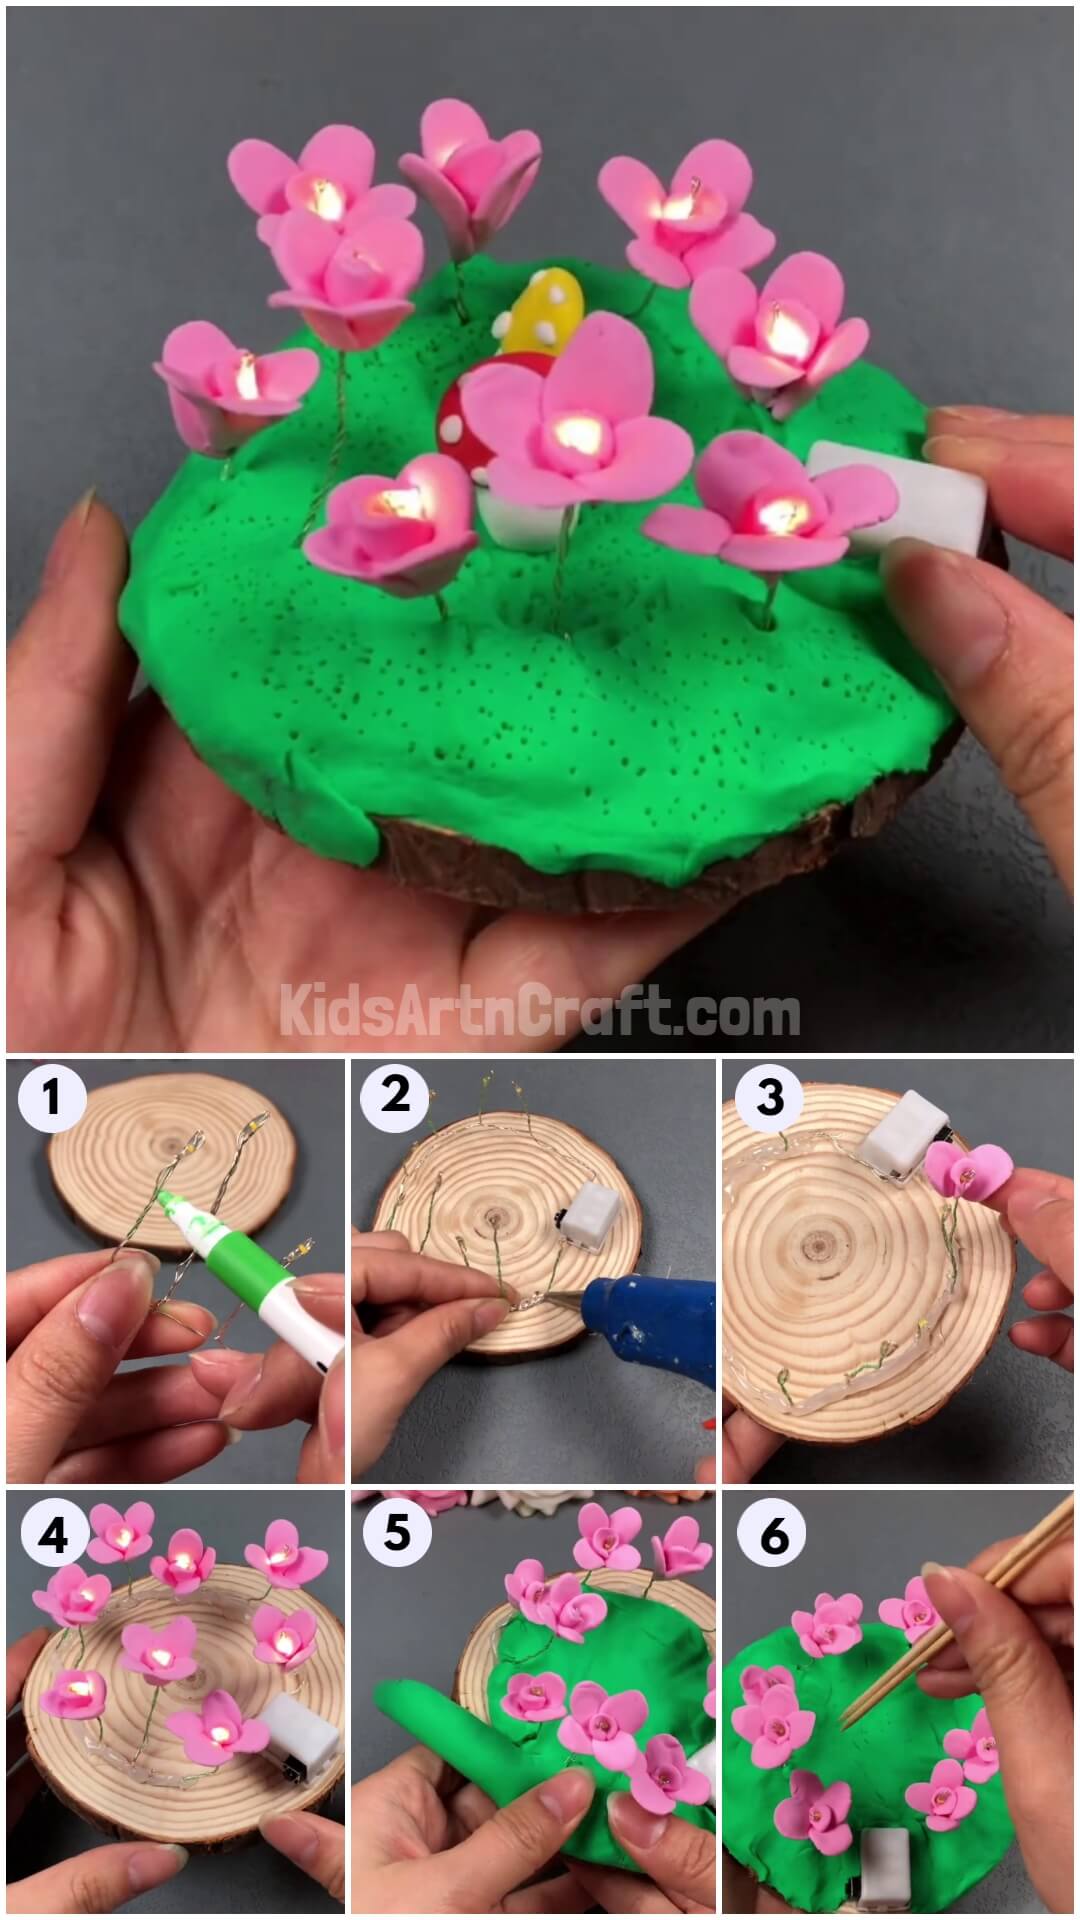
Here we have a step-by-step tutorial on making a budget-friendly pretty clay flower garden showpiece decor that even lights!
Make a pretty flower garden decoration piece on your own! This piece will definitely be a hit collection in your house! With the help of this step-by-step tutorial, you will be able to make it in no time with astonishing results! Using up some basic art and craft supplies that you already have at home we will guide you to make it! This can be a budget-friendly alternative to those expensive decoration items you can find in the markets! Grab the materials and let’s begin!
DIY Flower Light Garden Wood Home Decoration

Read More: DIY Easy Paper Flower Craft For Kids
Materials Required
- Flat Round Wood Piece
- Colored Clay (Pink, Green, White, Red, And Yellow)
- Metal Wire Fairy Light
- Hot Glue Gun
- Battery
- Toothpicks
- Green Sketch Pen
Procedure
Step 1: Taking A Wood Piece
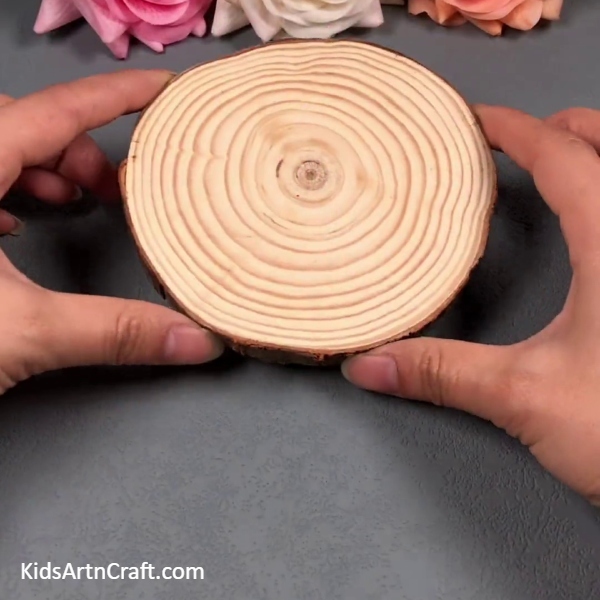

To begin this craft, take a flat-circular wood piece. This will be the base of your craft.
Step 2: Taking Fairy Lights
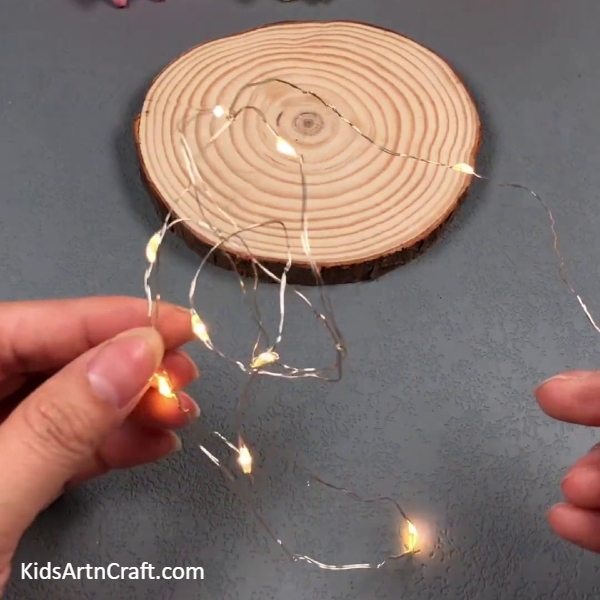
Take fairy lights with a metal wire.
Step 3: Shaping And Coloring The Wire
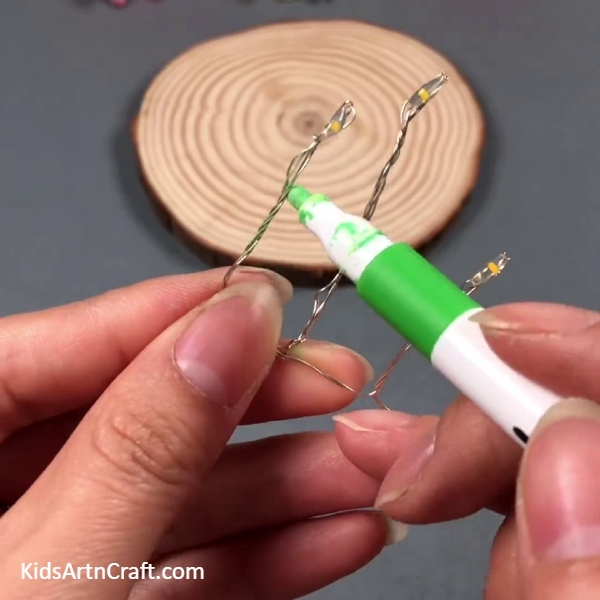
Shape the wire in a way that the lights are coming out like a plant growing on the wire. Now, using a green sketch pen, color the below metal wire of the light.
Step 4: Sticking The Fairy Light Over Base
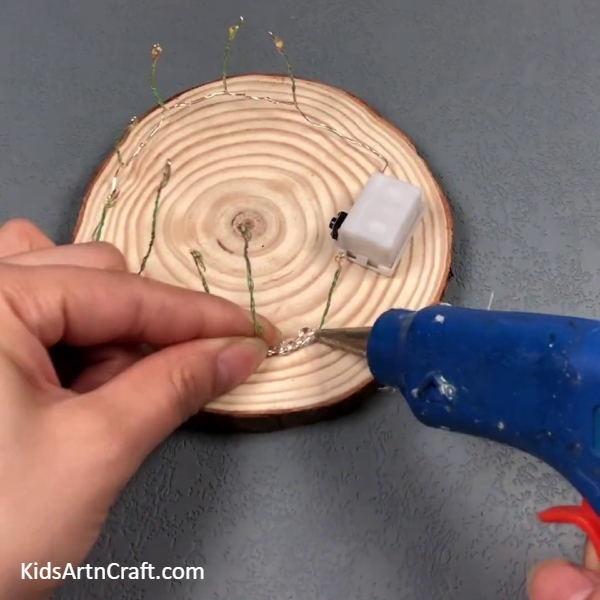
Now, place the light over the base in a circle, just keep the lights over. Attach the lights with a battery and using hot glue secure the whole structure over the base.
Step 5: Taking Out A Piece Of Pink Clay
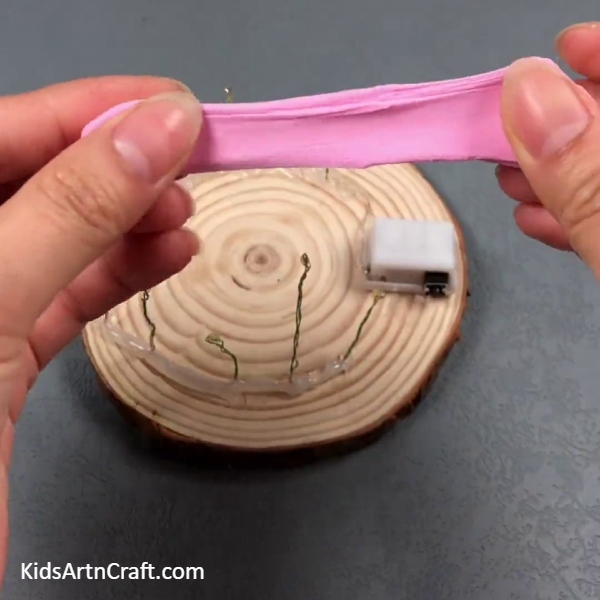
Stretch and take out a small piece from the pink-colored clay.
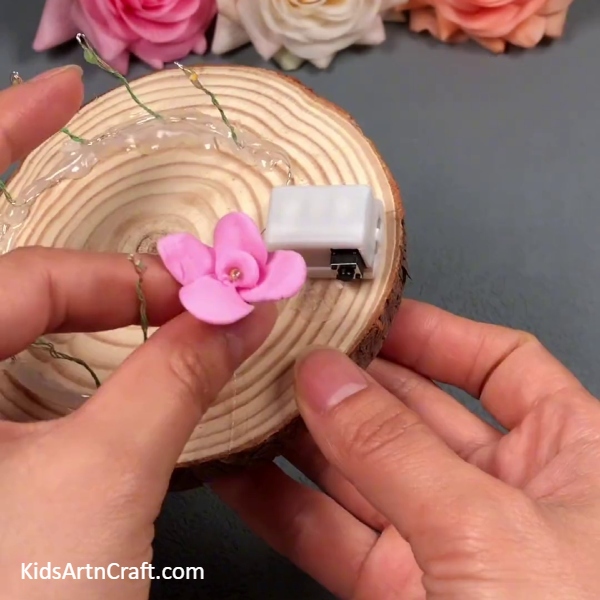
Step 6: Making A Petal
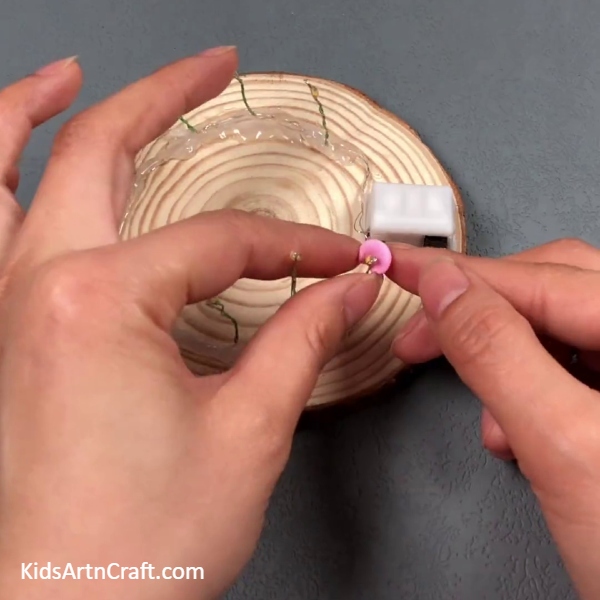
Flatten the clay piece into a circle and roll the circle over the light top to make a petal around it.
Step 7: Making More Petals
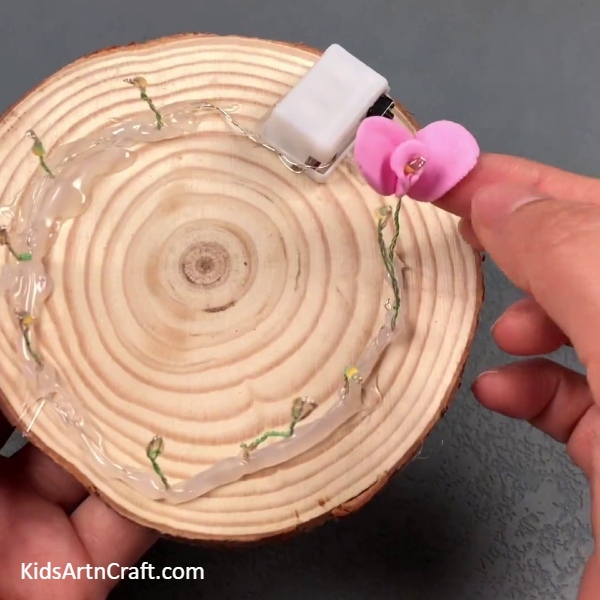
One by one make more flat circles of the pink clay and round them over one another to form petals. Make sure to press the clay petal from below so that it looks like a blooming flower.
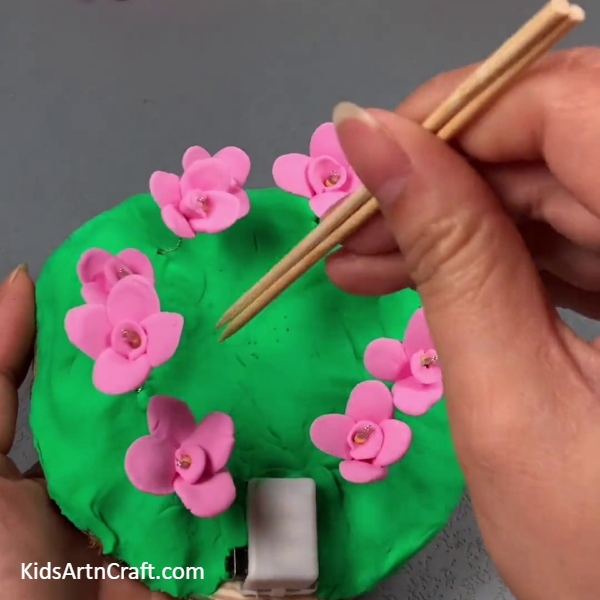
Step 8: Completing A Flower
Make 4-5 blooming petals around the light top to complete a whole flower around it.
Step 9: Making More Flowers On the Light Tops
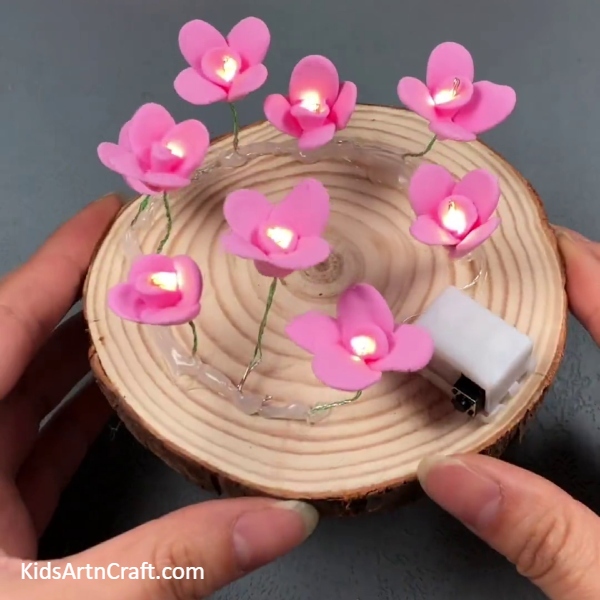
Following the same previous steps, make flowers around all the light tops.
Step 10: Placing A Green Clay Ball On The Base
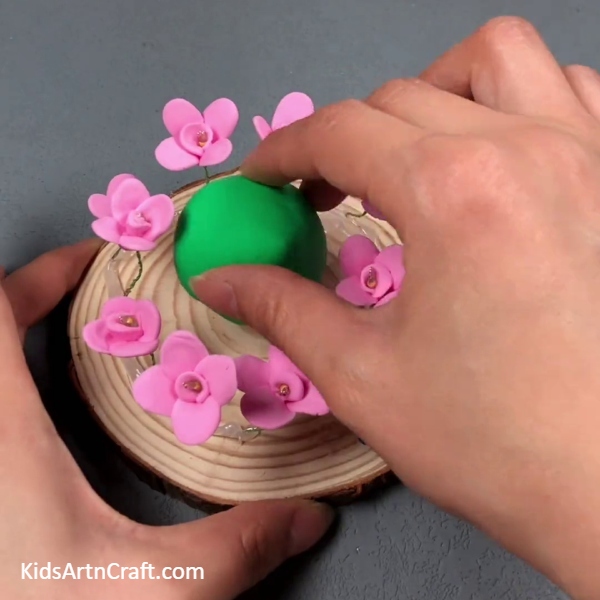
Take green-colored clay and dough it into a ball and place the clay ball in the center of the wood base between the flowers.
Step 11: Flatting The Clay Ball To Form Ground
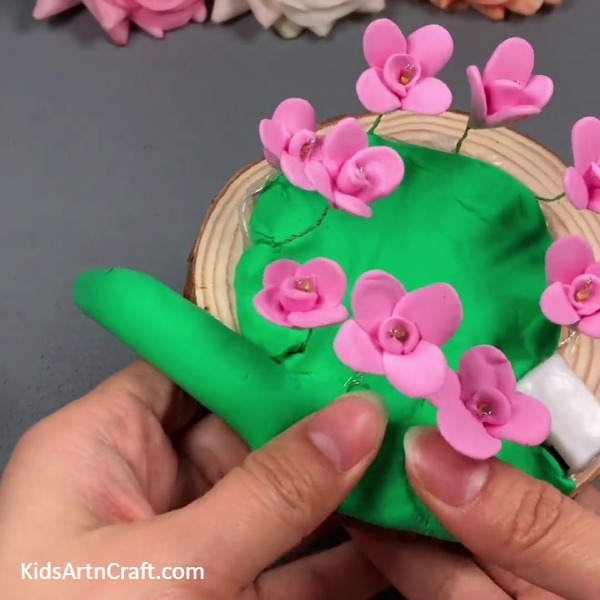
Press and flatten the clay ball over the wood base to make the ground beneath the flowers. Make sure to do it safely and not displace or damage the shape of clay flowers. Also, make a flattened strip of green clay and cover the part on the other outer side of the wire to cover the wood base nicely and make the whole ground.
Step 12: Texturing The Ground
Using toothpicks, dab small dots over the ground to texture it.
Step 13: Adding Mushrooms To The Ground
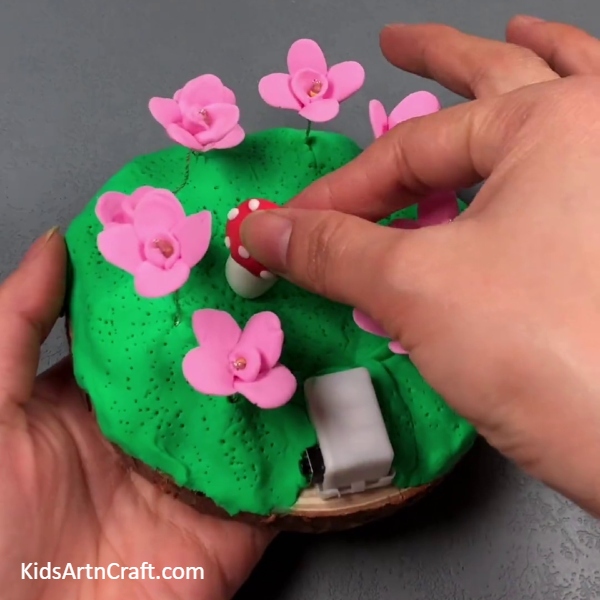
Make red and white clay 3D mushrooms by rolling the white clay into a circle and then pressing it to make a rounded rectangle/square of it, now shape the red clay into an uneven cone shape and place it over the white clay shape to make the mushroom, then, make small rounds of the white clay and stick them to the red top to add the texture of the mushrooms. Now, place this mushroom on the ground in the middle of the flowers.
Following the same, make another mushroom just use yellow clay this time instead of red, and place this one beside the red mushroom.
Step 14: Switching On The Light
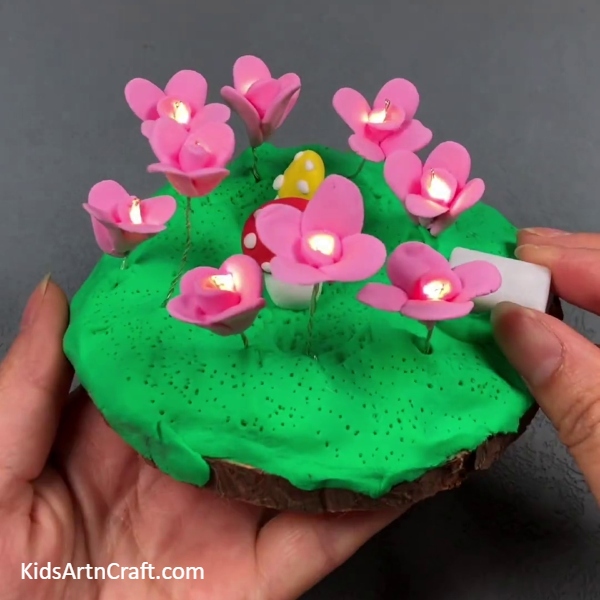
From the battery which you have attached, switch on the lights of your decor piece.
This Is The Final Look Of Your Pretty Flower Garden Decor!
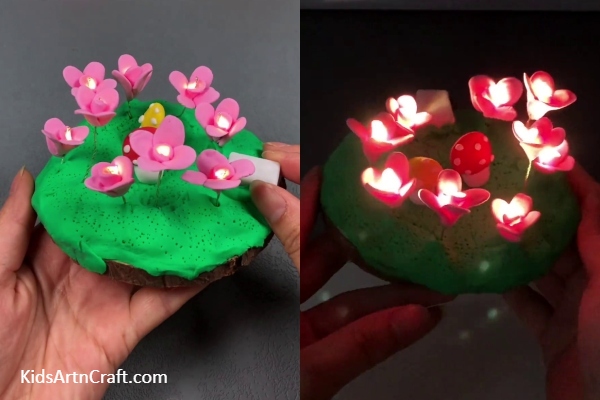

Wow! Look at the astonishing results of your clay flower lighting decor!
This craft is perfect to make on the days of any occasion! You can even make this up for your loved ones! I’m sure they will definitely be happy to receive such a pretty gift! You can even add your touch of creativity to it by making some flowers, using different colored clay, etc. Your imagination is the limit! Decorate it anywhere, it will surely lighten up any corner of your house beautifully!
Hope you liked this craft tutorial. Do give it a like and share it with as many people as you can! Also, give us feedback and tell your craft journey in the comments section below!
Follow us on Youtube for art and craft tutorials and much more.
More Articles from Kids Art & Craft
- How to Make Clay Flower Easy Tutorial for Kids
- Clay watermelon ice cream easy craft tutorial
- How to Make Worm Using Clay For Kids
- DIY Clay Giraffe Step by Step Tutorial For Kids
- How to Make Paper Flower Ring Easy Tutorial