Clay Crafts
Clay Chicks Craft Step-by-step Tutorial For Beginners

Learn how to make your own clay chicks with this step-by-step tutorial for beginners! This guide provides easy-to-follow instructions and helpful tips on how to make your own clay chicks with simple supplies.
This clay chick craft is a fun and engaging activity for kids of all ages. With a few simple supplies and a little bit of creativity, you can DIY this amazing clay craft. The materials required are quite simple and readily available in the local stores. The chicks are the babies of a hen. They are cute little creatures who generally feed on small worms and insects. Grab your craft supplies and get ready to embark on this delightful journey!
Easy Clay Chicks Craft For Beginners


Read More: DIY Miniature Clay Cake Craft Activities for Kids
Materials Required
- Craft sheet(White)
- Clay dough(Yellow, Black, Red, Green)
- Scissors
- Black marker
- Ruler
- Sketch pen(Green, Red)
Procedure
Step 1: Getting The Yellow Clay

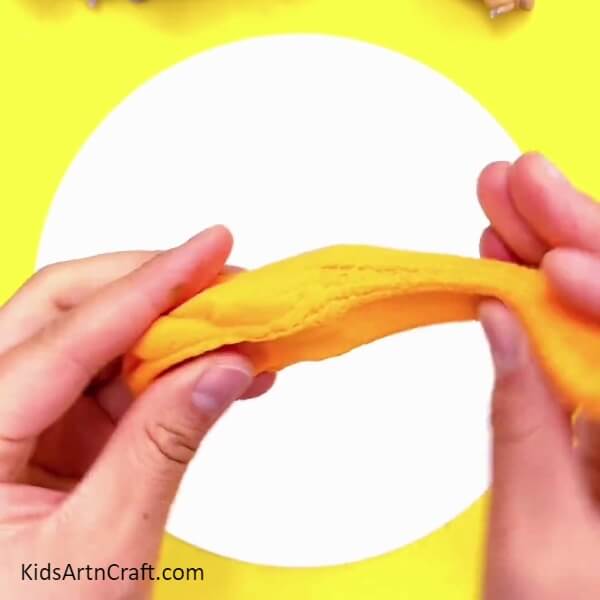
Let’s begin our craft by taking a white craft paper. Cut it into a circle. This will become the base of our craft. Take a lump of yellow clay and knead it properly.
Step 2: Making A Yellow Clay Ball
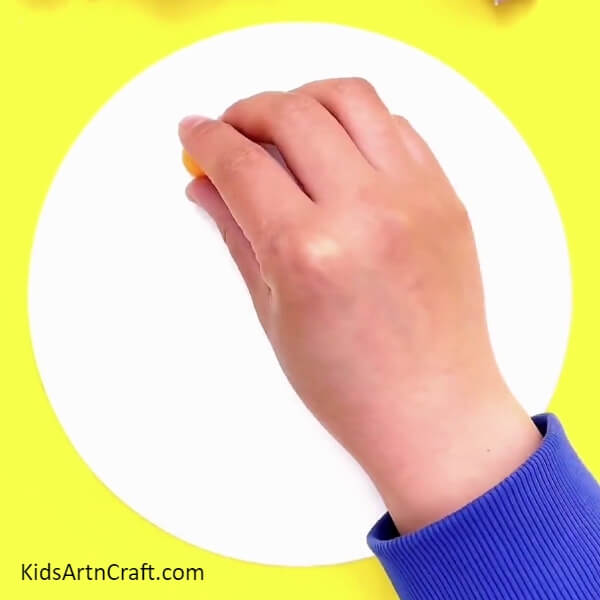
Take yellow clay and make a small ball out of it. Place it in the top left corner of the white craft sheet.
Step 3: Flattening The Yellow Clay Circle
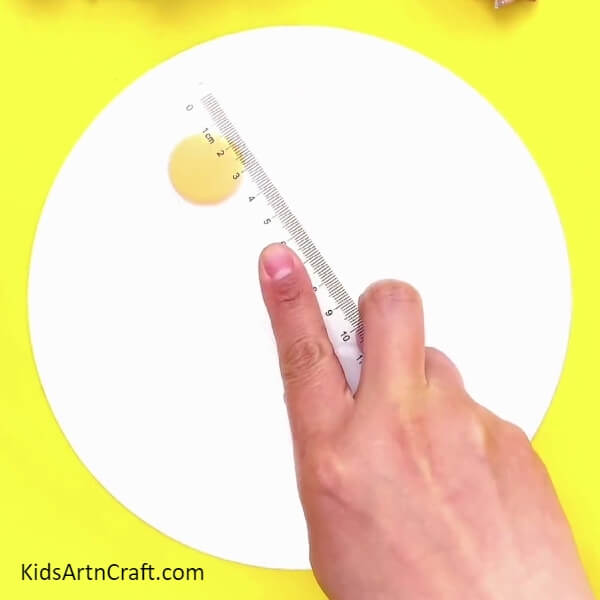
Take a plastic ruler and flatten the clay ball into a circle as shown. This will become the head of the chick.
Step 4: Making The Body Of The Chick

To make the body of the chick, make a larger clay ball and place it below the head of the chick as shown. Flatten it with a ruler to make the body of the chick.
Step 5: Making One More Chick
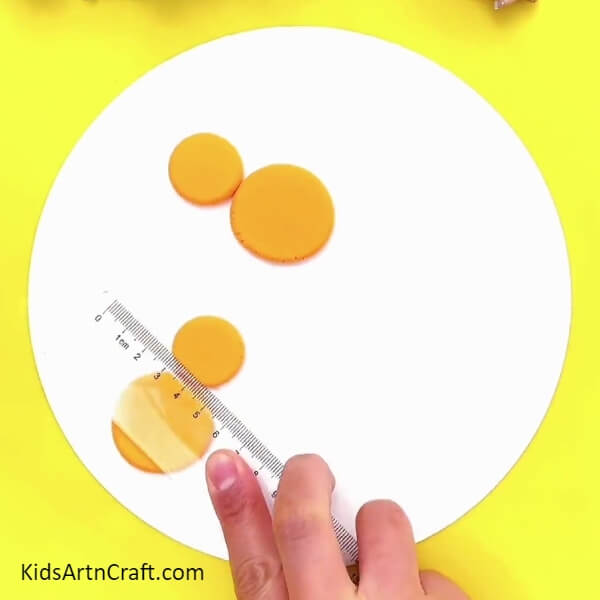
Repeating the above three steps, make one more chick as shown in the image.
Step 6: Making Two More Chicks
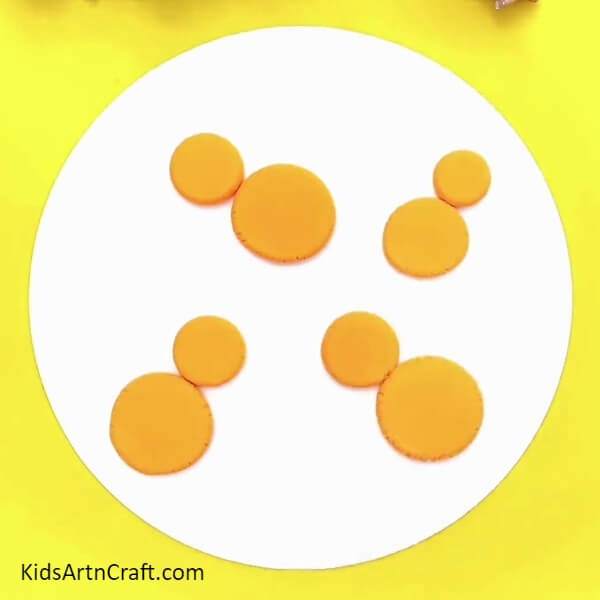
Using the yellow clay ball and repeating the above steps make two more chicks of different sizes as shown in the image.
Step 7: Making The Eyes
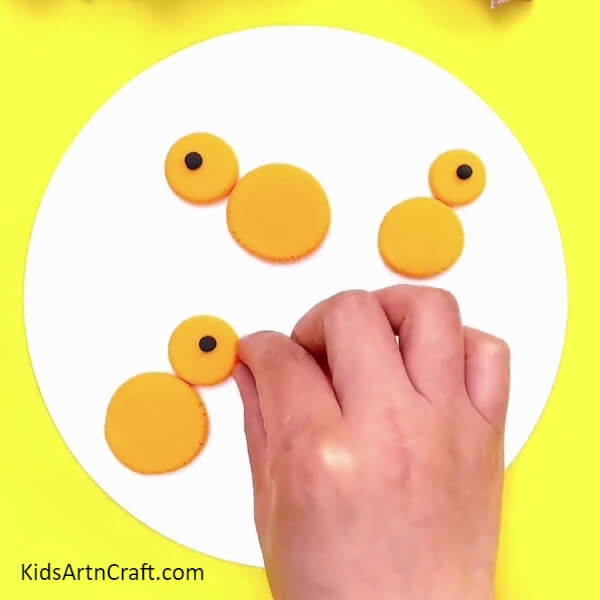
Take a black clay ball and make four small tiny circles out of it as shown. Paste them on the head of the four chicks to make the eyes.
Step 8: Making The Beak And The Legs
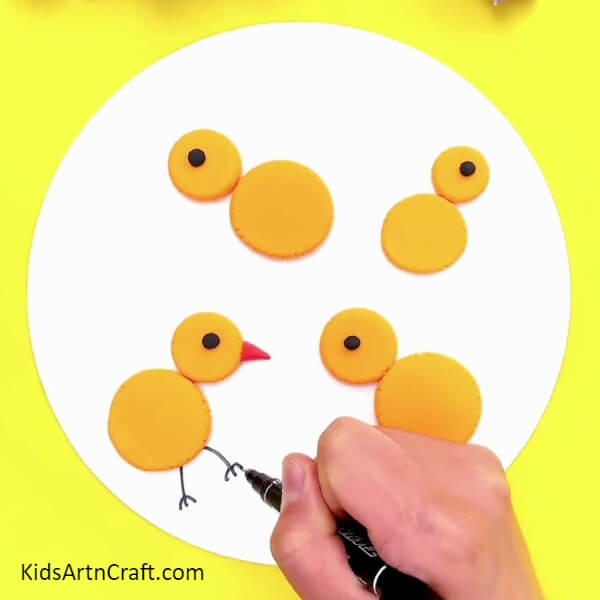
Take red clay and make a small red triangular beak for the chick. Repeat the same for all other chicks as shown. Take a black marker and draw thin narrow legs for the chicks as shown.
Step 9: Drawing The Grass
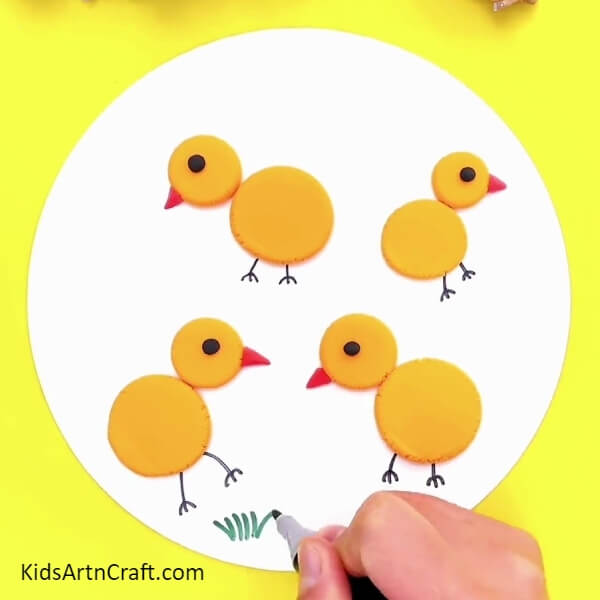
Take a green sketch pen and draw the grass on the bottom portion as shown in the image. Draw the grass on the entire craft sheet.
Step 10: Drawing The Flowers
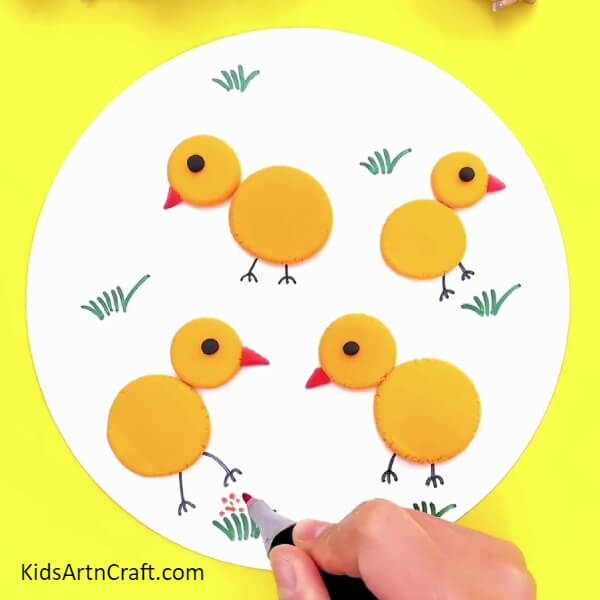
Take a red sketch pen and put small dots on top of the grass to represent the flowers.
The Clay Chicks Craft Is Ready!
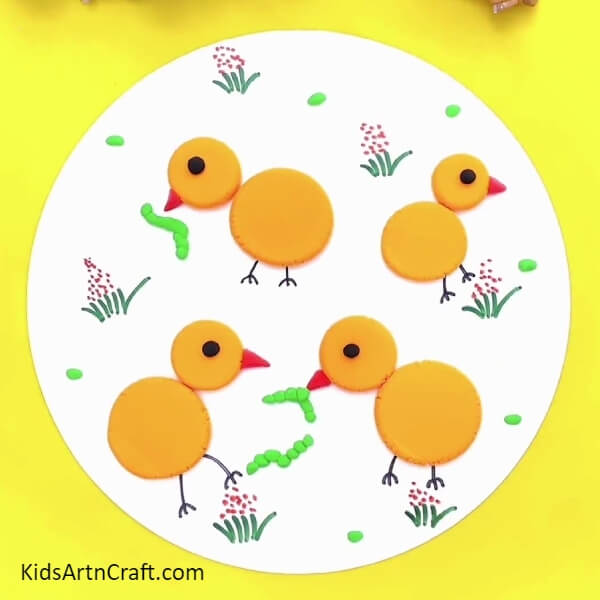
And that’s it, the clay chick craft is ready! This is absolutely adorable and lovely.
Let’s feed something to the chicks. Take green clay dough and make small tiny circles. Paste six or seven of them closely to make the body of the worm. Make worms for all the chicks as shown. Decorate the white background by pasting small tiny green clay balls as shown. The overall craft is looking cute and vibrant. It can be a perfect home decor and a souvenir of your kid’s hard work and creativity. Keep following for more fresh ideas.
Thank you for visiting our website!
Follow us on Youtube for art and craft tutorials and much more.
More Articles from Kids Art & Craft
- How to Make Clay Flower Easy Tutorial for Kids
- Clay watermelon ice cream easy craft tutorial
- How to Make Worm Using Clay For Kids
- How to Make a Clay Bird Easy Artwork tutorial for kids
- DIY Clay Giraffe Step by Step Tutorial For Kids