Other
Ladybug paper Ring Craft Easy Tutorial for kids

This tutorial will show kids how to make their own ladybug paper ring. It is a fun and creative project that can be done using only a few supplies, and is suitable for children of all ages.
This tutorial will teach you to make a jewelry item with some colorful sheets of paper. The jewelry item in question is a ring with a ladybug on top of it. I hope you have seen a ladybug in real life or in pictures. Collect all the material required and let’s start making this ring.
Creative Ladybug Paper Ring Craft Tutorial for Kids

Read More: DIY Christmas Yarn Wreath Ideas
Material Required
- A black and a red sheet of paper
- A pair of scissors
- A glue stick
- A pair of googly eyes
- Double-sided tape
Procedure
Step 1: Starting With A Black Sheet Of Paper
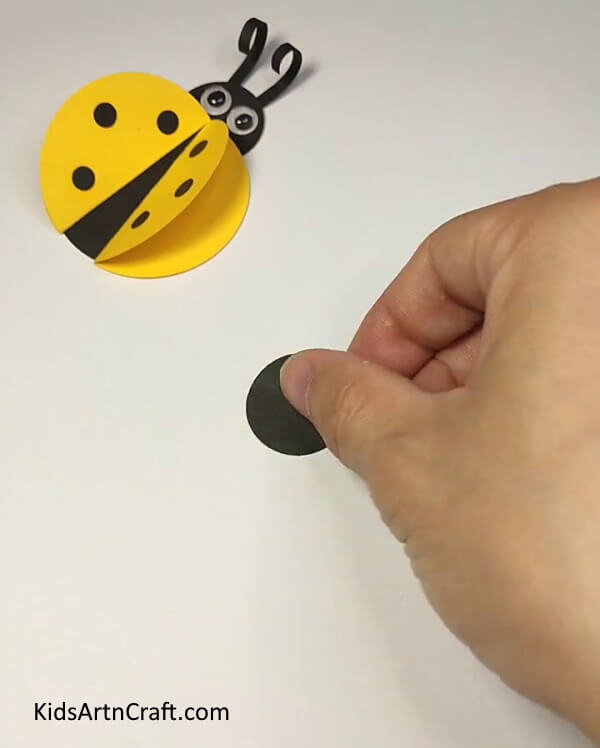
Cut a circle out of black paper and place it for the craft
Step 2: Cutting Another Circle Out
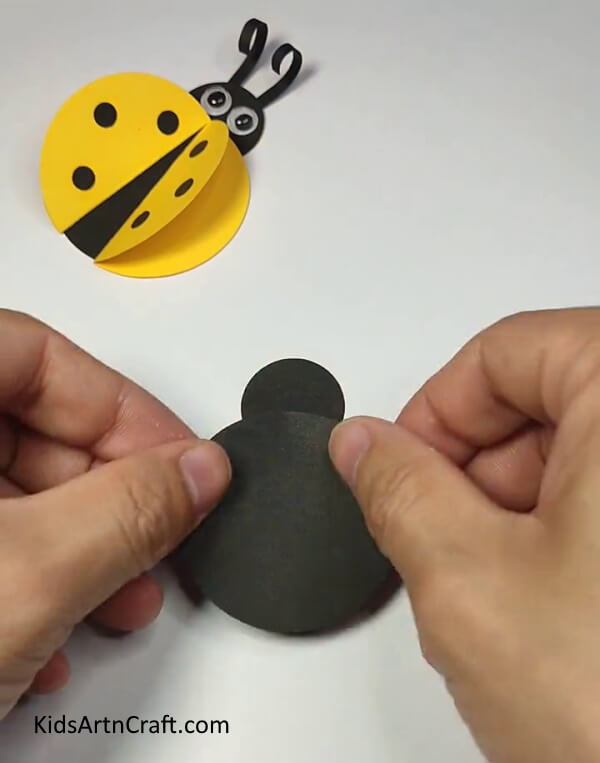

Working on the same black sheet cut a bigger circle out and paste it at the bottom of the smaller circle.
Step 3: Cutting More Shapes Out Of The Sheet
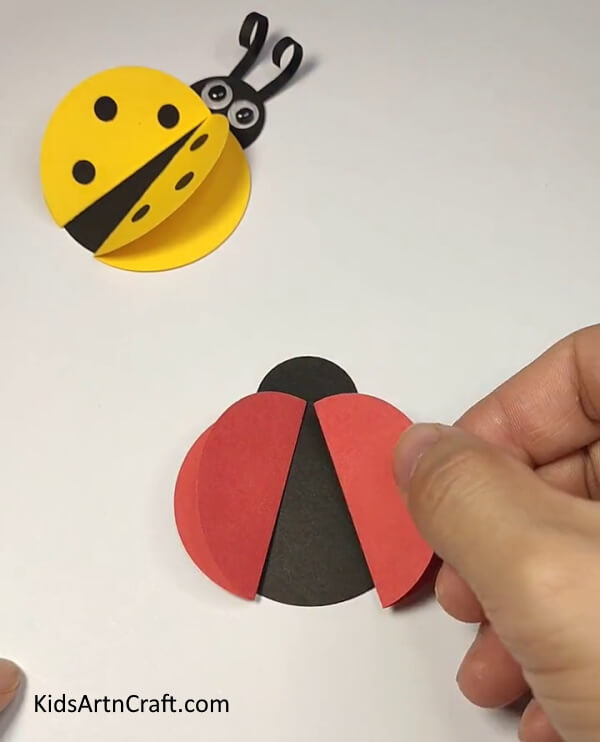

Take a red sheet of paper and cut two circles out of it sharing the same size as the big circle you made in the previous step. Now, fold both circles in half making a semi-circle. Finally, paste them on the vertical sides of the big black circle. The flat sides of the semi-circle need to be kept a little slanted while pasting them which must leave a little space in the middle resembling the shape, ’V’.
Step 4: Pasting Tiny Circles On The Red Circles
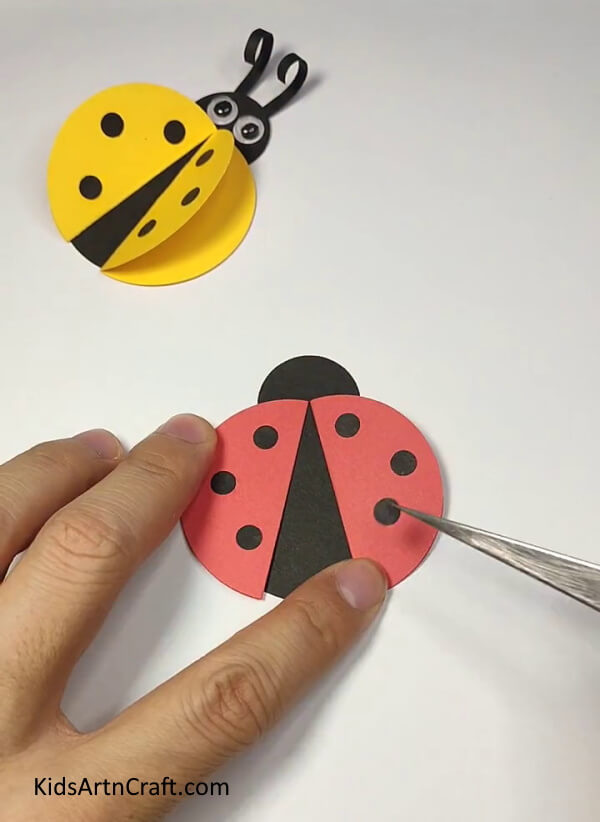

Take a black sheet of paper and cut six tiny little circles out. Paste three circles on the upper flap of each circle.
Step 5: Pasting The Pair Of Googly Eyes

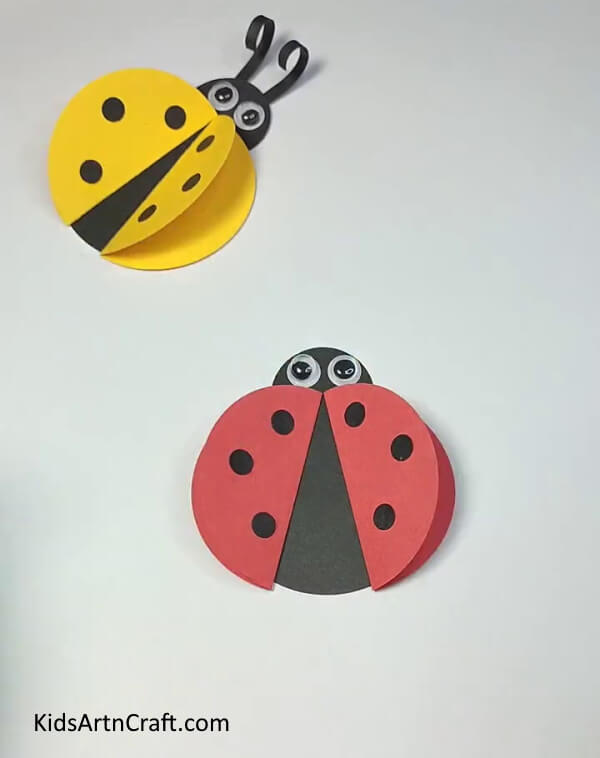
Now, paste the pair of googly eyes next to each other on the circle you made in the first step which will serve as the head of the bug. This completes the process of making the body of the bug.
Step 6: Making Antennas For The Bug
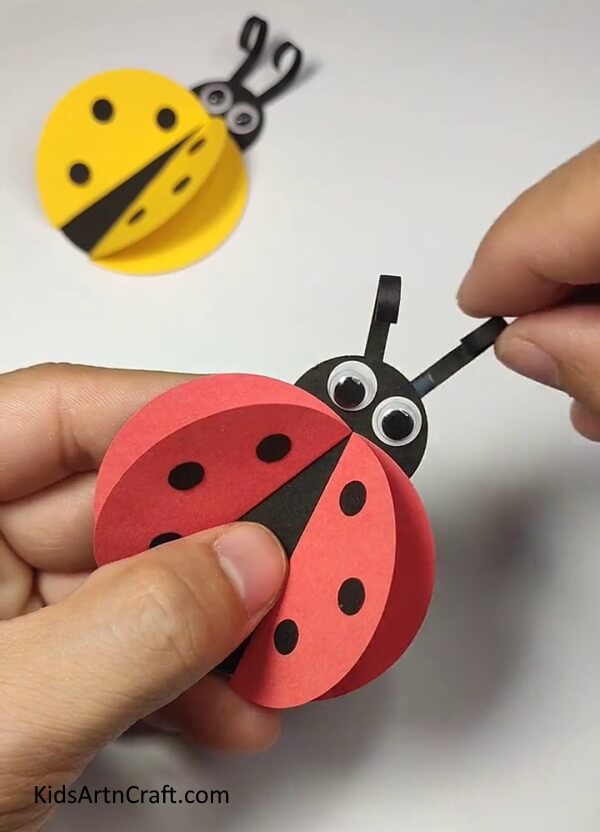

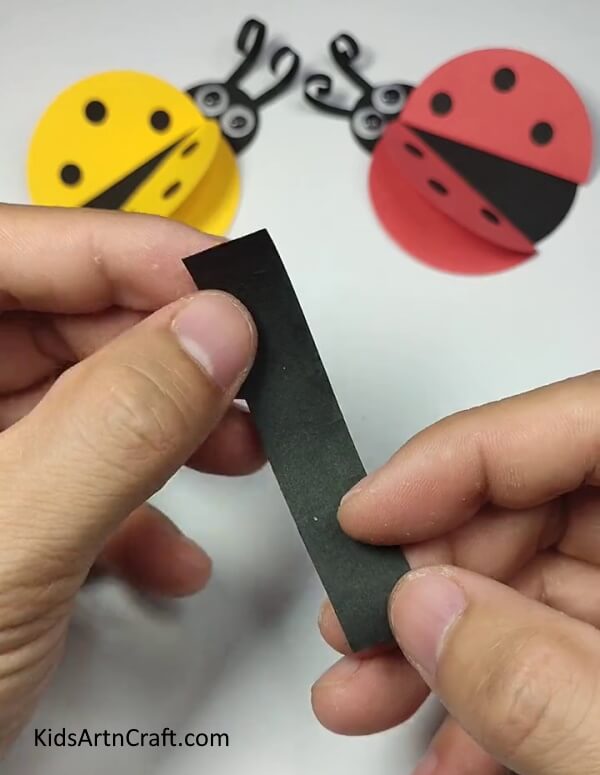
Take a black sheet of paper and cut two thin strips out. Place a pen on one of its ends and roll a quarter of the strip. Take the pen out and repeat the process on the other strip as well. Now, paste the antennas on the back of the head of the bug.
Step 7: Opening The Wing Covers
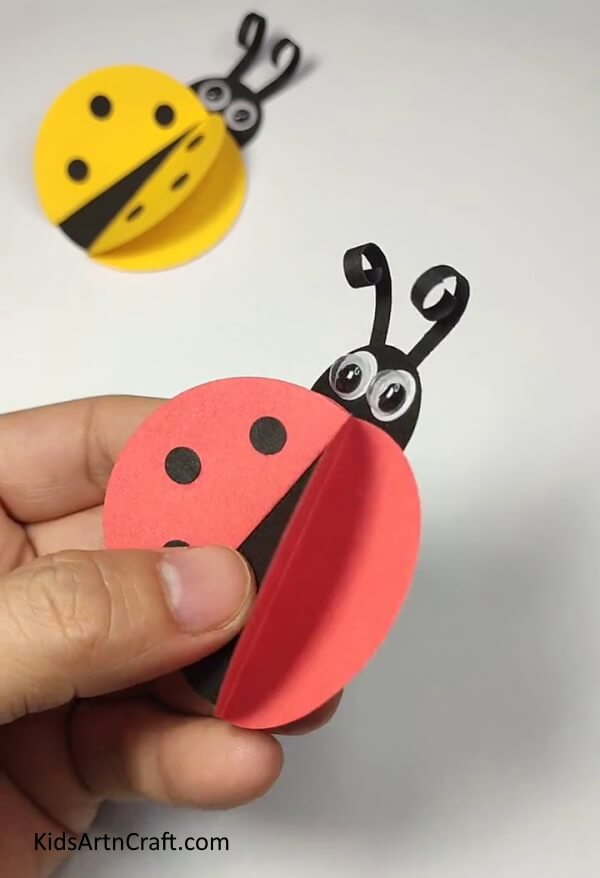

You can now see in the picture below that the upper flap of the red sheets opens exactly like the wing covers of the original ladybug.
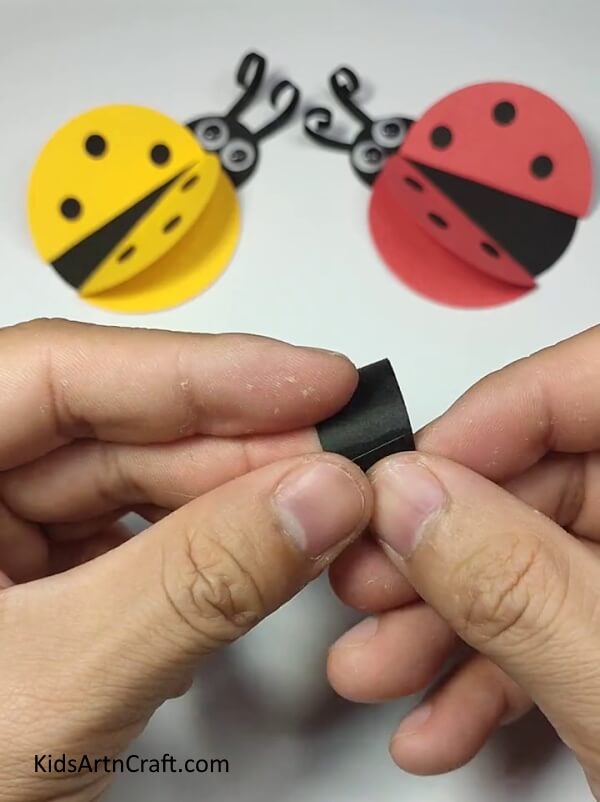
Step 8: Making The Paper Ring

Take a black sheet of paper and cut a strip out of it. The strip should neither be too wide nor too thin.
Step 9: Joining The Ends Of The Strip Together

Join the ends of the strip together making it resemble a circular ring.
Step 10: Taping The Ends Together


Cut a small piece out of the double-sided tape roll and stick it on the two connected ends.
Step 11: Pasting The Bug On The Ring
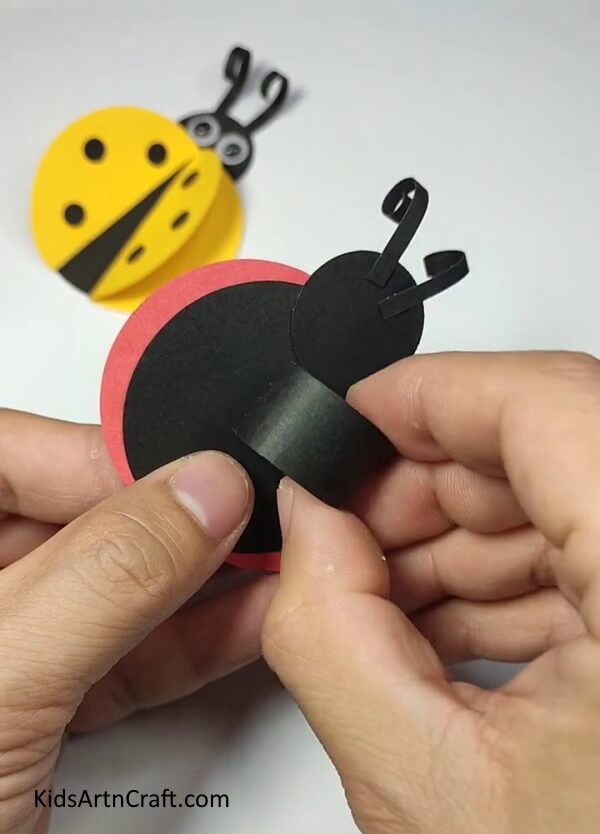

Peel the top layer off this piece of tape and paste it on the back of the paper ladybug.
Step 12: Wearing The Ring On The Finger
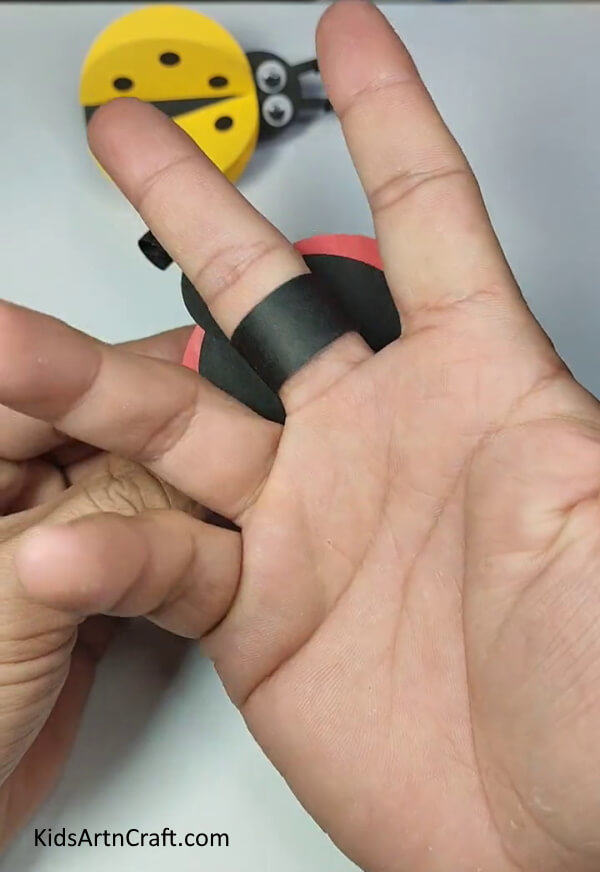

Put the ring onto your finger to check whether it fits your size or not and you can make adjustments accordingly.
Now, The Lovely Ladybug Ring Is Ready
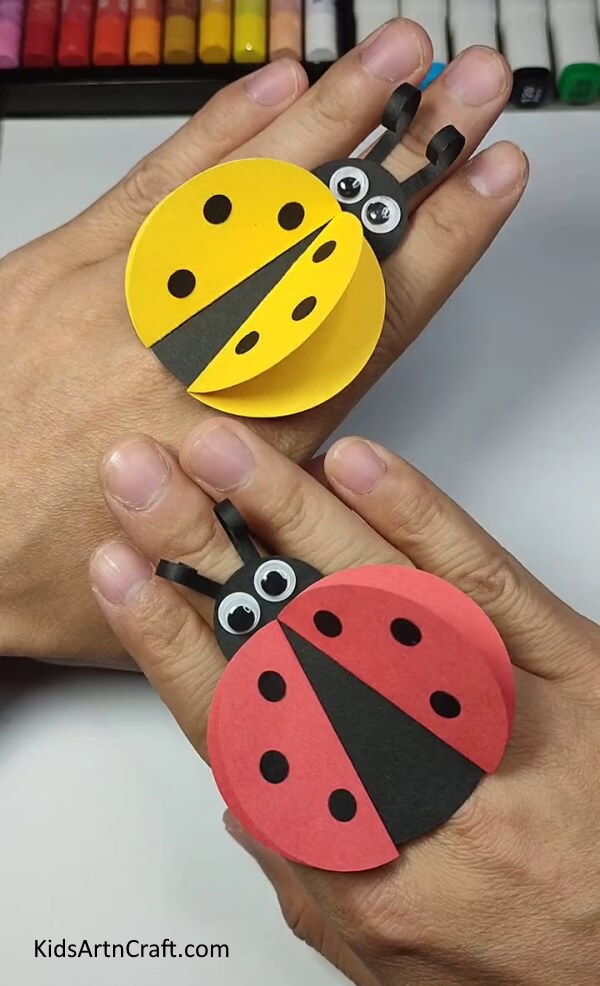

You can make one more such ring using yellow sheets instead of a red one.
This brings an end to this tutorial and you learned to make a very unique craft, making jewelry with sheets of paper. You also learned good cutting and pasting skills as well. You can wear this ring on your own finger or gift it to someone else. Keep practising the techniques that you learn in these tutorials and keep up the good work. Best of luck.
Some More Paper Flower Ring Craft Tutorial
Paper Flower Ring Craft Decoration To Make At Home

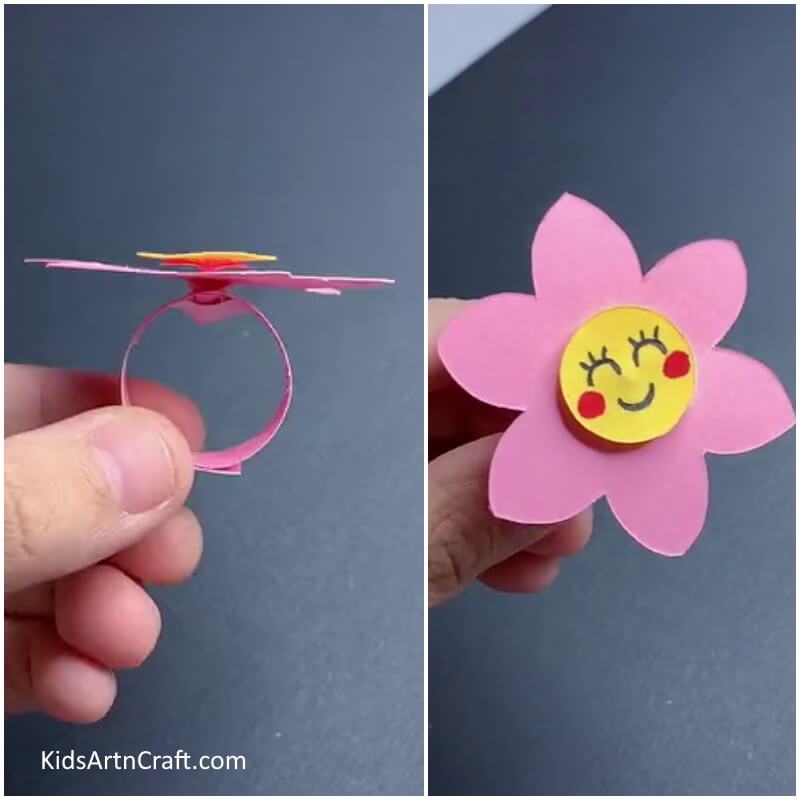
Image Source/Tutorial: Kids Art & Craft
This craft decoration is an easy and creative way to add a unique touch to your home. With just a few simple materials, you can make a beautiful paper flower ring to hang on your wall or even as a present for someone special. It’s a great way to express your creativity and make something special.
Follow us on Youtube for art and craft tutorials and much more.
More Articles from Kids Art & Craft
- Caterpillar Crafts & Activities for Kids
- Pigeon Drawing & Sketches For Kids
- Fairies in Jar Craft Ideas for Kids
- Farm Animal Crafts for 3-Year-Olds
- Nativity Crafts for Kids