Home Decor
Napkin Roses Heart Decor Frame Craft Tutorial For Wall

I’m sure you don’t wanna miss this one! This step-by-step article is on making a framed decor with a napkin roses’ heart and with pearls!
Hey craft lover, let’s create something unique and literally, like literally stunning piece of decor! You will be tempted to make it if you look at it! This step-by-step tutorial will be a perfect guide for you on creating this frame with a napkin roses’ heart and with pearls! This craft will not look like a craft instead, it will look like an expensive framed decor you bought from the market! Well, don’t be fooled by its result, this one is quite budget-friendly and even easy to make! So, let’s begin!
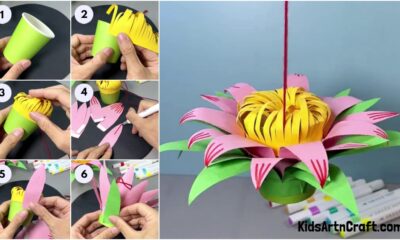
DIY Napkin Roses Heart Decor For Kids
Read More: Cycle Making From Paper Cup And Plastic Straw
Materials Required
- Napkin Tissues
- Hot Glue Gun
- Plastic Rubber Bands
- Craft Pearls
- Peach Colored Spray Paint
- Red Powder Blush
- Blush Brush
- White Paper Sheet
- Red Net Ribbon
- White Frame Box
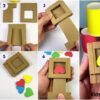
Procedure
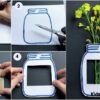
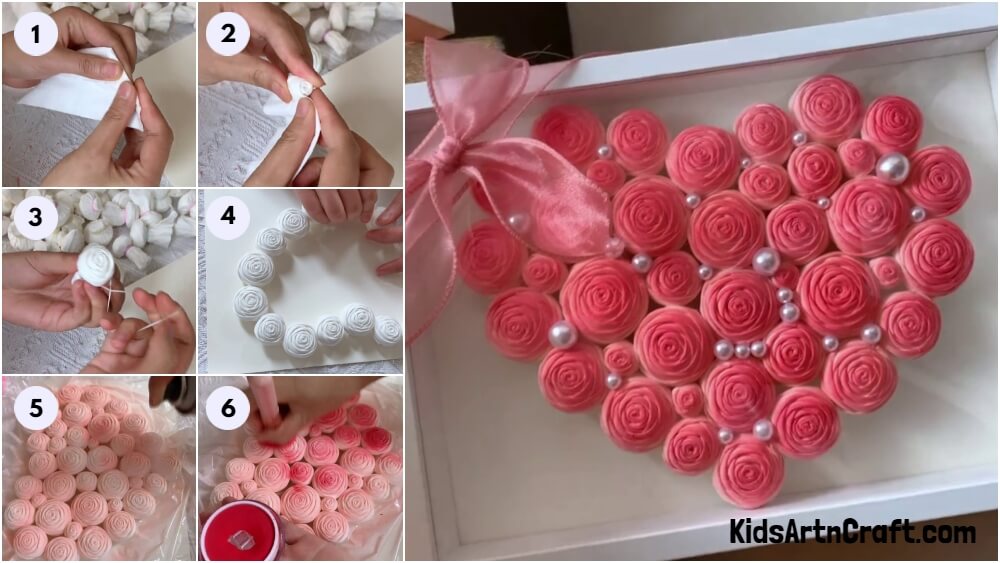
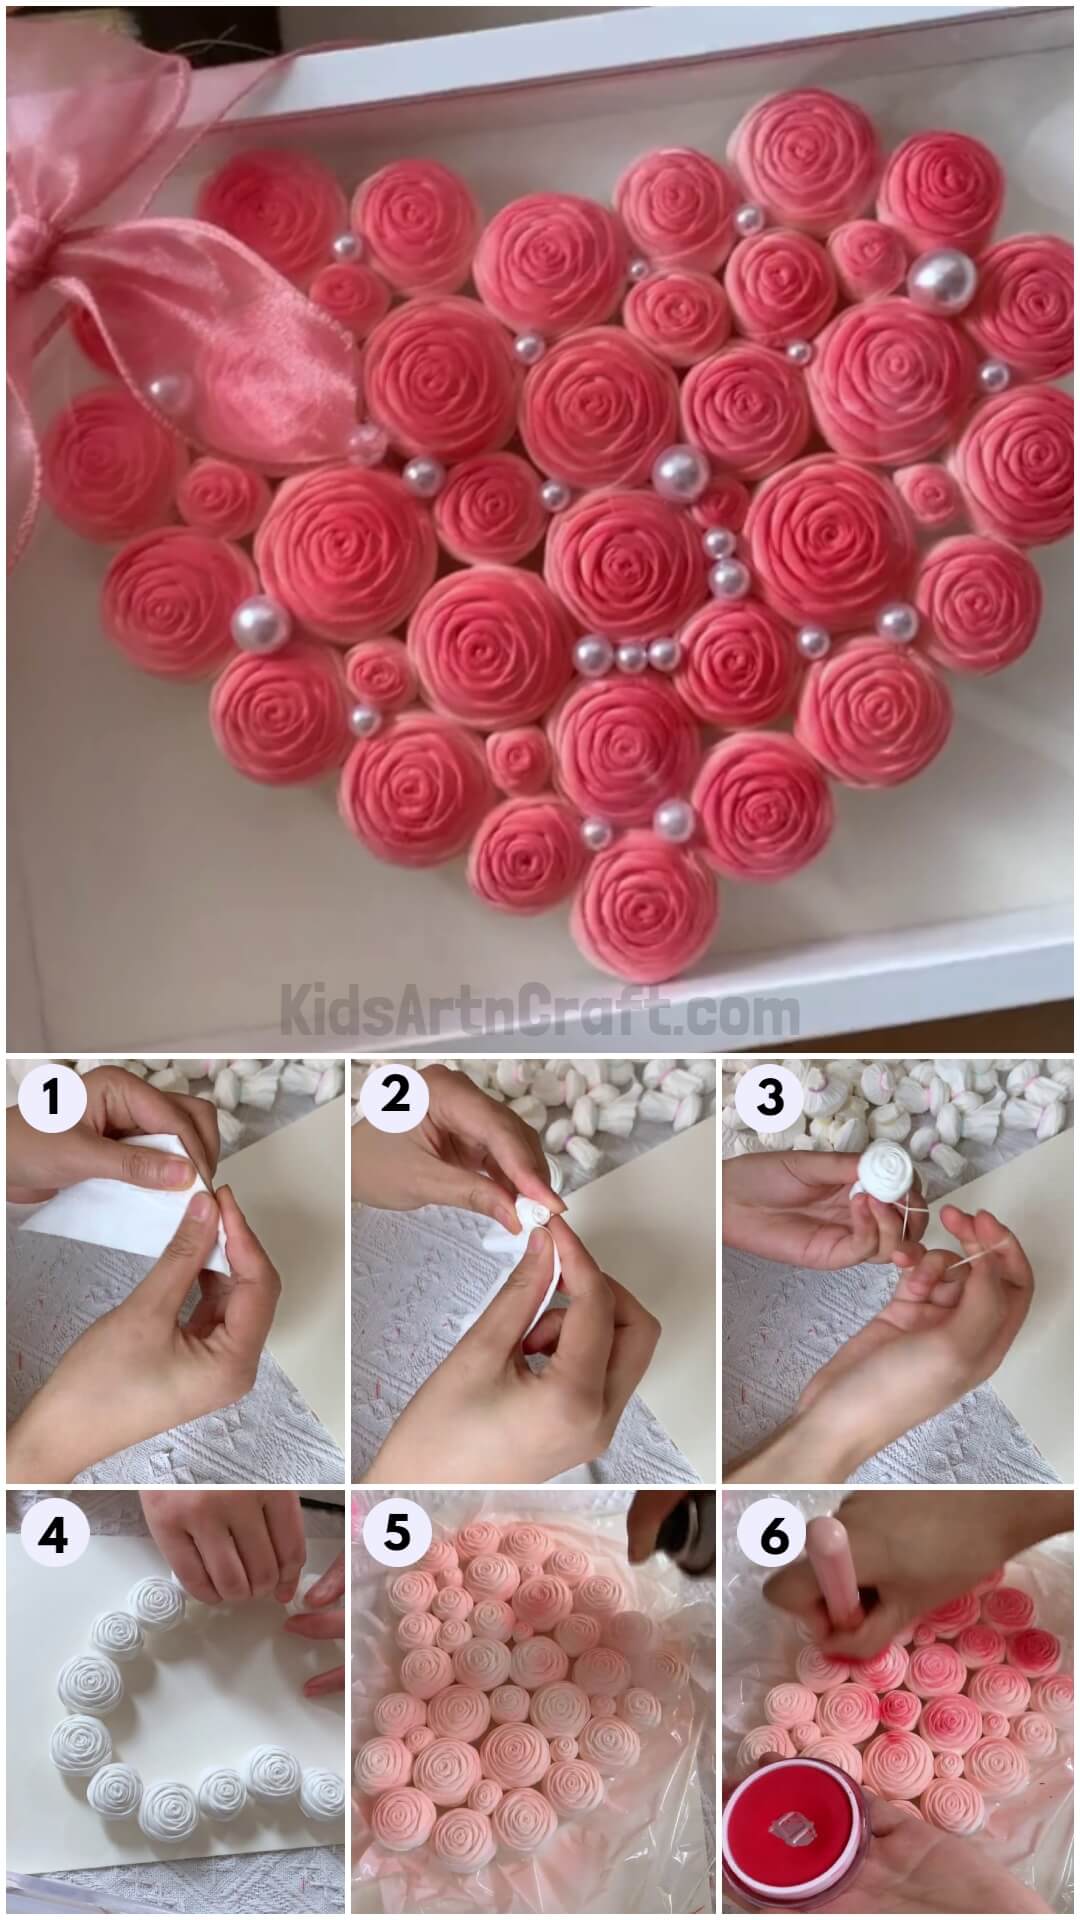
Step 1: Taking A Tissue Napkin
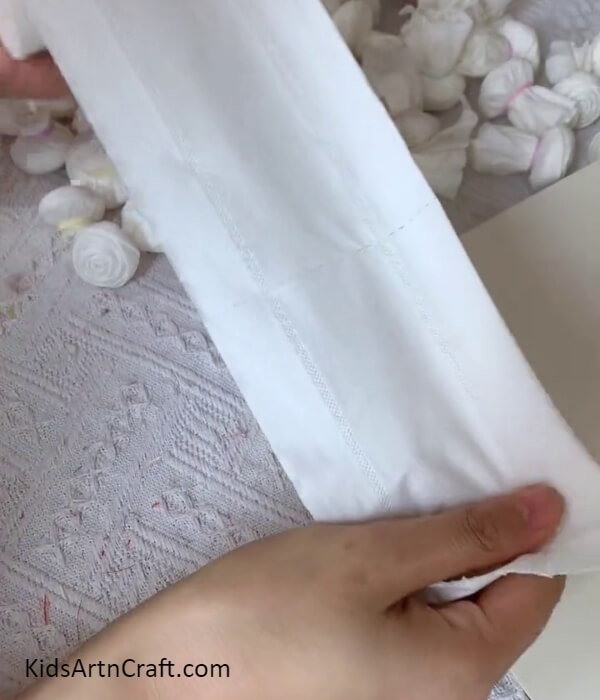
Begin this craft by taking a tissue napkin.
Step 2: Folding And Forming A Strip
Fold the napkin from the folded side to form a strip over it.
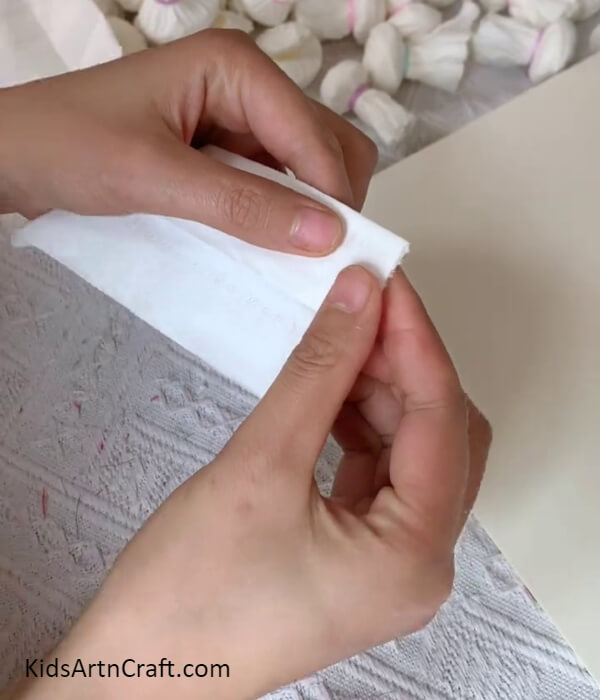
Step 3: Folding The Corner Slantingly
From the folded corner of the tissue, fold it slantingly 2-3 times to make a thin tilted strip over it.
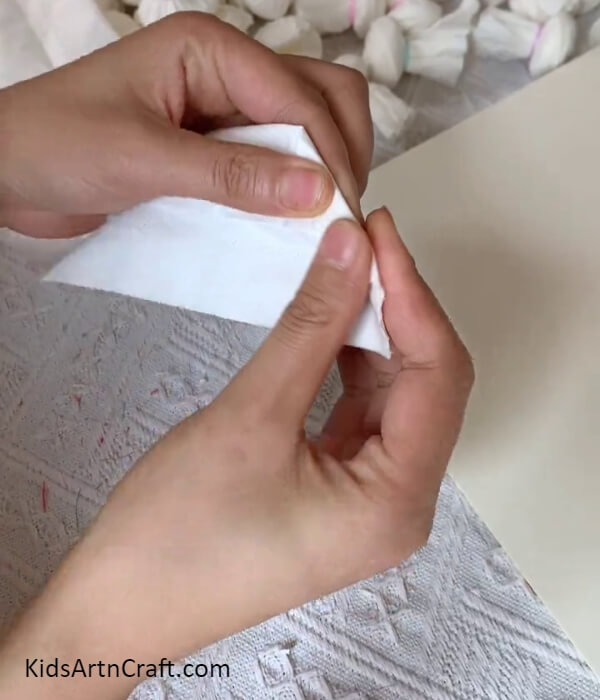
Step 4: Forming A Rose

Roll over your tissue along the tilted strip. After reaching the end of the tilted strip make a slight fold over the tissue to fold the upcoming part inward and continue rolling, then again fold it inward and roll again. Follow the same step to fold inward and roll again and again to complete the tissue and form a rose.
Step 5: Securing The Rose With Plastic Rubber Band
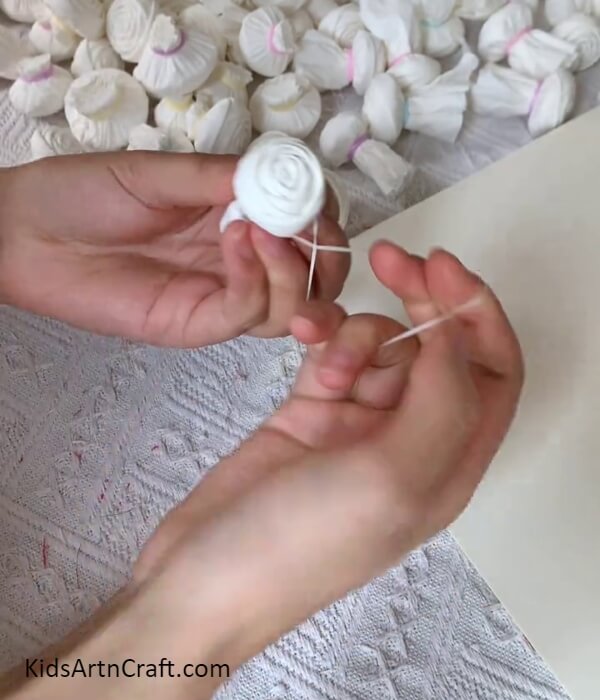
Using a plastic rubber band, secure the folds of your rose by applying it over the extra tissue part beneath the rose.
Step 6: Applying Hot Glue
Using scissors, cut out the extra part of the tissue but only that much so that you have enough extra parts in the rubber band. Now, using the hot glue gun, apply hot glue at the bottom base of the rose.
Step 7: Sticking The Rose Over The Base

Take a white paper sheet as the base for your craft and stick the rose over it in the middle from the hot glue you applied.
Step 8: Making A Heart Shape From Roses

Following the same procedure as before, make more and more roses from the tissue. Now, one by one paste the roses over the base to form a heart shape in the landscape view.
Step 9: Spray Painting The Roses’ Heart
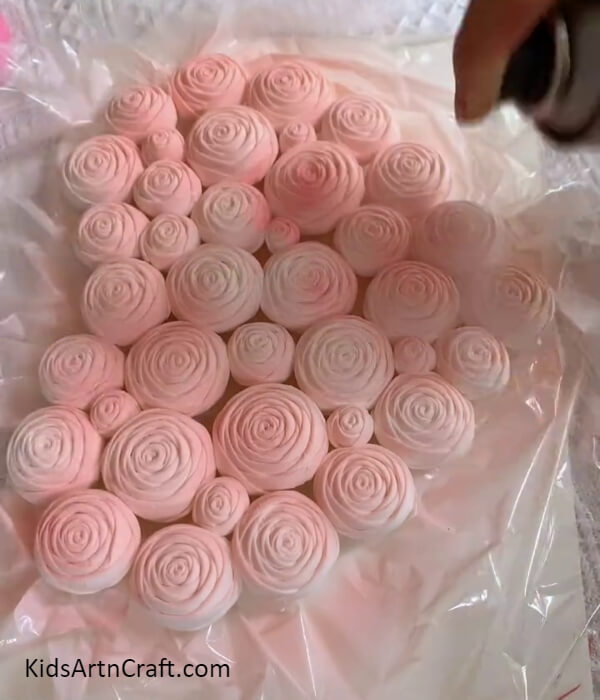
Fill in the heart shape with tissue roese over various sizes to cover up the gaps too. Now, take a peach color spray paint and paint the heart of roses.
Step 10: Coloring The Heart With Blush
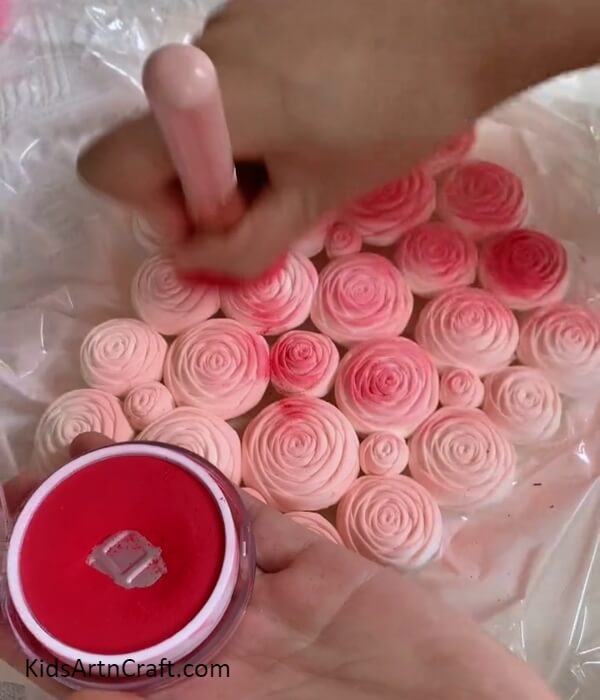
Using the blush brush, paint the roses from the top using red powder blush.
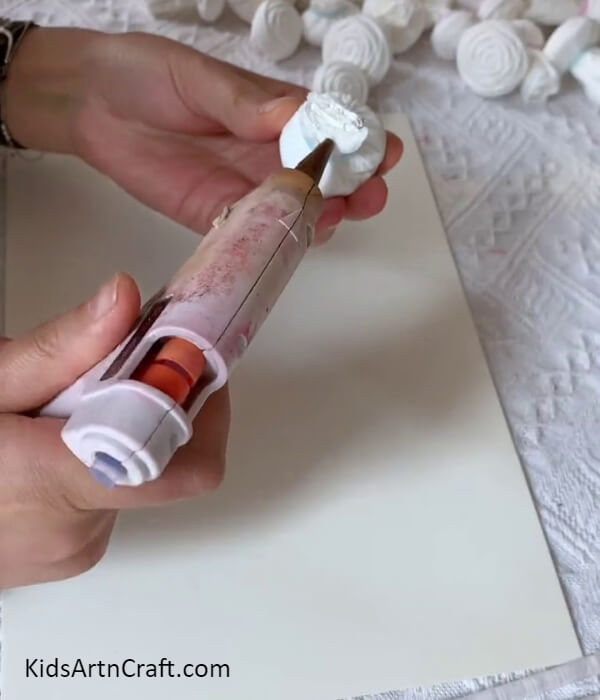
Step 11: Taking Craft Pearls And Apply Hot glue
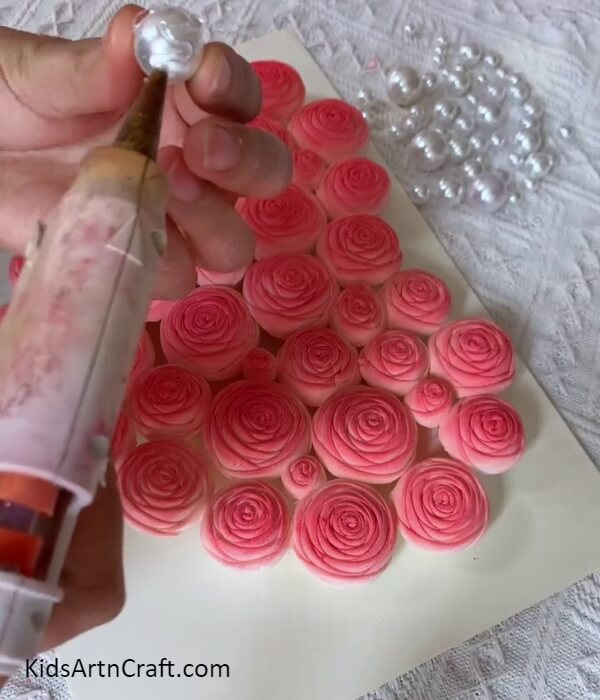
Take some various-sized craft pearls and apply hot glue onto them to stick them over.
Step 12: Sticking The Craft Pearls
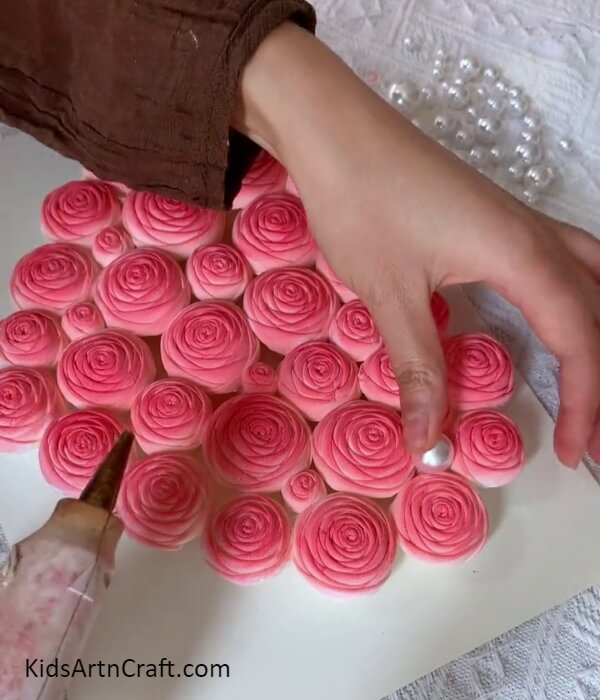
Paste the craft pearls onto the gaps and joints between the roses randomly using the hot glue.
This Is The Final Look Of Your Heart Of Roses Frame!
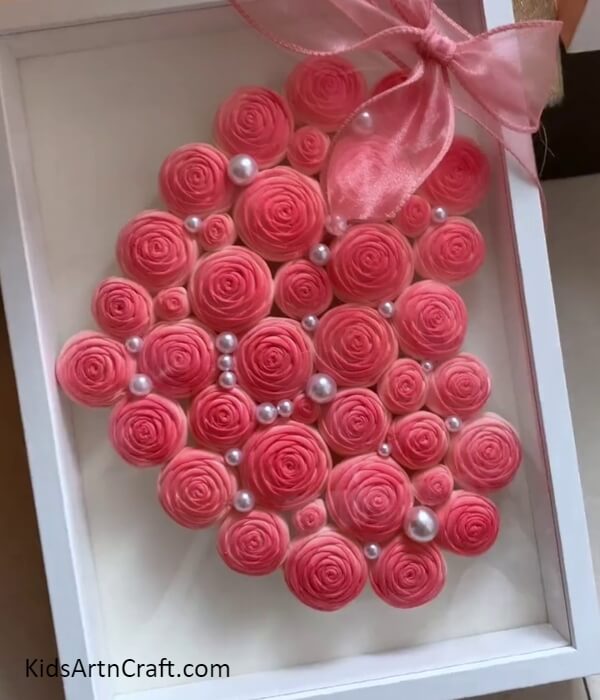
For the last step, put the craft in a white frame. Also, tie a red net ribbon on top left corner of thr frame and make a bow.
Yes! You did it! You have finally created your fantastic frame decor craft!
This craft is perfect to make as your own budget-friendly and expensive-looking craft for your home! You can even use this craft as a gift for your loved one! They will surely love it and it will bring a smile to their faces! And the best part is, they won’t know that this frame is very cheap and made by you! Well, that’s your choice, you can even flaunt your crafting skills in from of them by telling them you made it!
We are hoping you liked this amazing craft idea! Do give it a like and share as much as you can! Also, give your feedback in the comments section, we would love to hear from you!
Follow us on Youtube for art and craft tutorials and much more.
More Articles from Kids Art & Craft
- Ice Cream Stick Trolley Model Craft Tutorial For Beginners
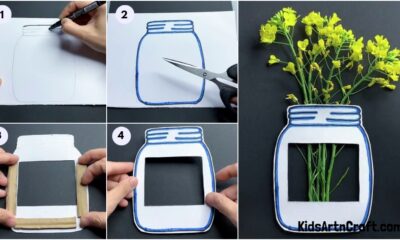
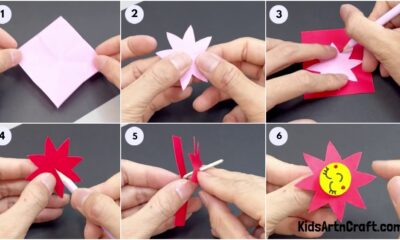
- Pretty Straw Flower Bouquet Craft Tutorial For Kids
- DIY Ribbon Flowers Craft Step-by-Step Tutorial For Beginners
- Plastic Straws Flower Making Craft Tutorial For Kids
- DIY Wash Sponge Teddy Craft Step-By-Step Tutorial For Kids