Paper Crafts
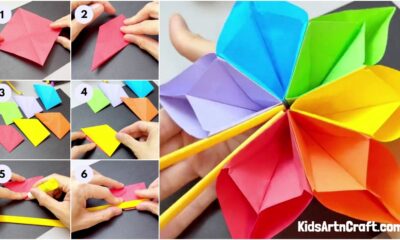
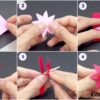
Easy Paper Origami Boat Step-by-step Tutorial For Kids

This step-by-step tutorial will show kids how to make a unique paper origami boat. With easy-to-follow instructions and illustrations, kids can learn to make an origami boat in no time!
Boats are a medium of transport used to travel in water. They are used for transportation, traveling, and recreation as well. Traditionally made of wood, they are made to move in waters using an oar. This tutorial brings to you an origami-inspired particular object. We will be making a unique boat origami using a sheet of paper. That’s it, a single sheet of paper. So, get ready with this sheet of paper and some great folding skills. Let’s go.
Unique Paper Origami Boat For Kids
Read More: Summer Paper Fan Step-by-Step Tutorial for Kids
Material Required
- A square-shaped sheet of floral-printed wrapping paper
Procedure
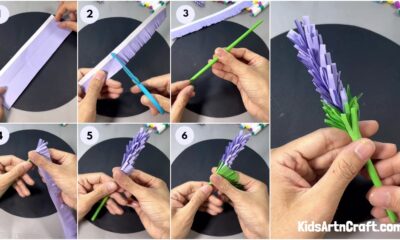
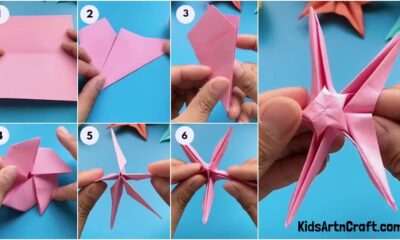
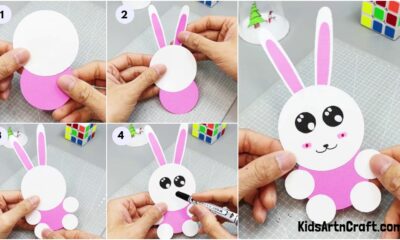
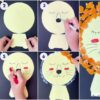
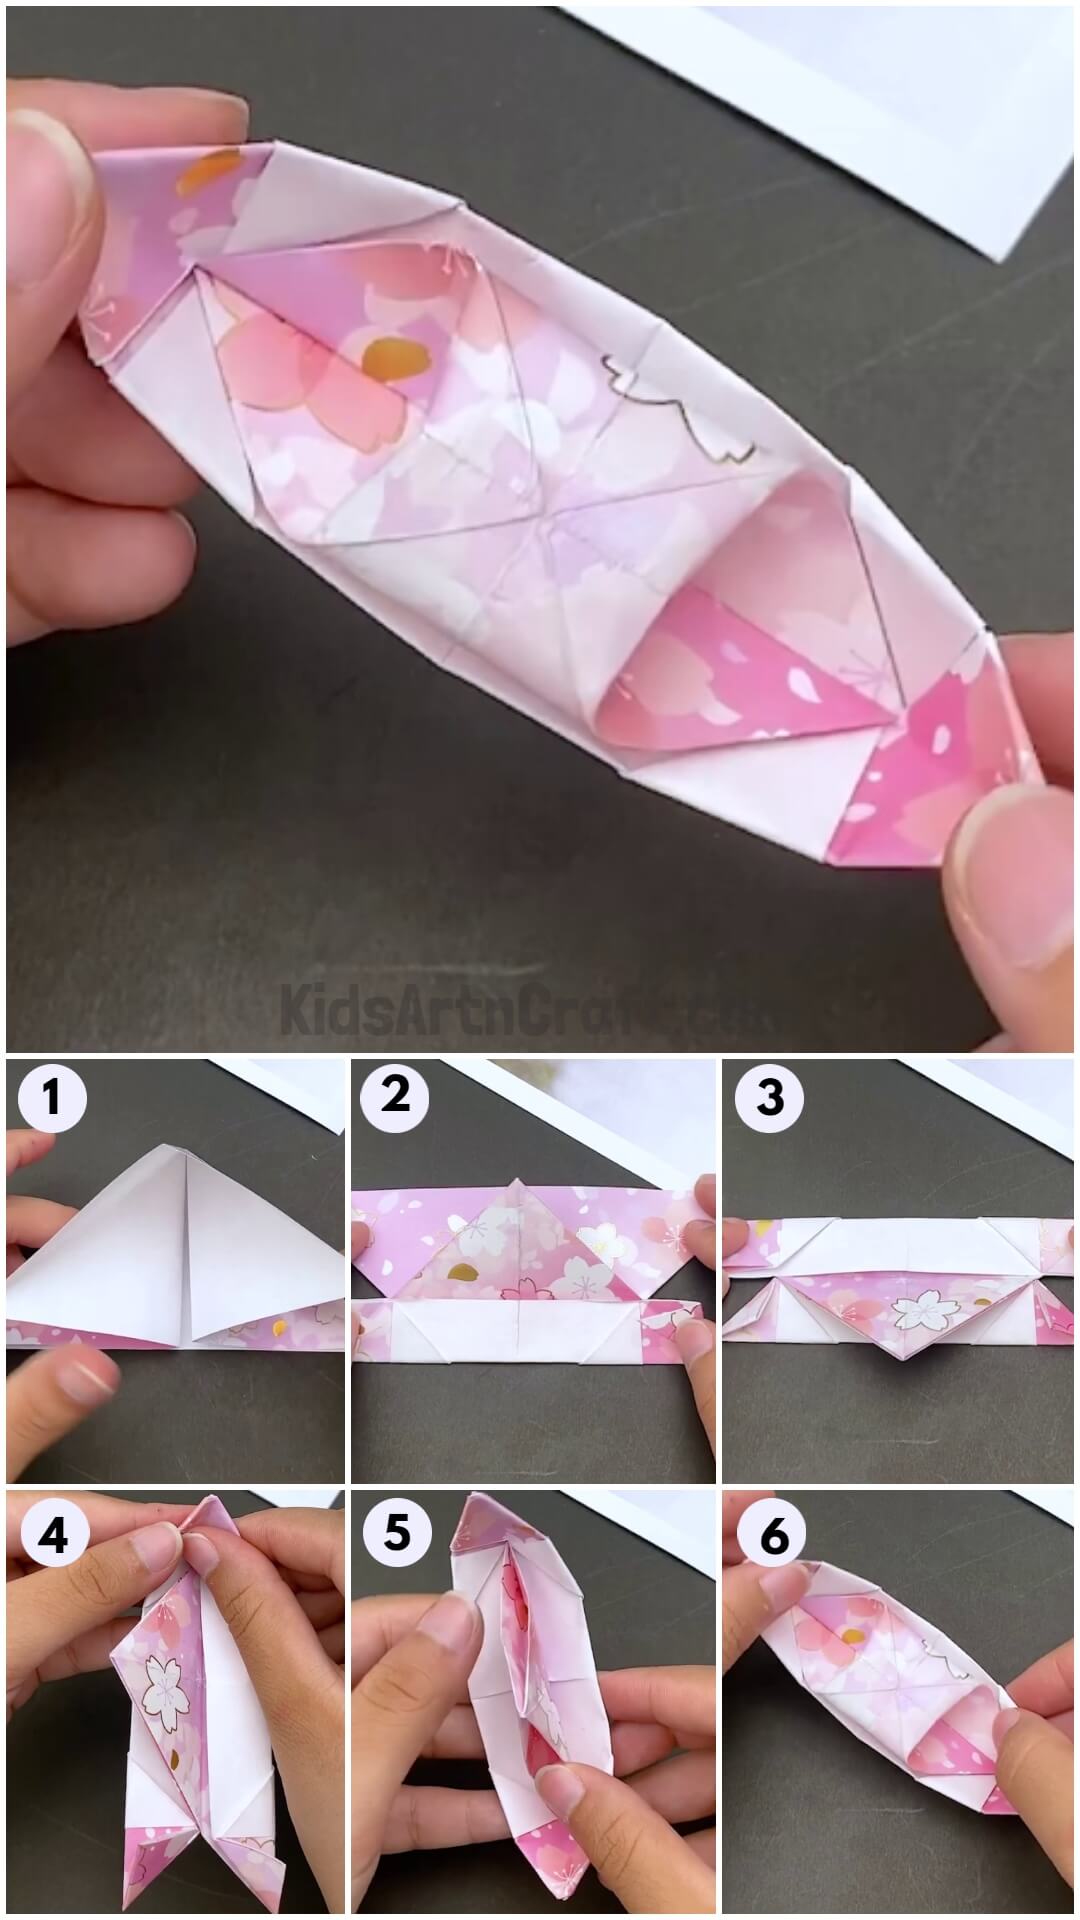
Step 1: Making Fold Marks On The Sheet Of Paper
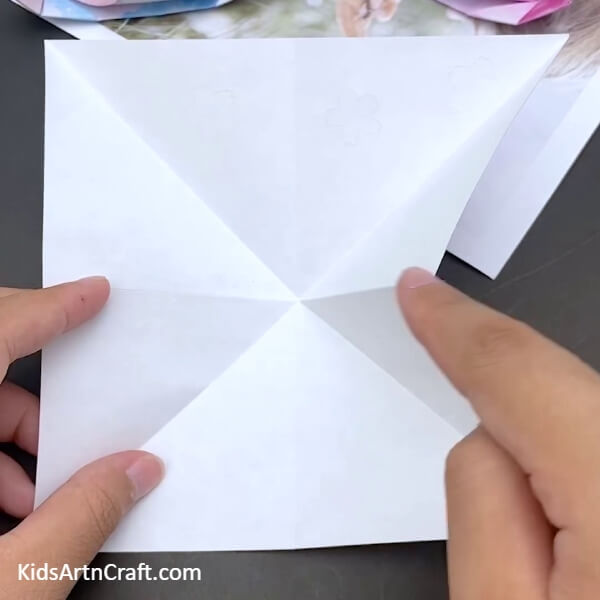
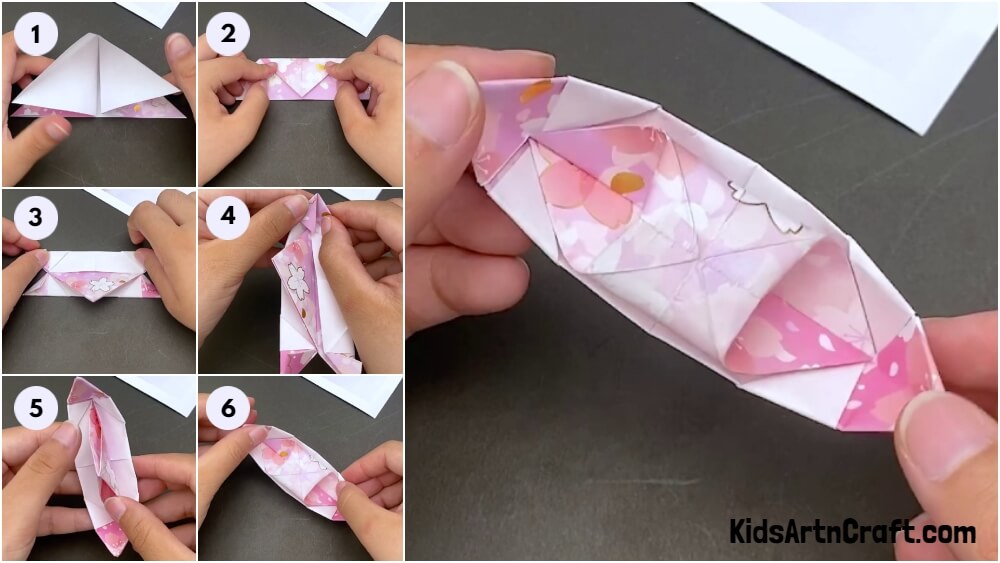
Take the wrapping sheet and place it on the table turning the inside white side on top. Make a fold on one corner by dragging it to the opposite corner. Repeat the process on the rest of the two opposite corners as well. Finally, make a fold in the middle of the sheet, this time on the floral side of the sheet. See the marks on the sheet in the image below for reference.
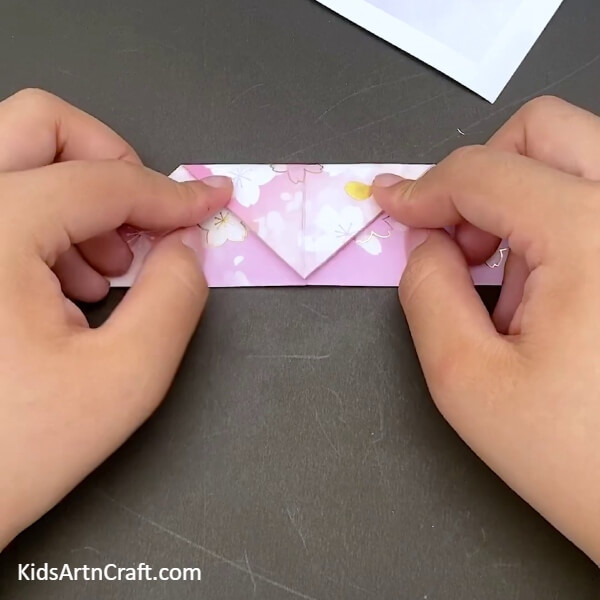
Step 2: Folding The Sheet On The Lines On The Folds Made Earlier
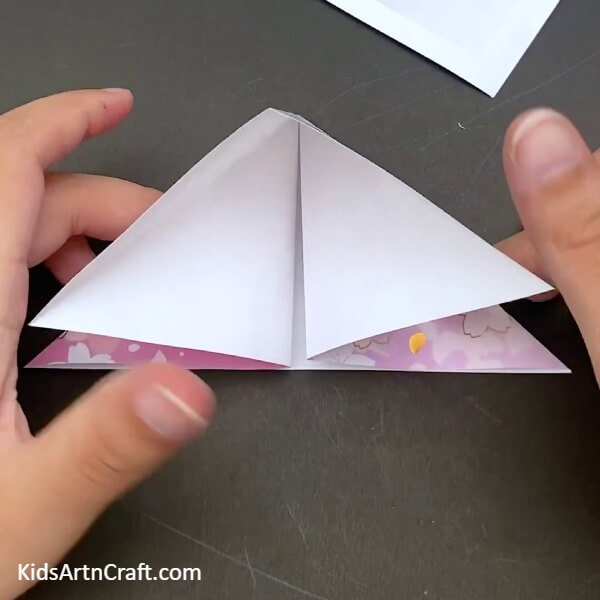
Make a fold on the sheet following the marks of the triangles on the sides made by making folds earlier. Placing your index fingers on the corners of these triangles, push them inwards aligning them with the baseline and making the next to each other. Now, flatten the sheet connected to it lying above these folds. The sheet should now resemble a triangle as shown in the picture below.
Step 3: Making A Small Fold At The Top Of This Triangle
Make a fold on the top corner of the triangle by dragging it up to the base of the triangle. See the picture below for reference.
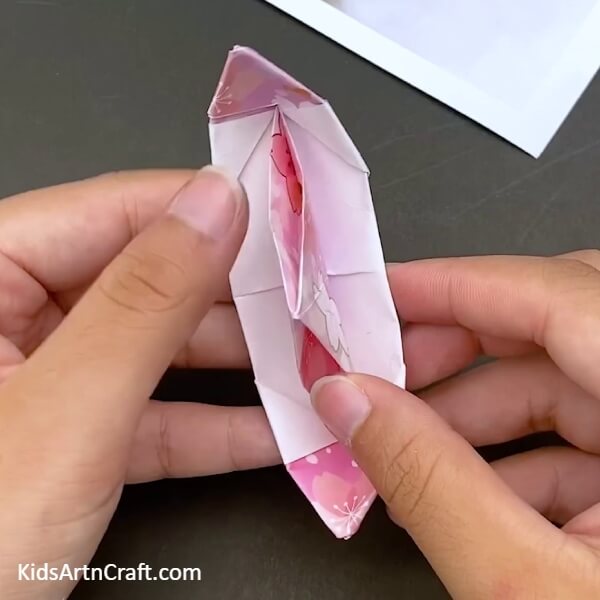
Step 4: Opening The Insides Of This Shape
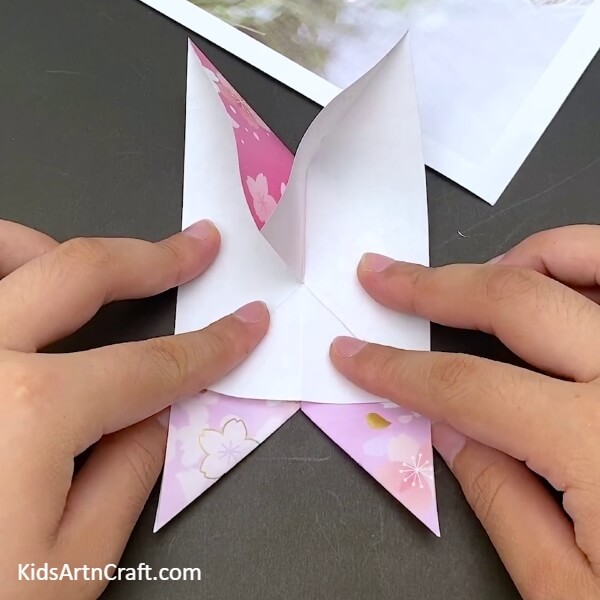
Hold all the corners and stretch them out to reveal the intricate design inside. Fold the part of the sheet standing out in the middle line of the shape at the bottom portion of the shape. It needs to be folded into a triangle. See the picture below for reference.
Step 5: Repeating The Process On The Top Section
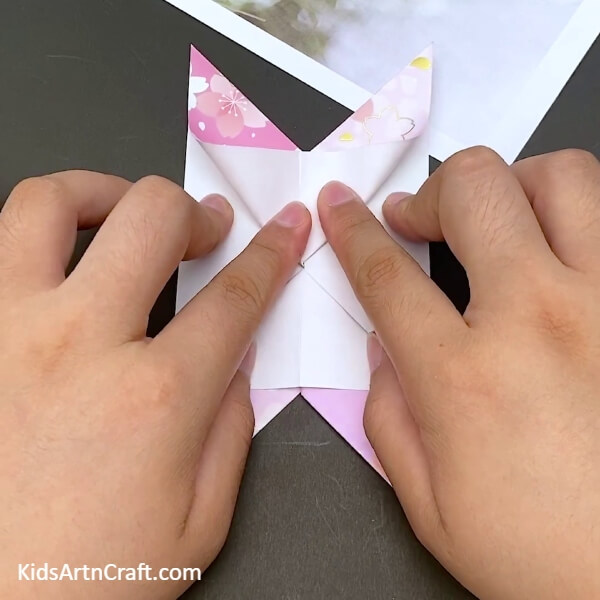
Repeat this process on the part of the sheet standing out in the middle line at the top section of the sheet as shown in the picture below.
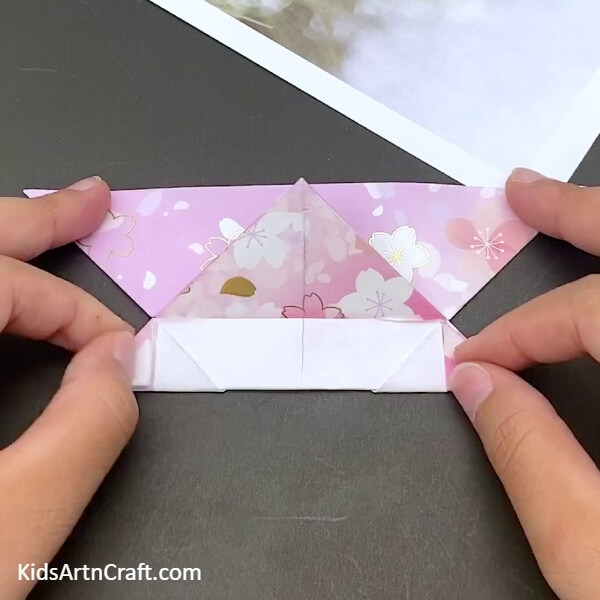
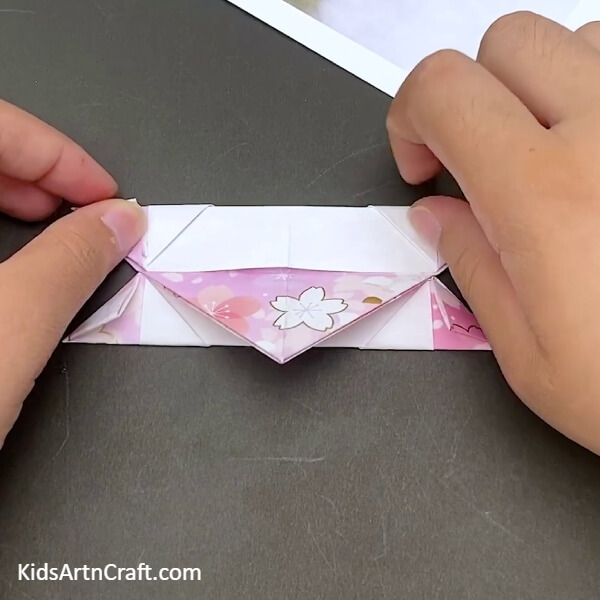
Step 6: Turning The Shape Upside Down
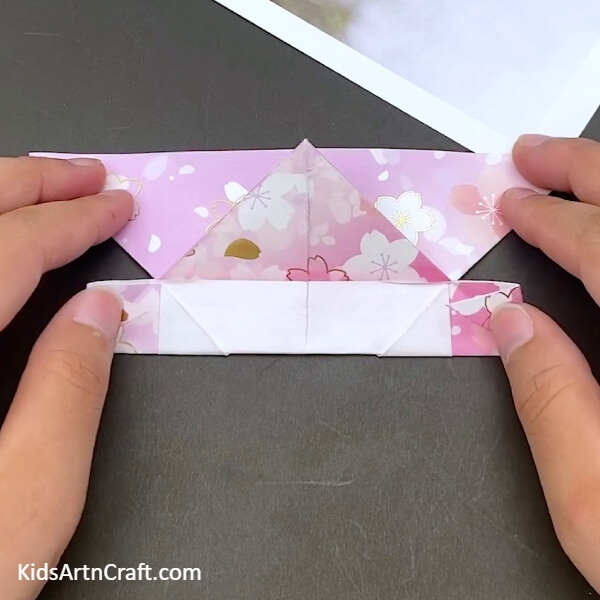
Turn this shape upside down on the table and you will see a triangle made in the middle of this side. Fold the sheet below this triangle horizontally making it half in size. Now, fold the corner on the right into a triangle and do the same to the other corner as well. See the picture below for reference.
Step 7: Making Another Triangular Fold
Make another fold to these same folds making them triangles and pointing downwards. See the picture below for reference.
Step 8: Folding The Big Triangle In The Middle
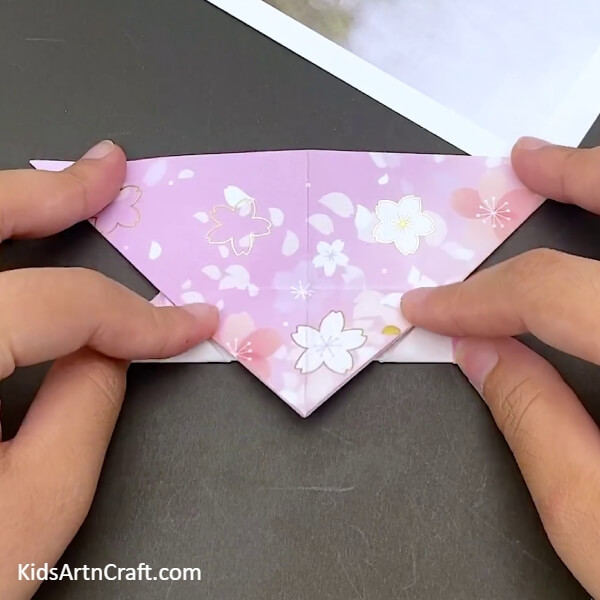
Take the big triangle lying in the middle and fold it onto the bottom side of the shape as shown in the picture below.
Step 9: Making A Horizontal Fold On The Top Part Of The Sheet
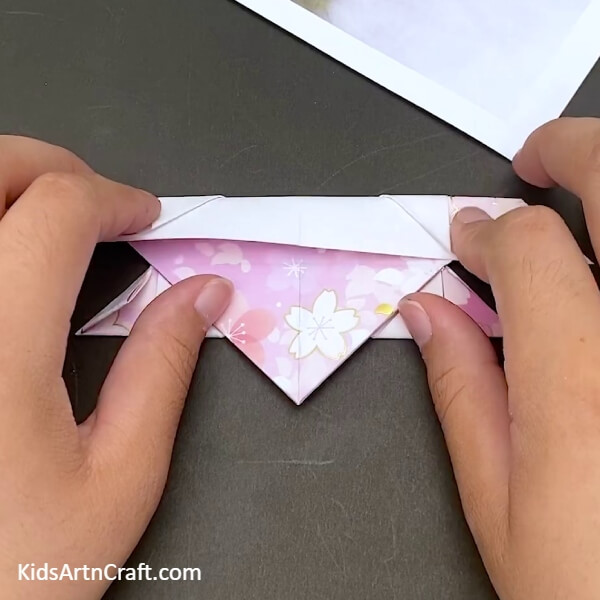
Fold the sheet lying above the big triangle in the middle. This fold should also be made horizontally. See the picture below for reference.
Step 10: Making Small Folds On The Corner
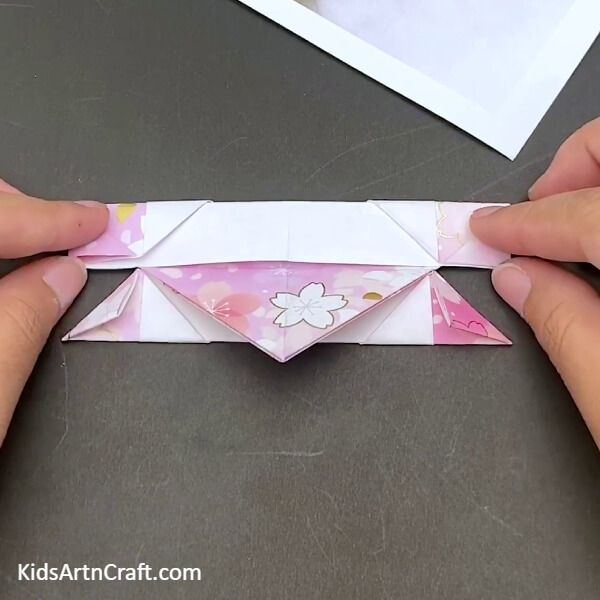
Make a tiny fold on the two corners of this side of the sheet. See the picture below for reference.
Step 11: Making Another Triangular Fold To This Corner
Make another fold to both the corners resembling a triangle with their corners pointed downwards. See the picture below for reference.
Step 12: Making The Sides Stand
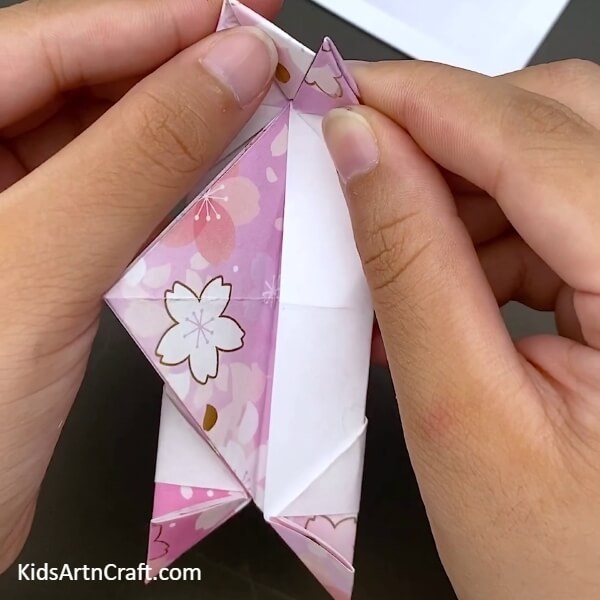
Hold the shape in your hands and open the last small fold you made. Fit the other corner of the side next to it into the open fold as shown in the picture below.
Step 13: Folding The Corner Back
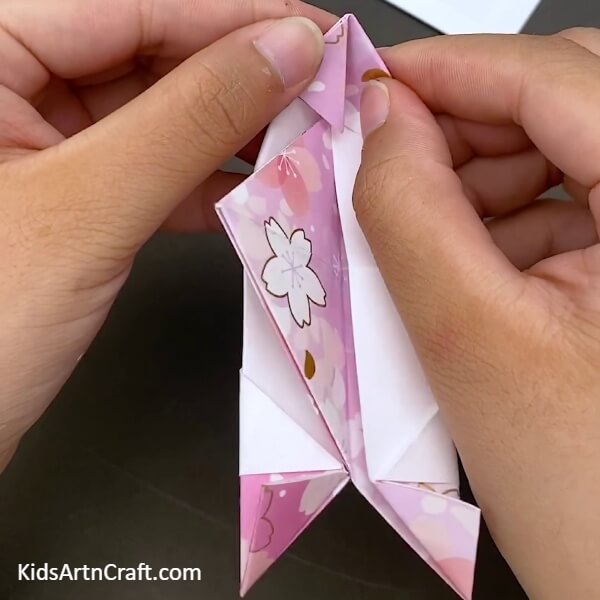
Make the fold back and press it down to seal the two corners together. See the picture below for reference.
Step 14: Pressing Down On The Sides Of These Connected Corners
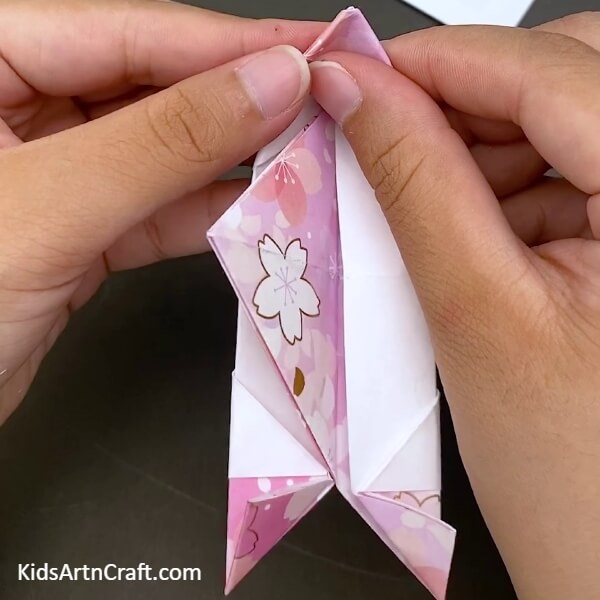
Press down on the sides around these connected corners with your fingernails. This will seal the shape and make the boat stand.
Step 15: Sealing The Corners Of The Other Side As Well
Repeat the previous three steps on the other side of the shape as well to make the boat structure complete and standing. See the picture below for reference.
Step 16: Fixing The Triangle On The Top
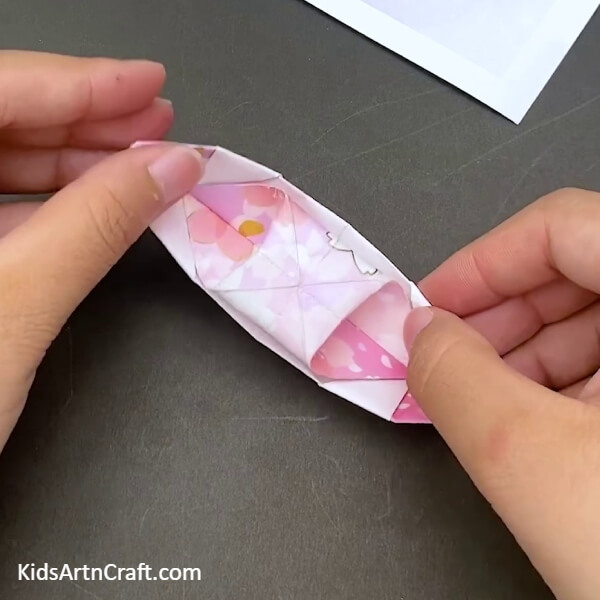
Insert your fingers in the pockets on the two sides of the triangle in the middle and stretch them out. Pull the two opposite sides of the pocket which will make the triangle shape change into a flat surface a little elevated from the surface of the boat in the middle. See the picture below for reference.
Unique Paper Origami Is Ready!!
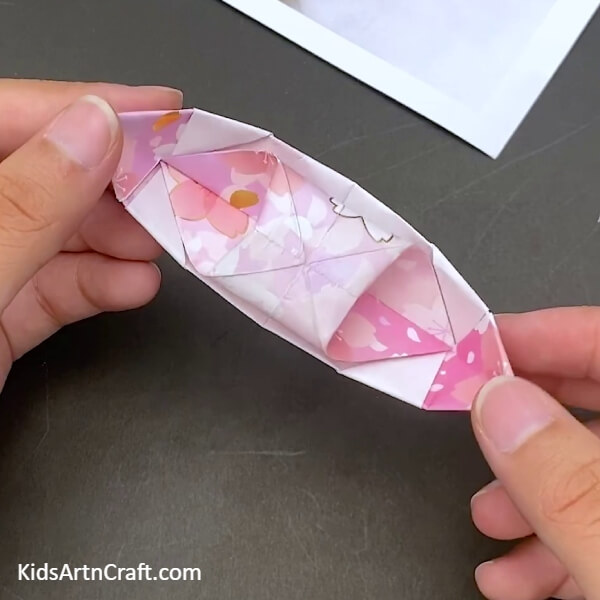
Press down on the sides of this elevated flat surface in the middle to perfect the shape desired.
Our little boat with a roof in the middle is ready. You can hang it in your room or play boat racing with your friends. You learned very intricate folding techniques in this tutorial which can form a great basis for your origami skills. Keep practicing these skills and keep making such amazing and unique art and craft. See you in many more tutorials to come. Till then, good luck and goodbye.
Follow us on Youtube for art and craft tutorials and much more.
More Articles from Kids Art & Craft
- Learn To Make Easy Heart Shaped Paper Mouse Craft
- Handprint Paper Rocket Craft for Kids
- How to Make Easy Paper Snowflakes Tutorial
- DIY Paper Crafts Video Tutorial fo All
- DIY Bird Nest Paper Craft For Kids