Kids Activities
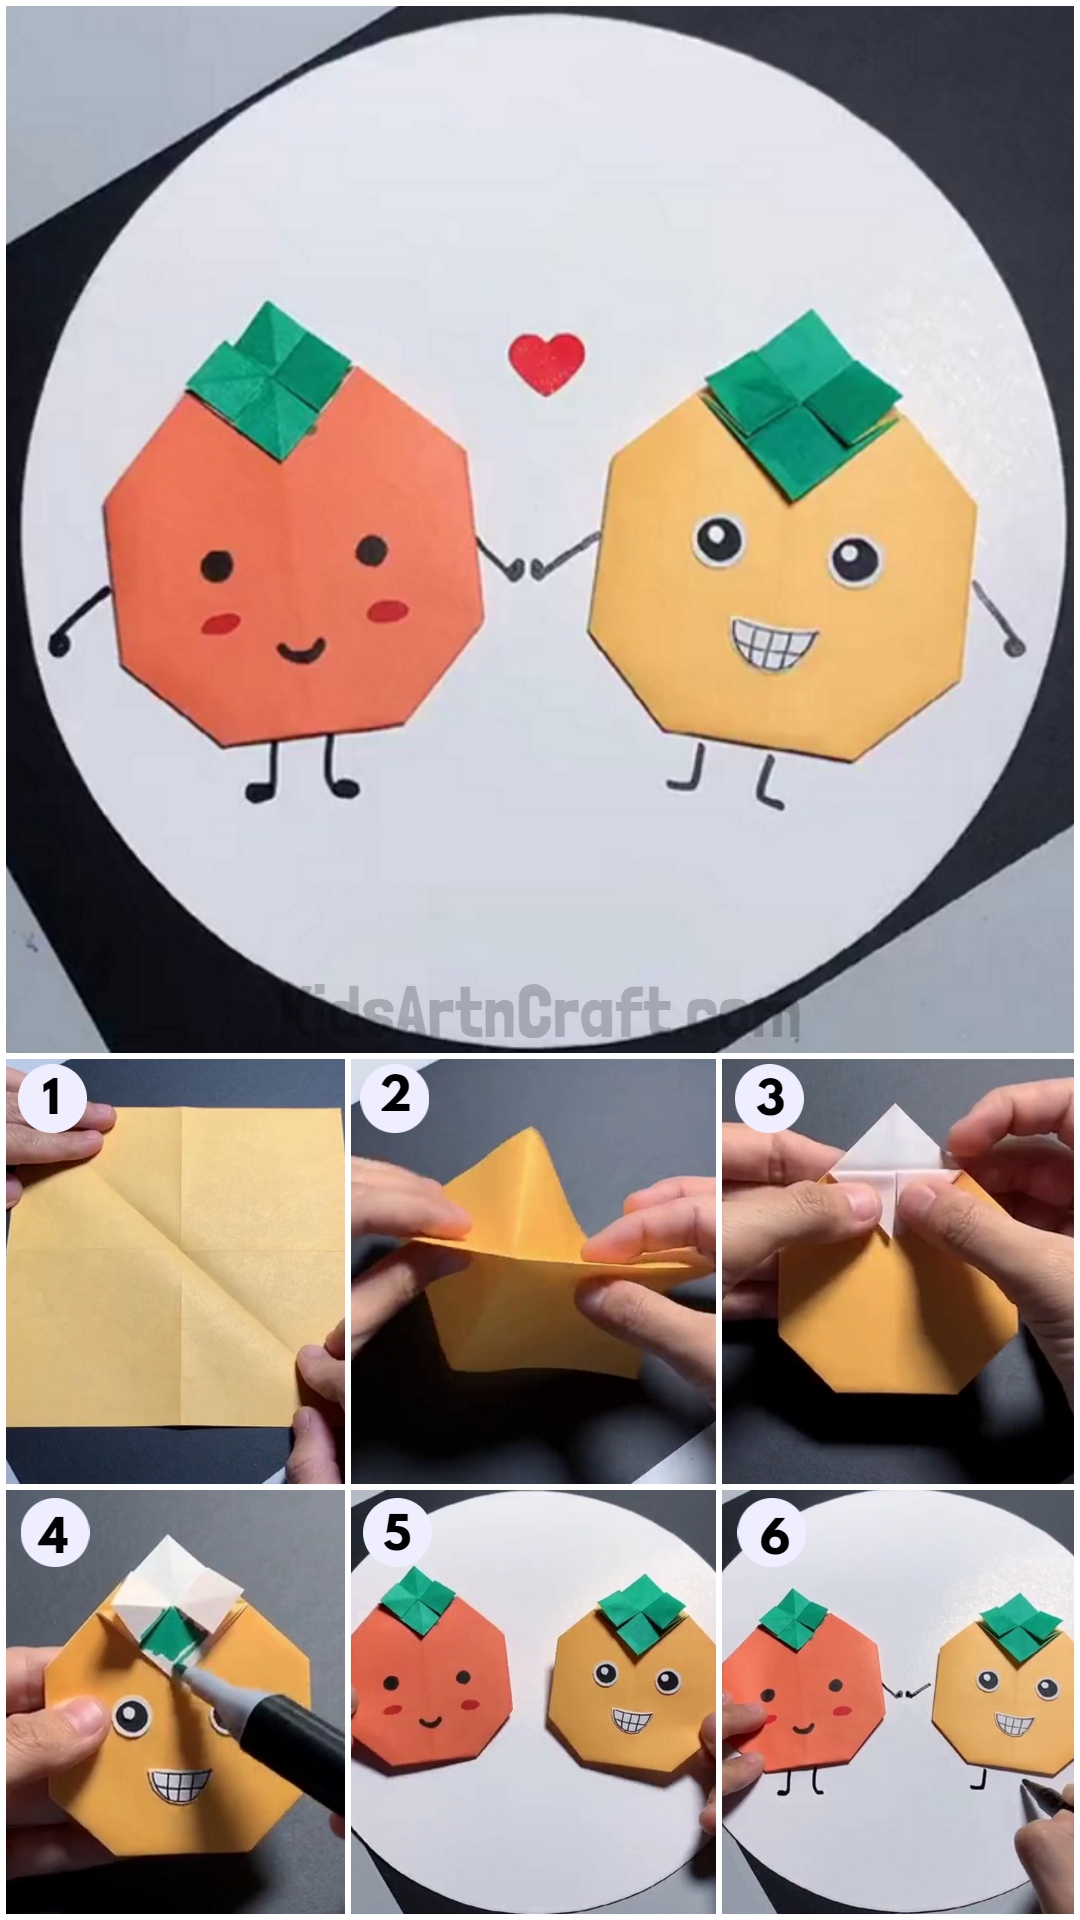
DIY Origami Fruit Using Craft Paper For Kids

This DIY project is perfect for kids of all ages! Learn how to make origami fruit using craft paper. Easy step-by-step instructions will help you create fun and creative designs for your home or classroom. Get creative and let your kid unleash their inner artist!
Welcome to the amazing world of DIY origami fruit for kids using craft paper! If your children adore origami and crafts, this guide is the ideal creative outlet for them. Origami, the art of folding paper, combined with the beautiful topic of fruits, is a fascinating and engaging activity that will capture the minds of children.
In this guide, we will look at an origami fruit project that is simple to make and appropriate for children of all ages. Children may learn to fold colorful craft paper into gorgeous fruit forms. This craft not only provides hands-on crafting opportunities, but also promotes creativity, fine motor skills, and spatial awareness. So take your craft paper, unleash your creativity, and get ready for some fruity fun! Join us on an adventure of folding, molding, and making gorgeous origami fruit.
How To Make An Origami Fruit Using Craft Paper

Read More: Amazing Creative Craft Ideas from Paper Video Tutorial for Kids
Materials Required
- A Paper Suitable For Origami
- Colored Marker(Green & Black)
- A Whitener
- Colored Sheet Of Paper(Black & White)
Procedure
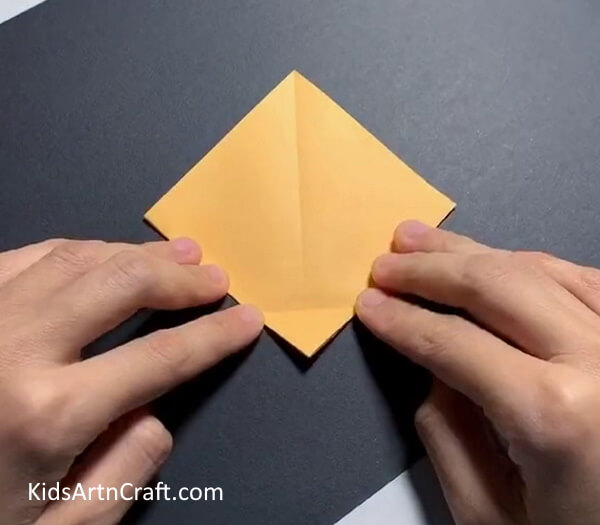
Step 1: Taking a Squared Shape Paper

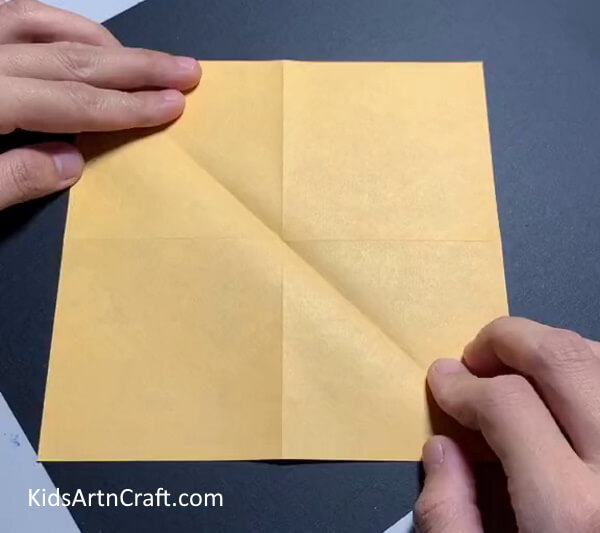
Take a square-shaped sheet of paper, and notice the crease in the image given below.
Step 2: Folding It As Per The Crease

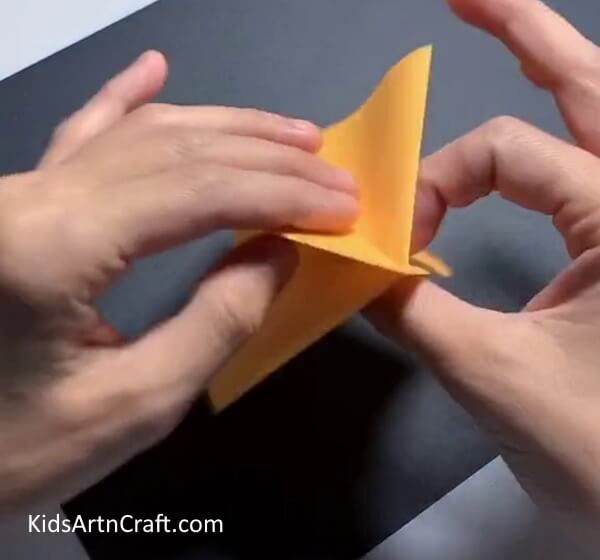
Firstly fold it into the shape of a triangle.
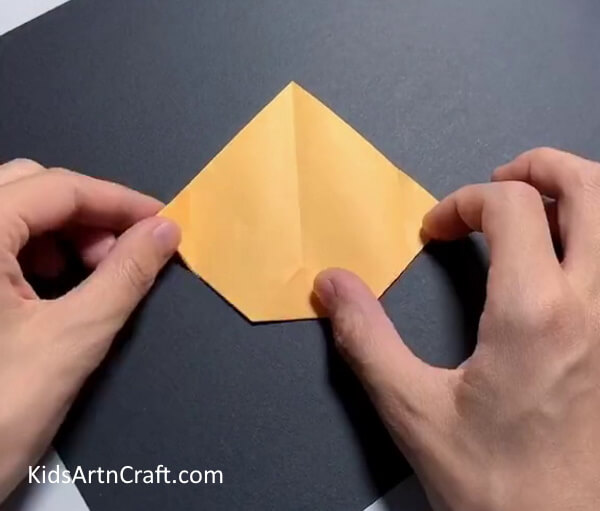
Step 3: Furthering Fold As Per Crease

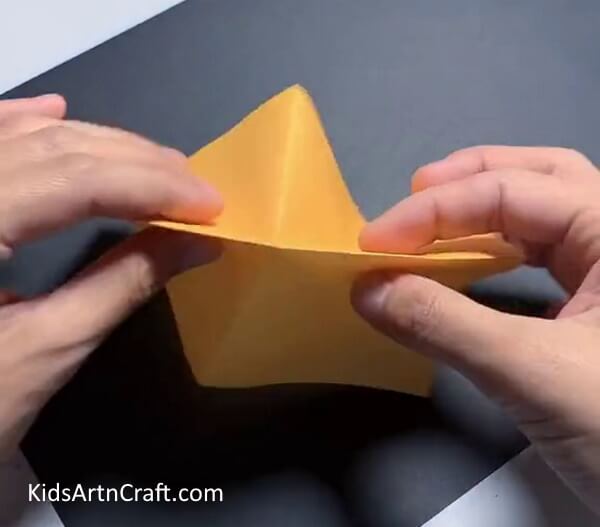
Then, you are supposed to take the edges of both sides of the triangle and fold them inwards, overlapping the first side of the triangle.
Step 4: You Will Get a Diamond-Like Shape

After you follow the above step, you will get a shape similar to the image shown below.
Step 5: Folding The Lower Edge Inwards

Now, fold the lower edge inwards, and make sure that the fold is small.
Step 6: Bringing The Edges On The Side Inwards Too

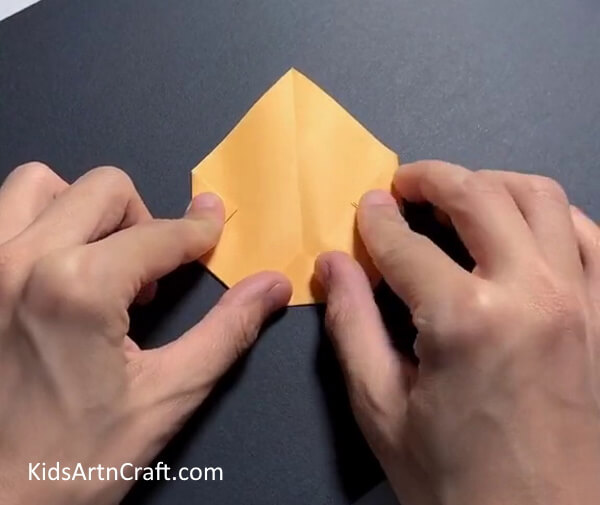
Now, you are supposed to take the edges on the sides inwards too.
Step 7: Turning To The Other Side And Fold

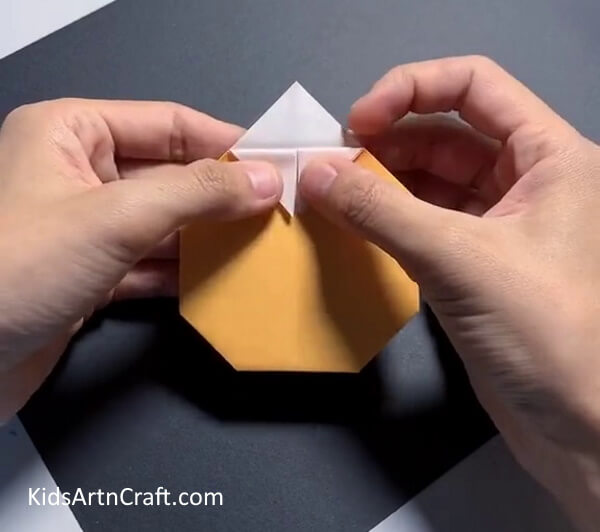
Next, flip the whole design to the other side and then bring the edges on the top, downwards by making a small fold.
Step 8: Taking The Folded Portion Up And Then Press On The Crease Formed

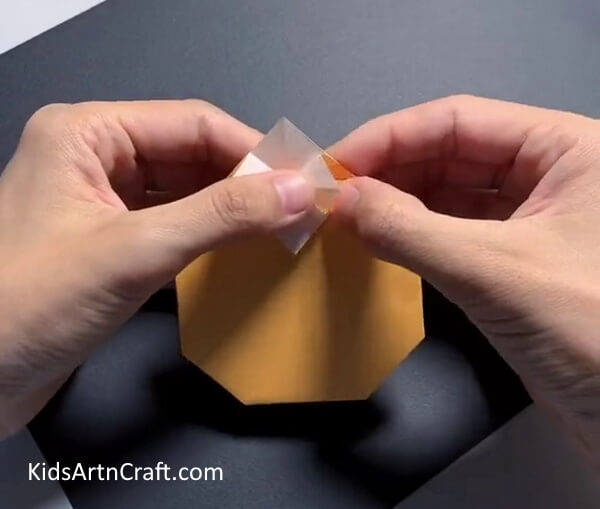
Once you follow the above step, you will notice a crease formed on the upper side of the fold, you are supposed to take the whole fold up and press the outlining crease.
Step 9: The Shape So Formed

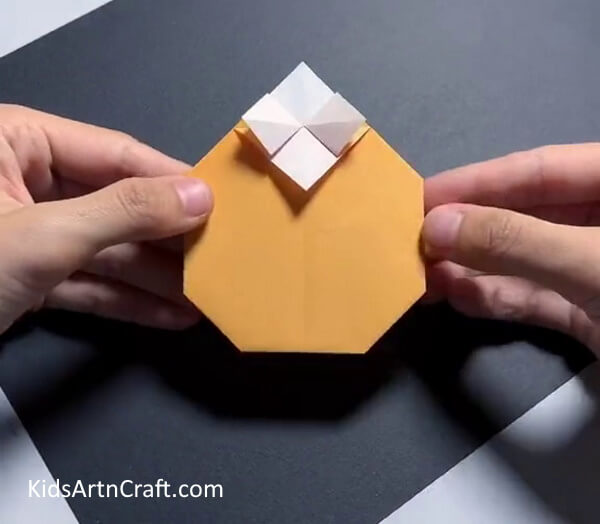
By following the last step, you will get a shape similar to the one given in the picture below.
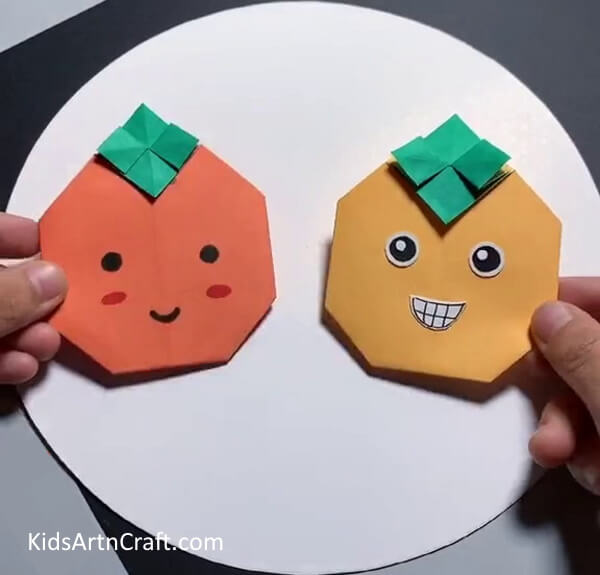
Step 10: Adding Eyes

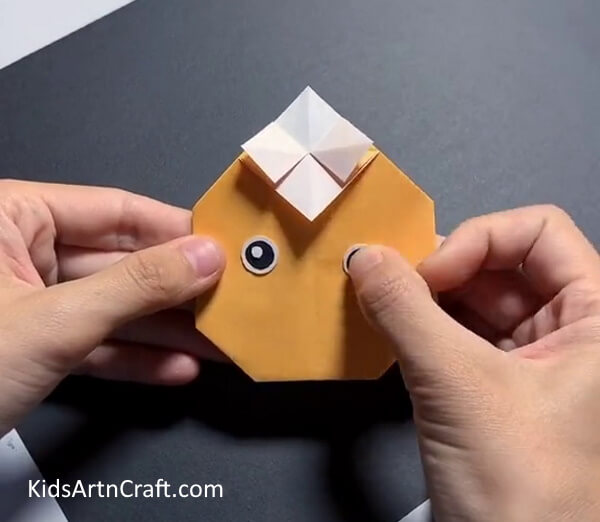
You can create eyes by cutting circles out of a white sheet and drawing a circle on it using a black marker and then making another smaller circle using a whitener. these are going to be the eyes of the fruits, paste them on the fruit. Also, cut the shape of a smile from a white-colored sheet of paper and using the marker, create the teeth of the fruit for an animated effect.
Step 11: Coloring The Top Folded Portion

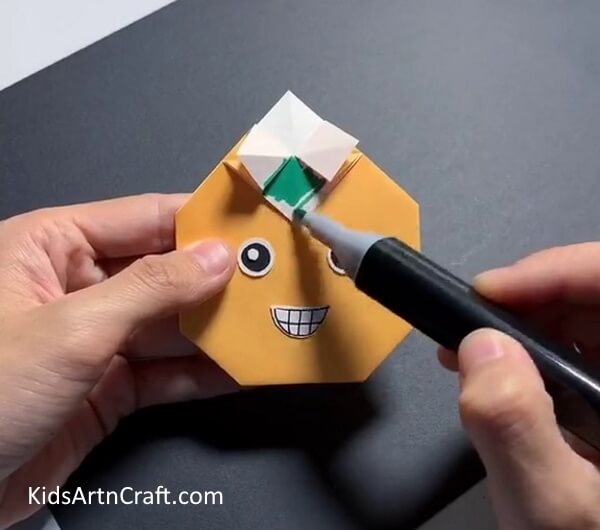
For this step, you are supposed to color the topmost folded white portion using the green colored marker.
Step 12: Creating Another Fruit

You can create another fruit as a friend for your first fruit by following the similar steps as given above.
Step 13: Adding Hands And Legs

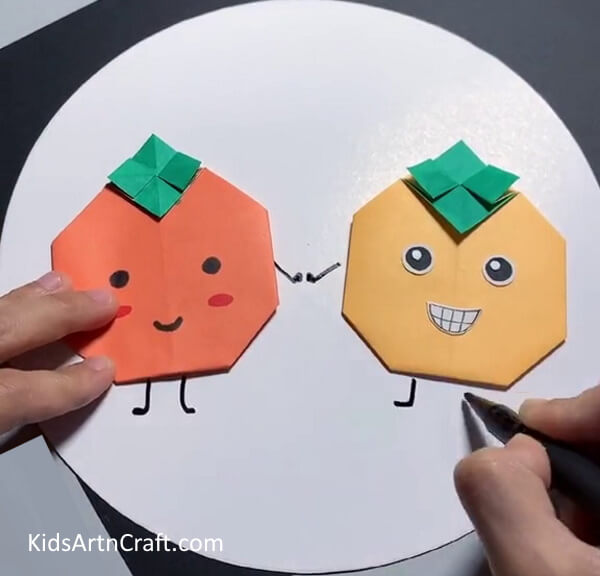
Now, add embellishments and details such as hands and legs to your fruit using the marker.
And Voila !! It Is Done!!

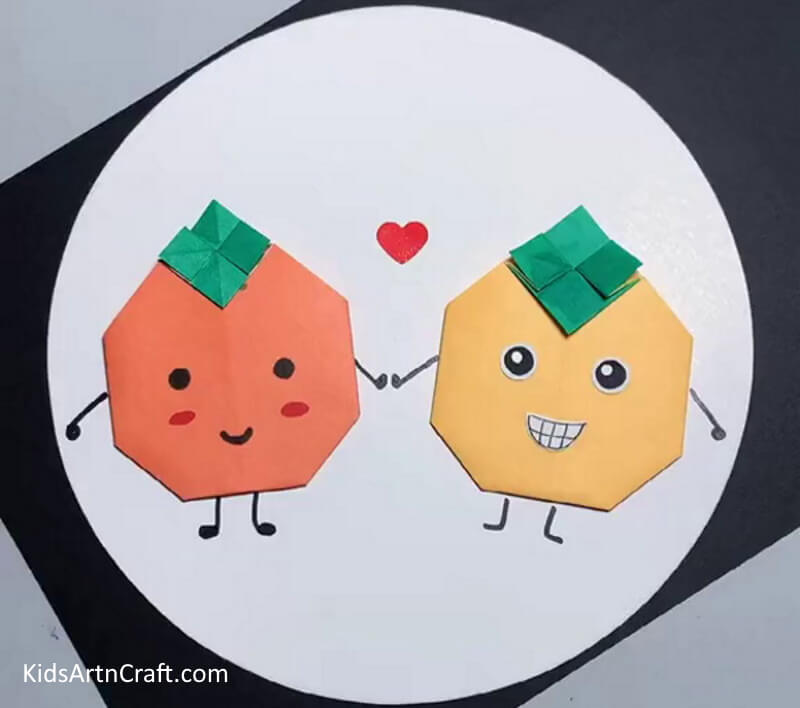
Finally, DIY origami fruit using craft paper for kids is a fun project that blends the technique of origami with the enjoyable theme of fruits. These paper fruits can be used as decorations, for imaginative play, or as meaningful handcrafted gifts for friends and family.
So, while your youngster discovers the skill of DIY origami fruit using craft paper, let the delight of origami and the bright world of fruits come together. They may go on a joyful voyage of folding and shape to build their very own fruity masterpieces with a few simple ingredients and a dash of ingenuity. Prepare to be amazed by the beauty and charm of origami fruits and see your child’s imagination grow! Do let us know your thoughts in the comment section below, until then, happy folding!!
Follow us on Youtube for art and craft tutorials and much more.
More Articles from Kids Art & Craft
- Paper Origami Frog Craft Tutorial for Kids
- How to Make Paper Sparrow in Simple Steps
- Easy to Make Paper Pineapple with Step-by-Step Instructions
- Easy Paper Robot Craft Step-By-Step Tutorial
- DIY Paper Craft Things Video Tutorial