Kids Activities
DIY Paper Bunny Craft Tutorial for kids

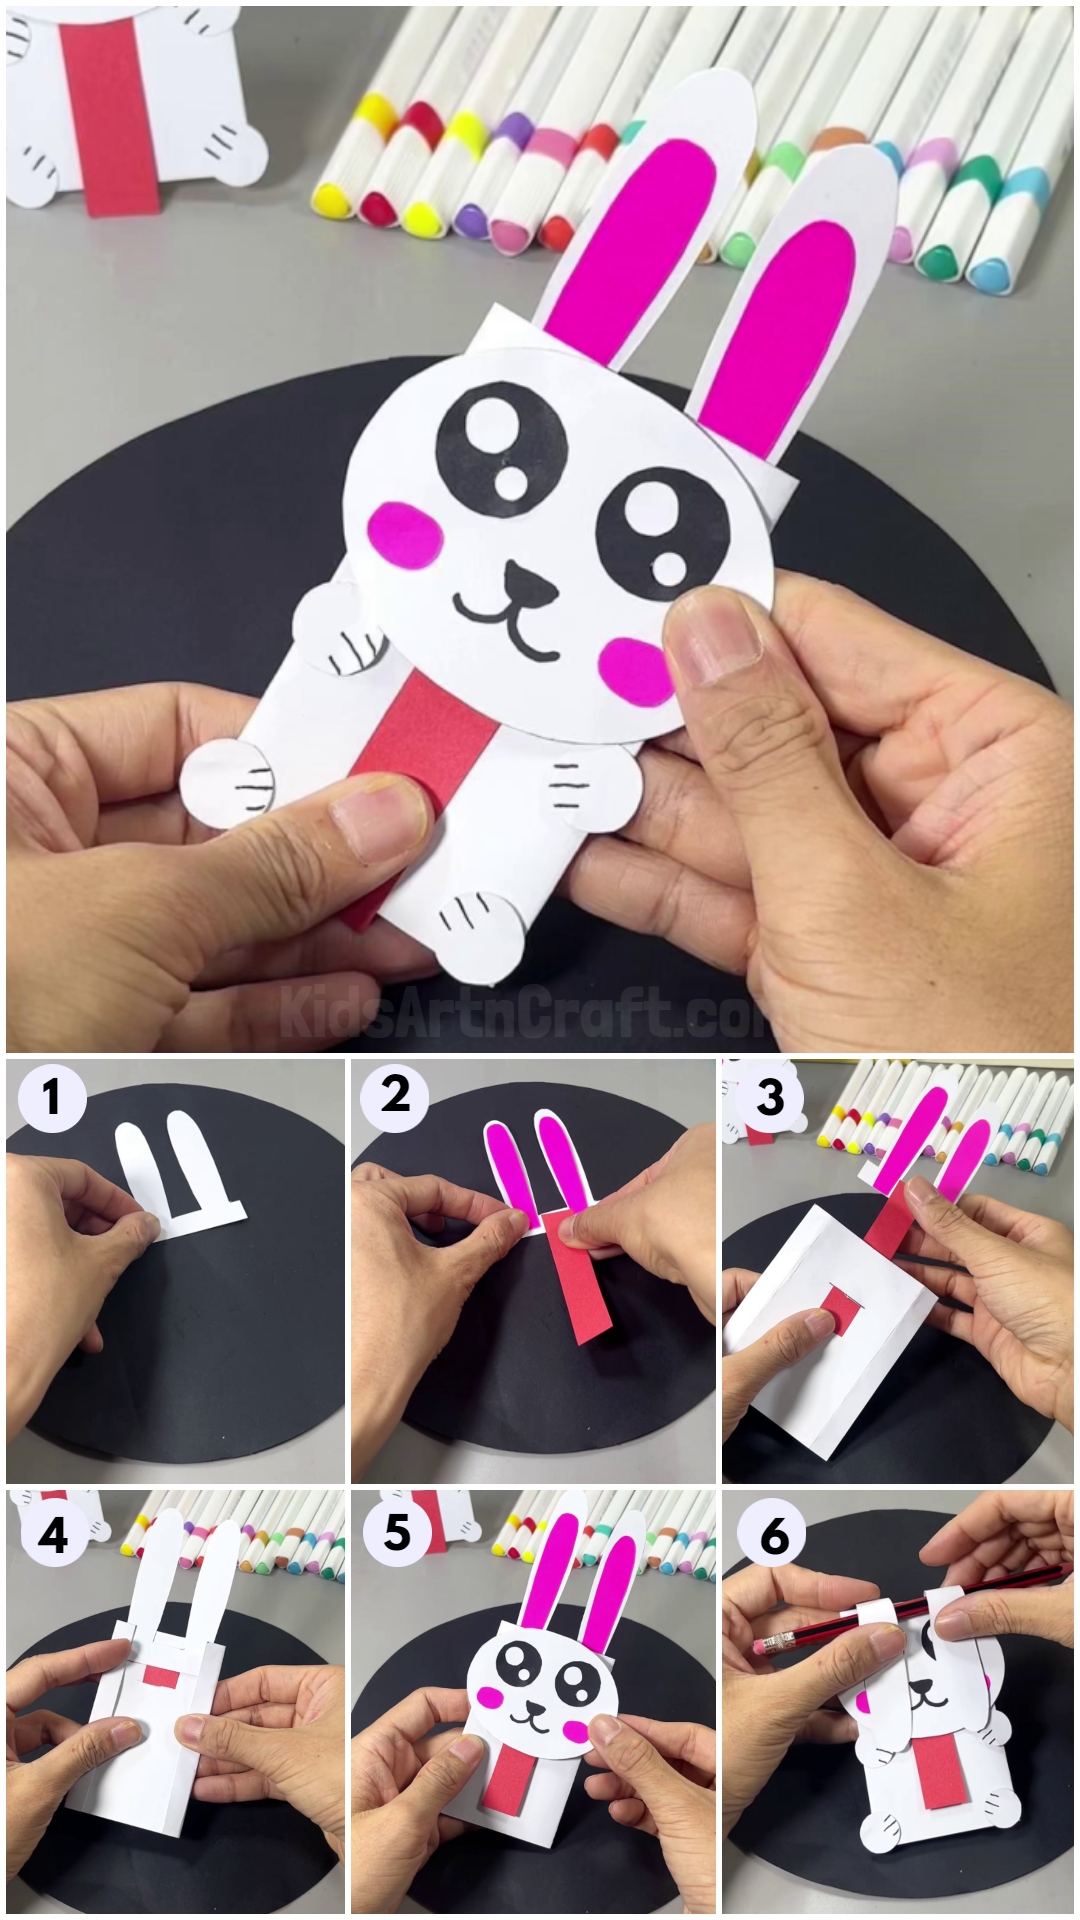
This fun and easy DIY paper bunny craft tutorial is perfect for kids of all ages! With a few simple materials, you can create this adorable Easter craft – perfect for decorating your home. Follow our step-by-step instructions to make your own paper bunny.
Looking for a fun and creative craft project to do with the kids? Look no further than this DIY Paper Bunny Craft Tutorial. It’s a great way to get the kids involved in a fun creative activity, while also helping to develop their fine motor skills. With just a few simple supplies, kids can craft a fun 3-dimensional bunny from paper. They can even make a few paper bunnies of different colors for a hopping good time. This craft is a fun and easy way for kids to get creative and express themselves. This tutorial is easy to follow and the end result is an adorable bunny that the kids will love.
Handmade Paper Bunny Craft For Kids To Make

Read More: Easy Handmade 3D Craft Ideas For Kids
Materials Required
- Colored Papers (White, Pink, Black, and Red)
- Black Marker
- Glue
- Scissors
Procedure
Step 1: Making Ears Of Bunny Using White Paper
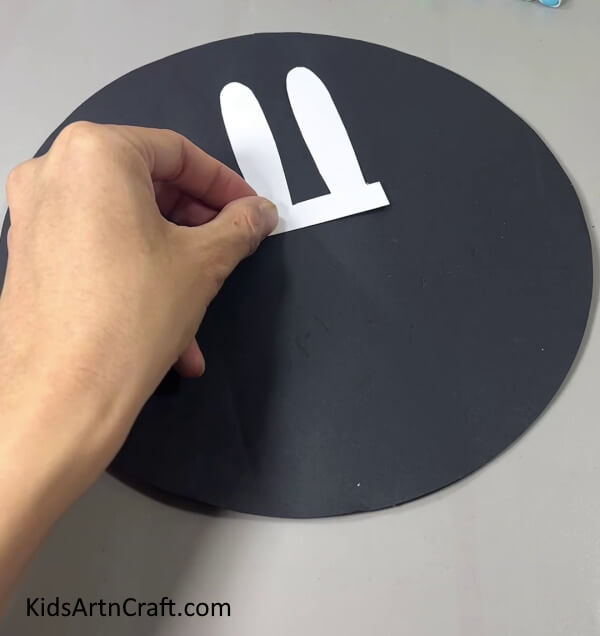

To start, cut a long rectangle and two ear shapes out of white paper. Paste the two paper ears on the top edge of the rectangle using glue.
Step 2: Pasting Pink Paper On Ears
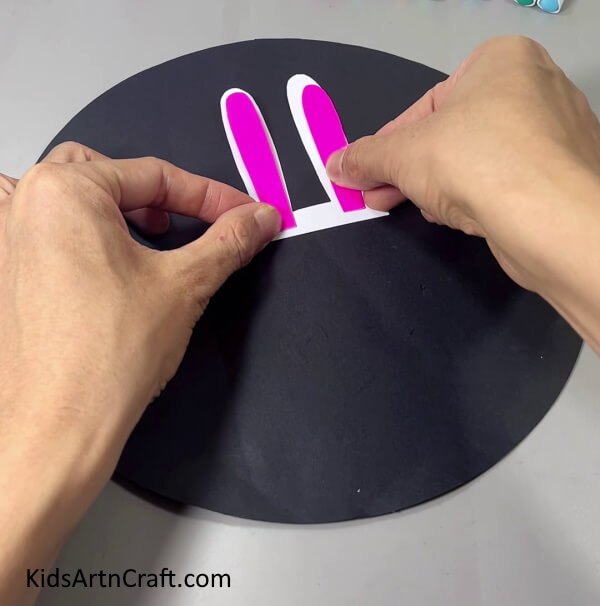

Cut out pink paper ear shapes smaller than white ears and paste them on the white ears using glue.
Step 3: Pasting A Red Paper Rectangle
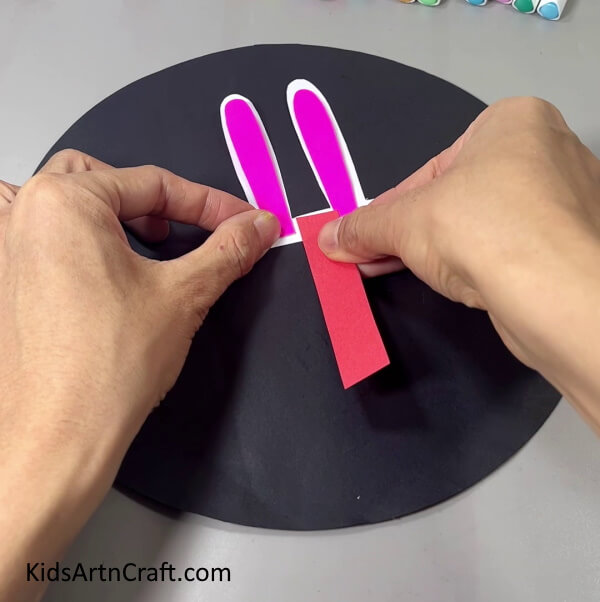

Now, take a red paper rectangle and paste it vertically on the white rectangle.
Step 4: Making a Small Cut On a White Rectangle of Paper
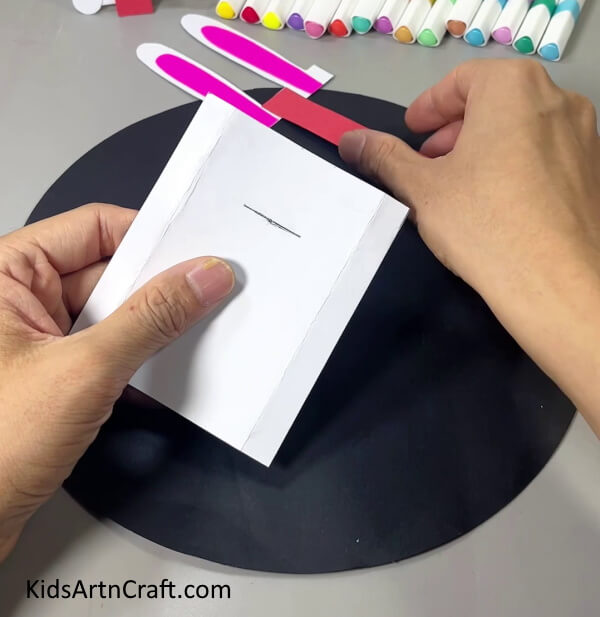

Next, take a white rectangle and fold its lengths about an inch backward, crease it well, and unfold. Make a small horizontal cut just above the middle of the rectangle.
Step 5: Inserting Red Paper Rectangle In Cut
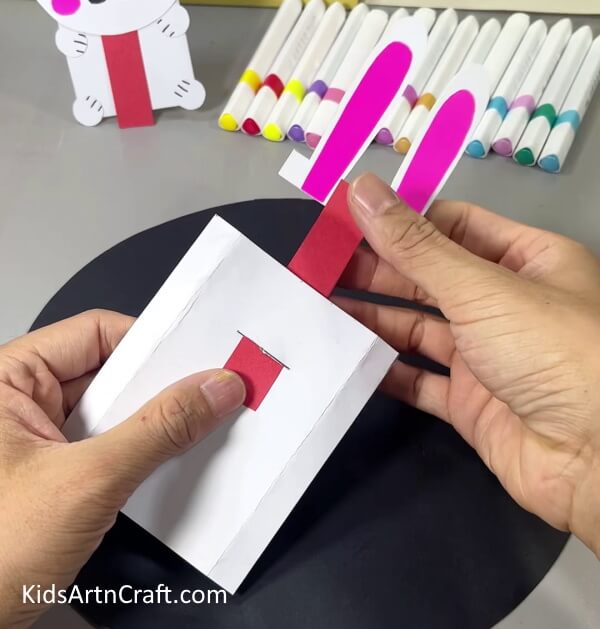

Insert the end of the red rectangle in the cut as shown in the above image.
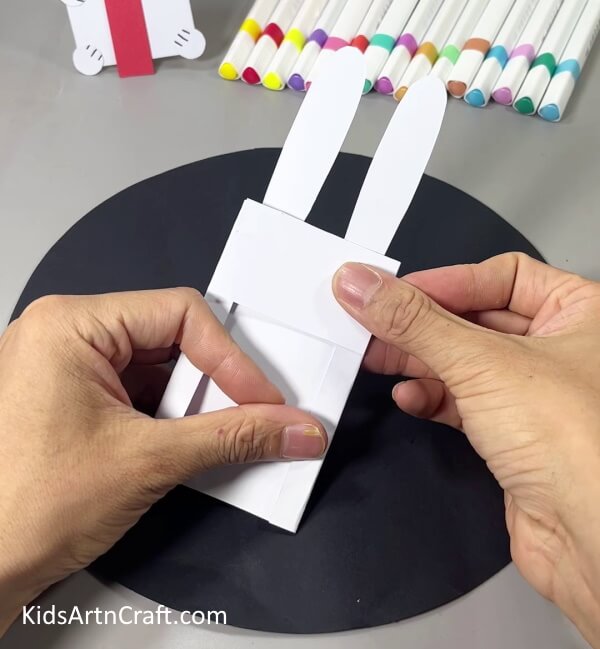
Step 6: Attaching Paper Ears On White Paper
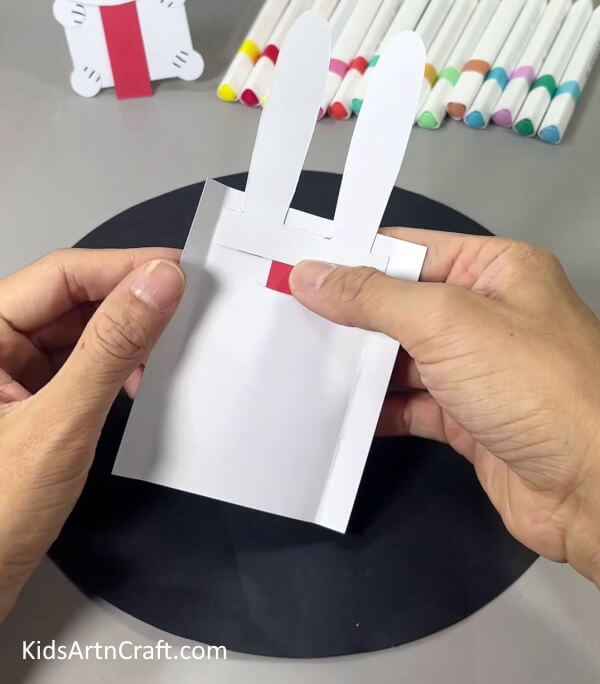

Insert the rectangle to make the ears attached to the body. Turn the paper.
Step 7: Folding Sides Of Paper
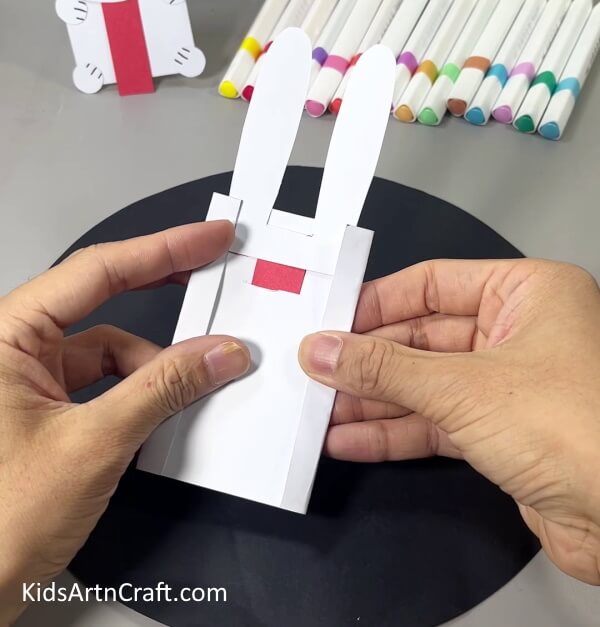

Fold the sides along with the creases.
Step 8: Pasting White Paper At the Back

Cut a rectangle out of white paper and paste it on the top of the rectangle.
Step 9: Making the Face Of Bunny
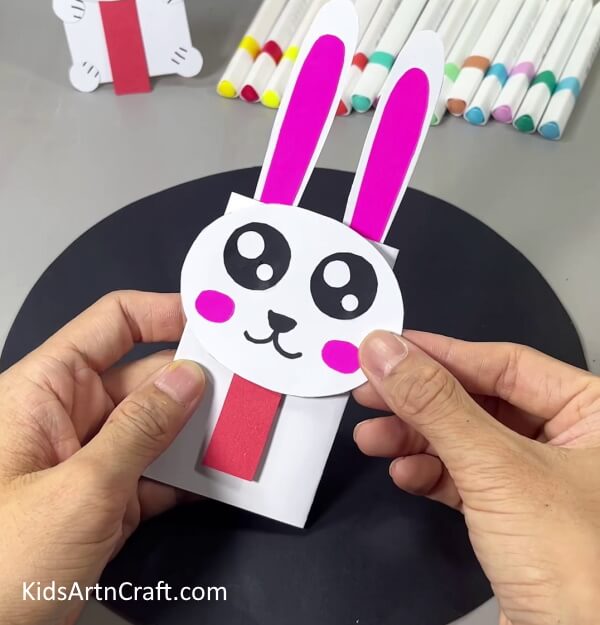

Now, cut an oval out of white paper and make eyes. nose, cheeks, and mouth using a black marker and black and pink paper. Paste the face on the body of the bunny, just under the ears.
Step 10: Pasting Legs Of Bunny
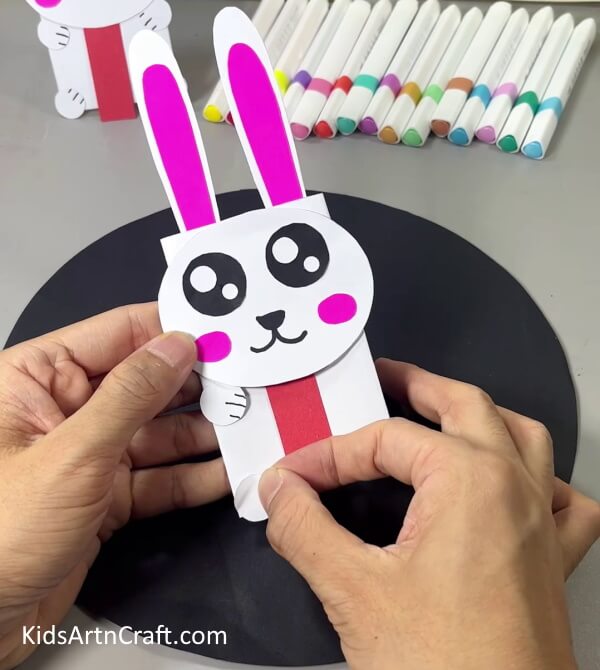

Cut four small white paper circles and make the legs of a bunny and paste each on each corner of the paper. Make sure to draw details on the legs using a black pen.
Step 11: Folding Ears Using A Pencil
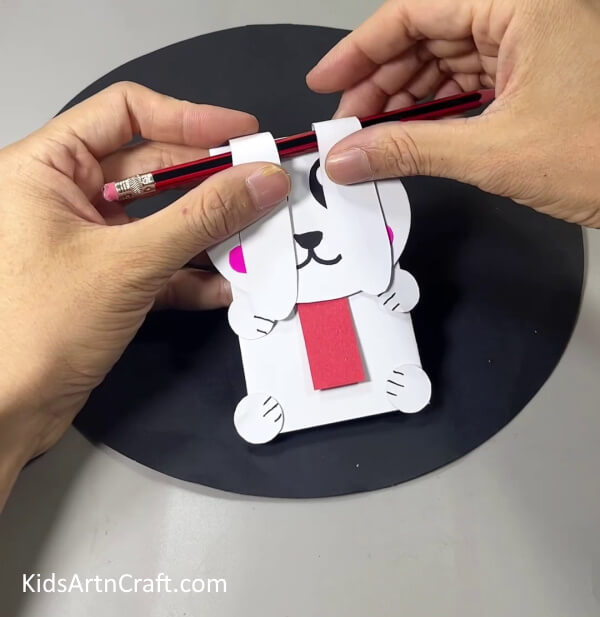
Finally, fold the ears of the bunny using a pencil as shown in the above image.
Adorable Paper Bunny Craft Is Ready!
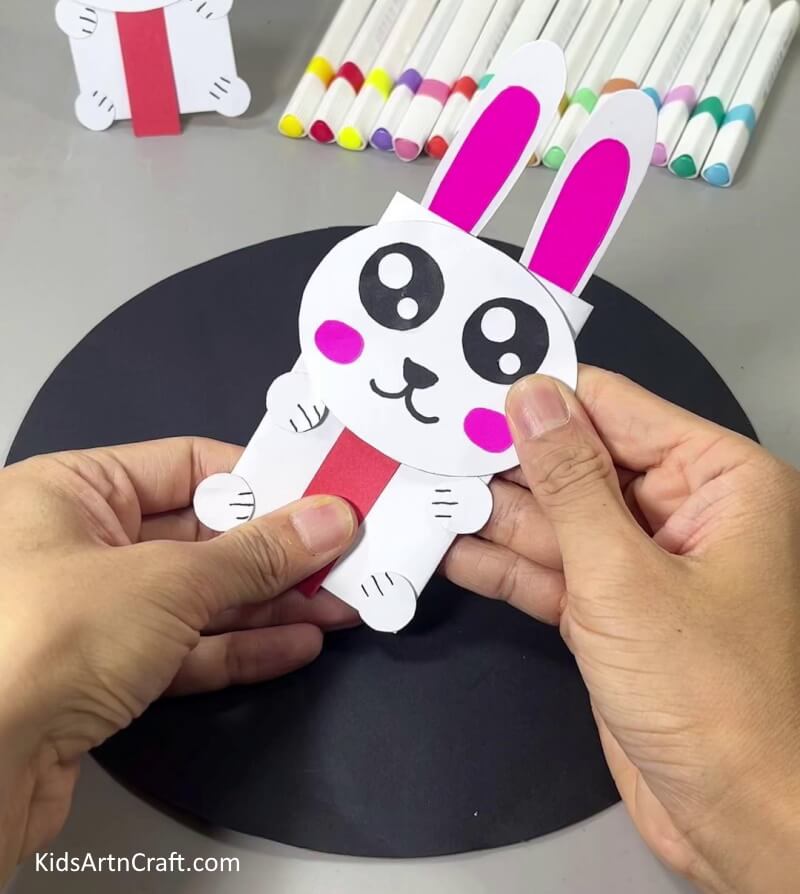

Congratulations! Your bunny is now ready to display! Hang it up on the wall or place it on a shelf for all to admire. The kids will love the fun and creative project and you’ll be proud of the end result. It looks so cute! Can’t wait to see your paper bunny! So, grab your supplies and start crafting away!
Some More Bunny Craft Tutorial
Homemade Easter Bunny Craft For Kids

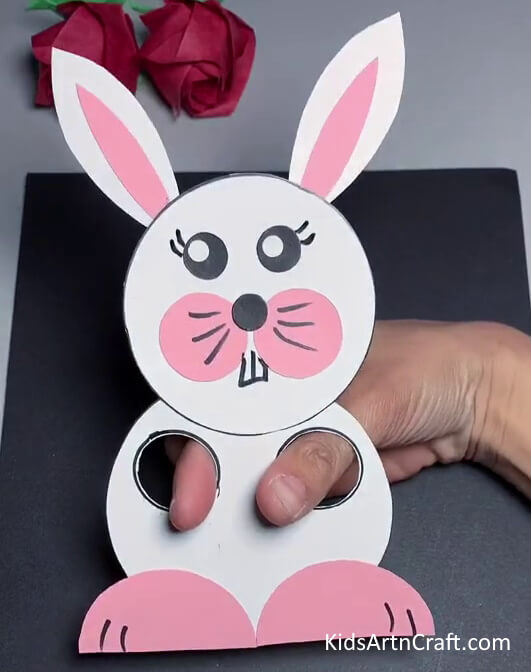
Image Source/Tutorial: Kids Art & Craft
This Easter, get the kids involved in a fun craft! Help them make a homemade Easter bunny out of scraps of paper, fabric, or felt. It’s a great activity for the whole family to enjoy that will keep the kids entertained for hours.
FAQs Related To Paper Bunny Craft For Kids
1. What materials do I need to make the paper bunny craft?
You will need cardstock paper, scissors, glue, and a pencil.
2. How long does it take to make the paper bunny craft?
Depending on skill level, it should take about 30 minutes to make the paper bunny craft.
3. What age range is this craft suitable for?
This craft is suitable for children aged 5 and up.
4. What techniques do I need to make the paper bunny craft?
You will need basic cutting and gluing techniques to make the paper bunny craft.
5. What other decorations can I add to the paper bunny?
You can add ribbons, buttons, or other decorations to the paper bunny.
This DIY Paper Bunny Craft Tutorial is an easy and fun way to get creative with your children. With a few simple materials, you can make a cute and cuddly bunny that your kids will love. So gather up your supplies and have some fun crafting with your little ones!
Follow us on Youtube for art and craft tutorials and much more.
More Articles from Kids Art & Craft
- How To Make An Origami Moose With Kids
- How To Make An Origami Petunia With Kids
- DIY Easy Play-Doh Flamingo Decorative Art and Craft for Kids – Step-by-Step Tutorial
- Easy Tree & Butterfly Art Using Leaves – Step-by-Step Tutorial
- Animal Habitat Projects for Kids