Paper Crafts
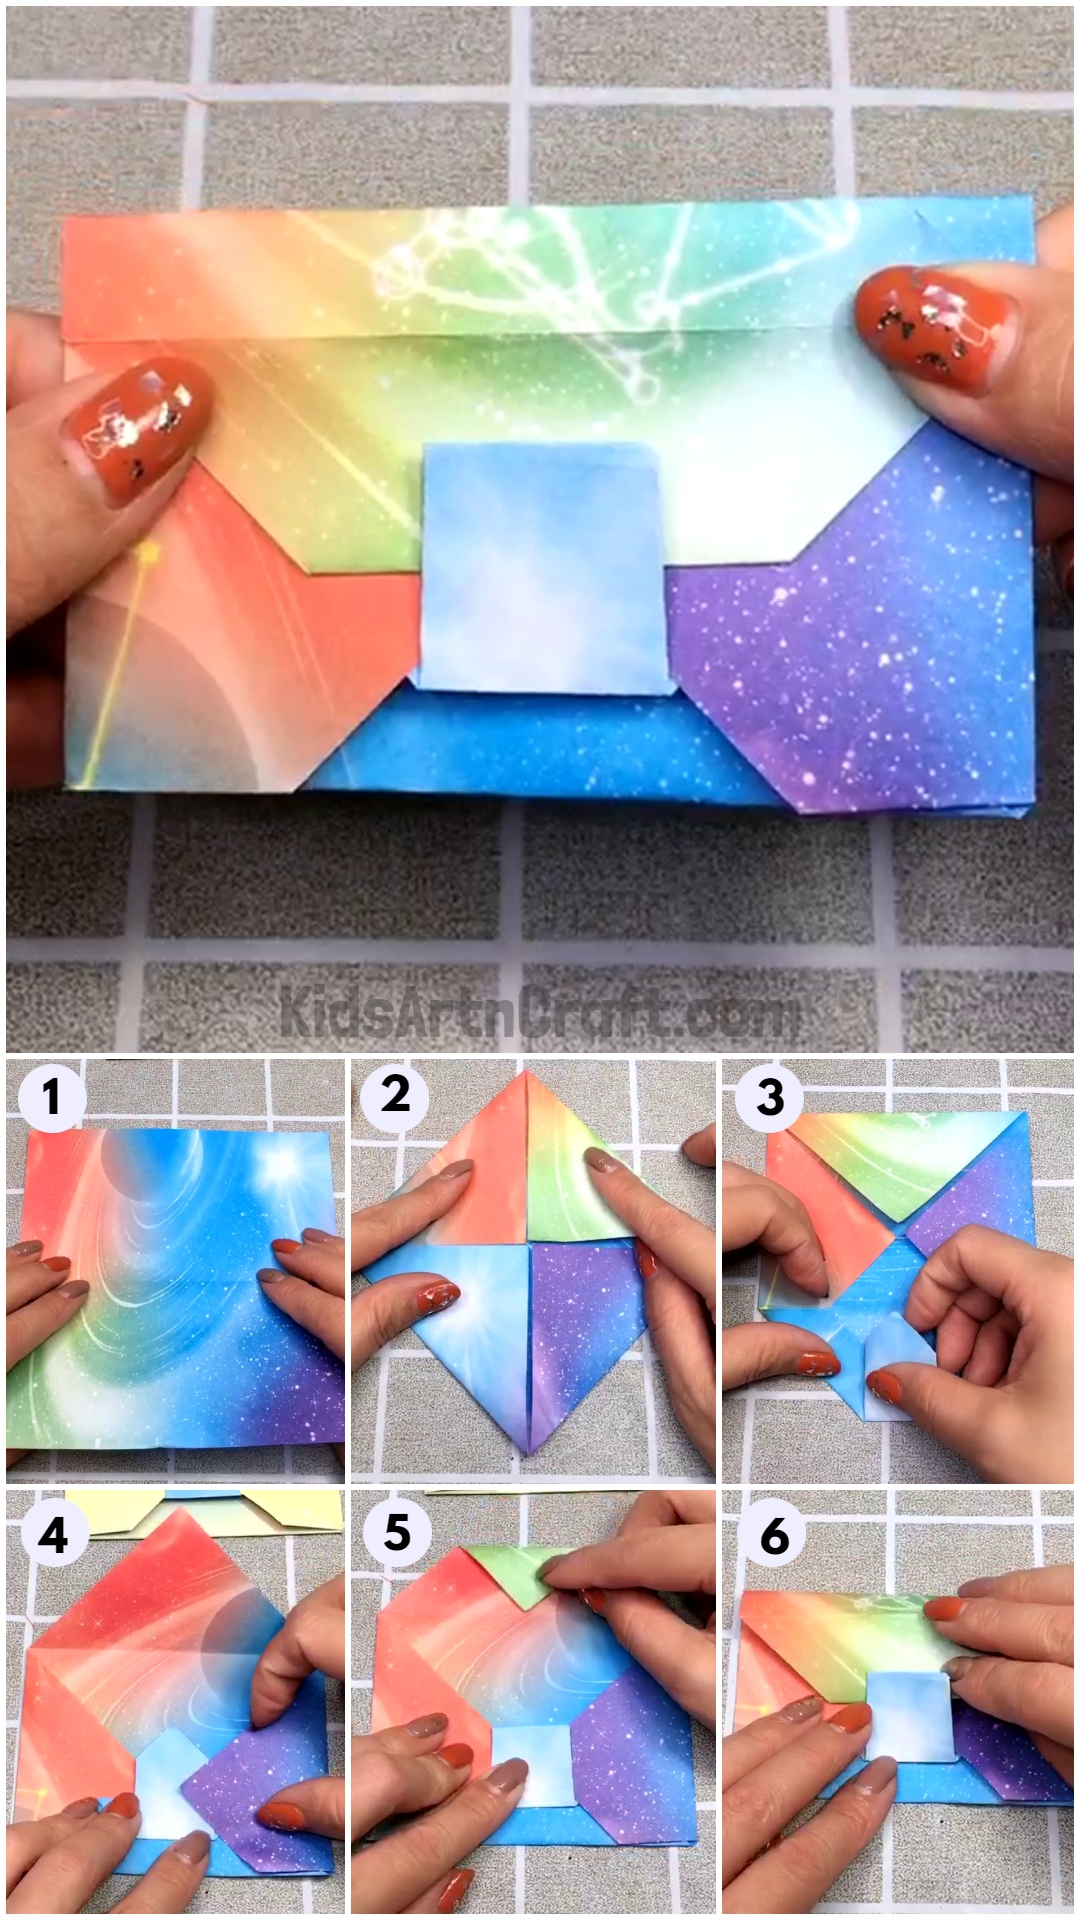
Make DIY Origami Paper Envelop Craft For Kids

Make your kids’ day extra special with this fun and easy origami paper envelop craft! With a few simple materials, your kids can make their own DIY envelopes perfect for cards, letters, and special gifts. Follow the step-by-step tutorial and get creative with colors, embellishments, and more.
Origami is an amazing and fun craft that is perfect for children of all ages. It allows them to be creative and make something unique out of simple paper. In this article, we will be discussing how to make a DIY Origami Paper Envelop Craft perfect for children. This easy-to-follow tutorial will provide step-by-step instructions on how to make your very own origami envelope. So, get ready to have some creative fun with your kids and bring out their inner artists!
How To Make DIY Origami Paper Envelop Craft – Step by Step Instructions

Read More: Colorful Fish Paper Craft To Make With Kids
Material Used:
- Design Paper
- Glue Stick
Instructions: –
Step-1: Take a Design Paper


Take a colorful piece of paper and fold it into two halves.
Step-2: Folding All The Corners
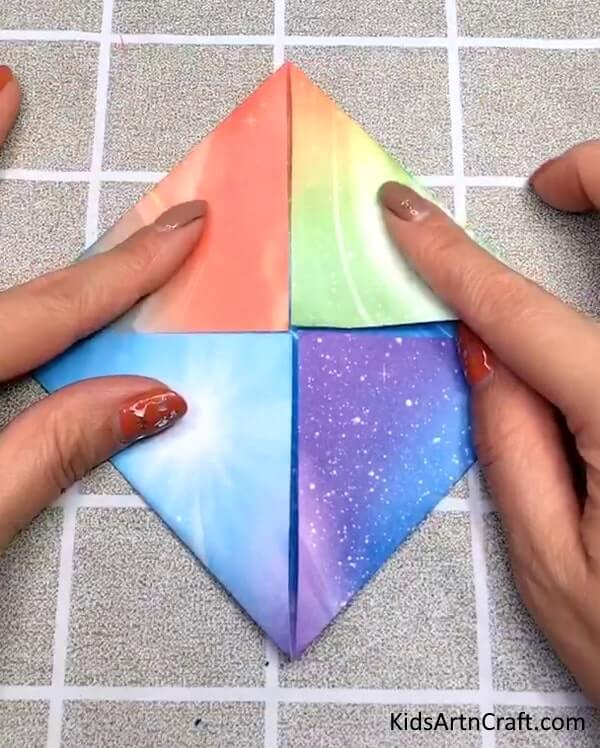

Hold all the corners one by one and fold them, bringing them towards the middle.
Step-3: Folding The Bottom Left And Right Edge
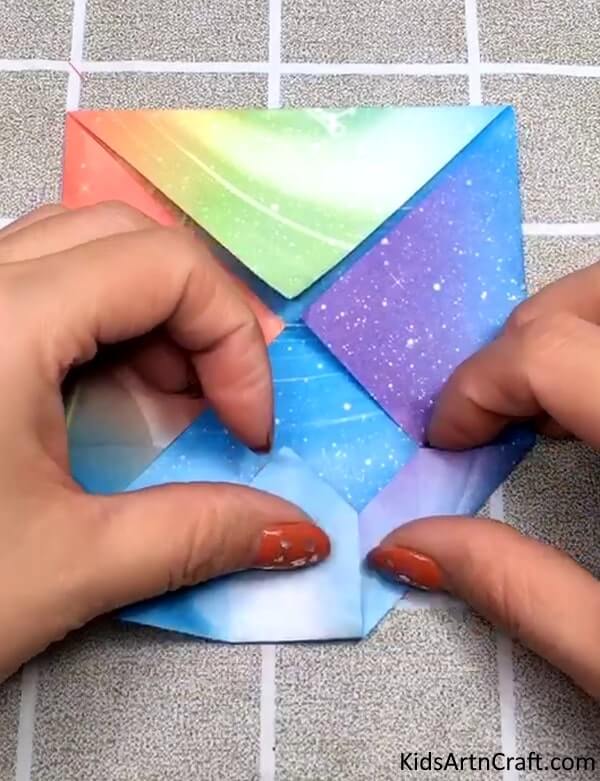

Unfold the lower section. Fold the lower part upwards making a crease. Fold the lower left edge touching the crease formed, and then unfold it, fold the lower right edge, and unfold it. Now fold the bottom corner inwards making a mountain.
Step-4: Folding The Unfolded Parts
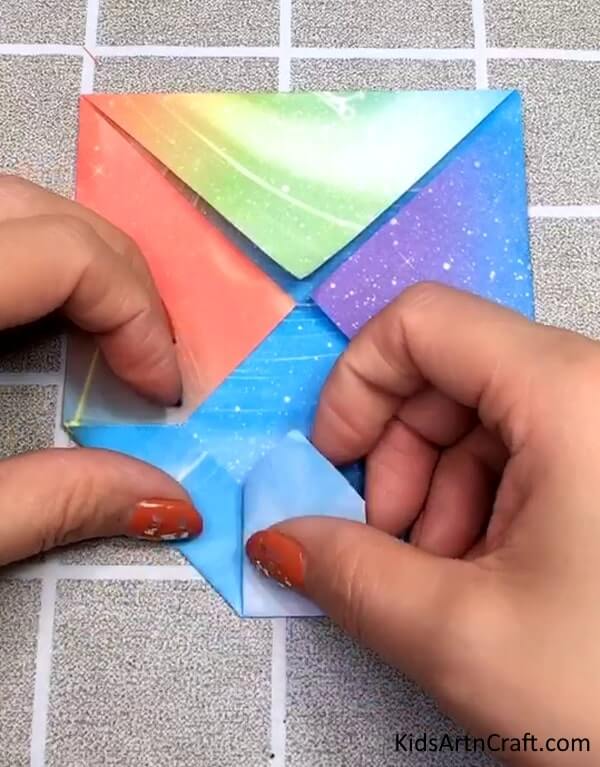

Fold the left and right edges and the bottom corner as in the previous steps and paste to fix it.
Step-5: Folding The Lower Section
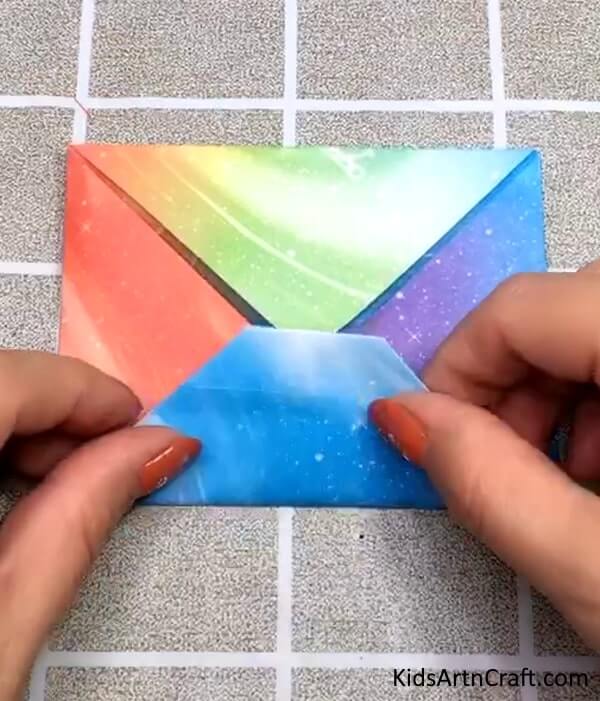

Fold the whole lower section inwards with the crease formed.
Step-6: Inserting The Mountain Outwards


Fold the top of the bottom section and pick out the mountain part.
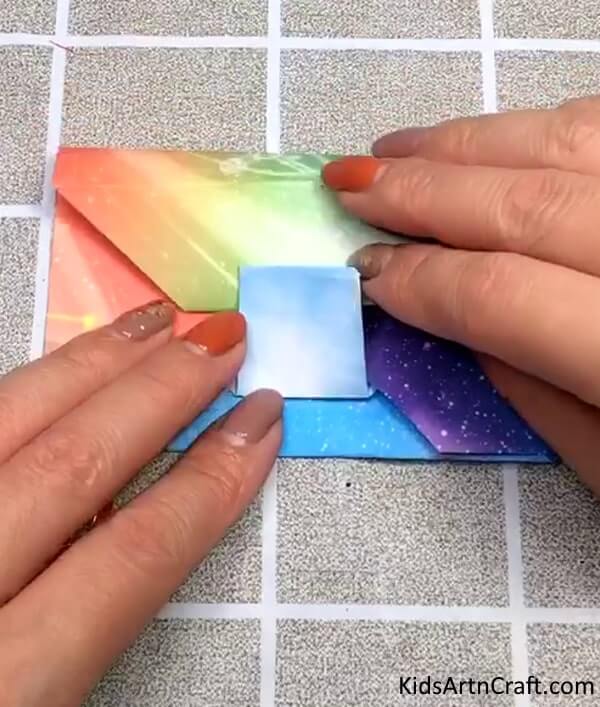
Step-7: Pasting The Right Section
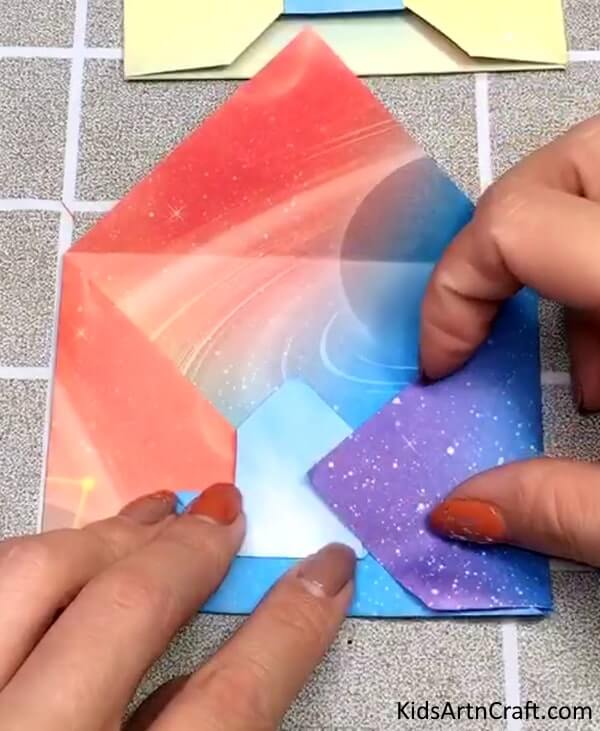

Paste the right section inside the back of the mountain.
Step-8: Pasting The Left Section
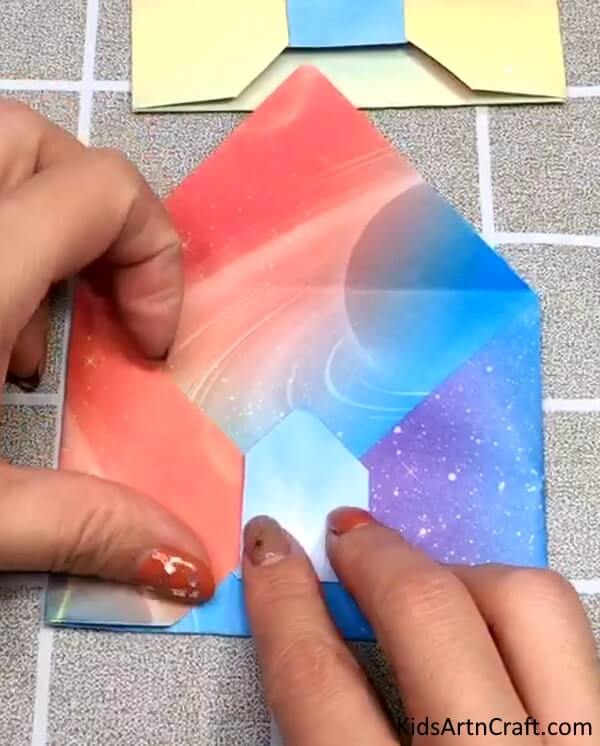

Paste the left section inside the back of the mountains.
Step-9: Folding The Upper Section
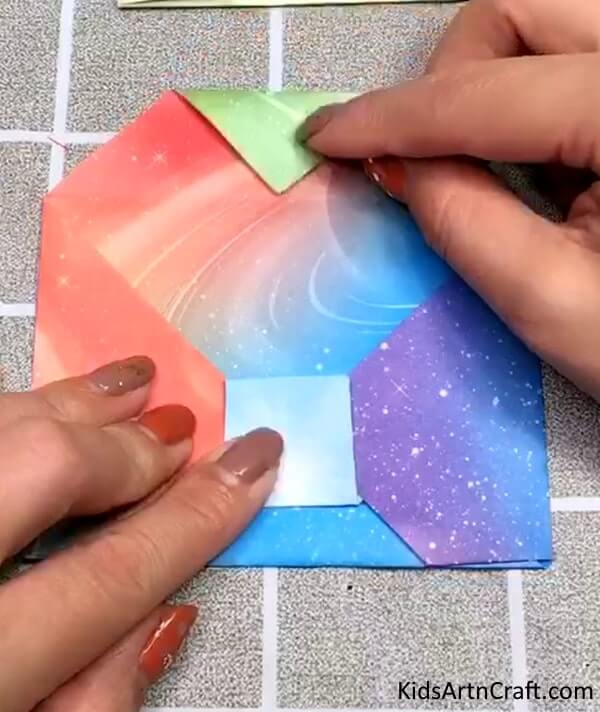

Fold the upper section downwards towards a crease mark and unfold it and now fold the top corner towards the crease and fold the upper section inside the mountain and also fold the tip of the mountain inwards.
Step-10: Folding The Upper Section Inwards

Fold the upper section inwards.
Final Step: This Is The Final Envelope!
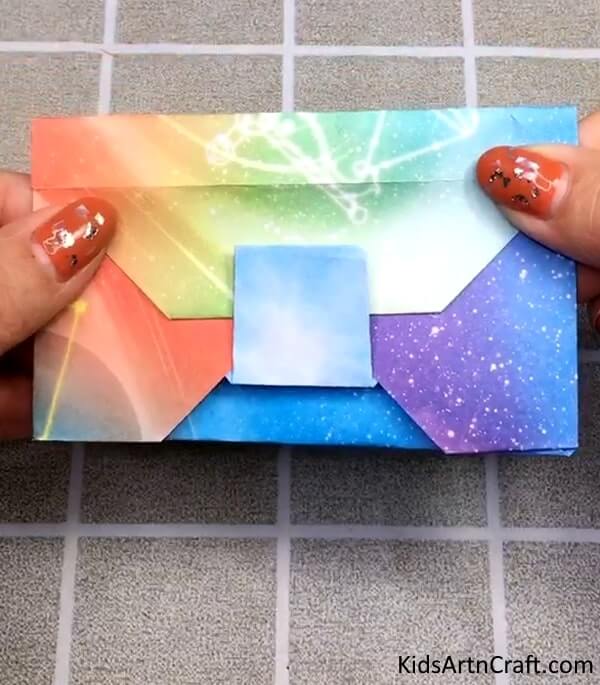

Your origami envelope is complete and ready to use. Fill it with your note, money, or anything else that fits.
FAQs
What kind of paper do I need to make origami paper envelopes?
You’ll need either standard-sized origami paper or any kind of paper that is the same size on each side. This could be a square of scrapbook paper, newspaper, tissue paper, or even a magazine page.
How many sheets of paper do I need to make origami paper envelopes?
You will need two sheets of paper for each origami paper envelope you want to make.
What type of glue should I use?
You can use either a glue stick or a glue pen to attach the sides of your paper envelopes.
What kind of decorations can I add to my origami paper envelopes?
You can add decorations such as ribbons, stickers, or stamps to your origami paper envelopes.
How do I fold the envelope?
First, fold the paper in half. Then, fold the corners into the center of the paper and press them down. Finally, fold the sides of the paper inwards and press them down.
DIY origami paper envelop craft is a great way to encourage your kids to have fun while learning a new skill. With a few simple steps and some patience, your kids can create beautiful paper envelopes that their friends and family will admire.
Follow us on Youtube for art and craft tutorials and much more.
More Articles from Kids Art & Craft
- DIY Easy Paper Flower Craft For Kids – Step-by-Step Tutorial
- Easy Leaf Art For Kindergarteners With Your Parents – Step-by-Step Tutorial
- How to Make Paper Flower Craft With Paper Cup
- Paper Cutting Shapes Crafts
- Paper-Cutting Designs For Projects