Paper Crafts
Realistic Moving Paper Leaf Worm Craft Step-by-step Tutorial

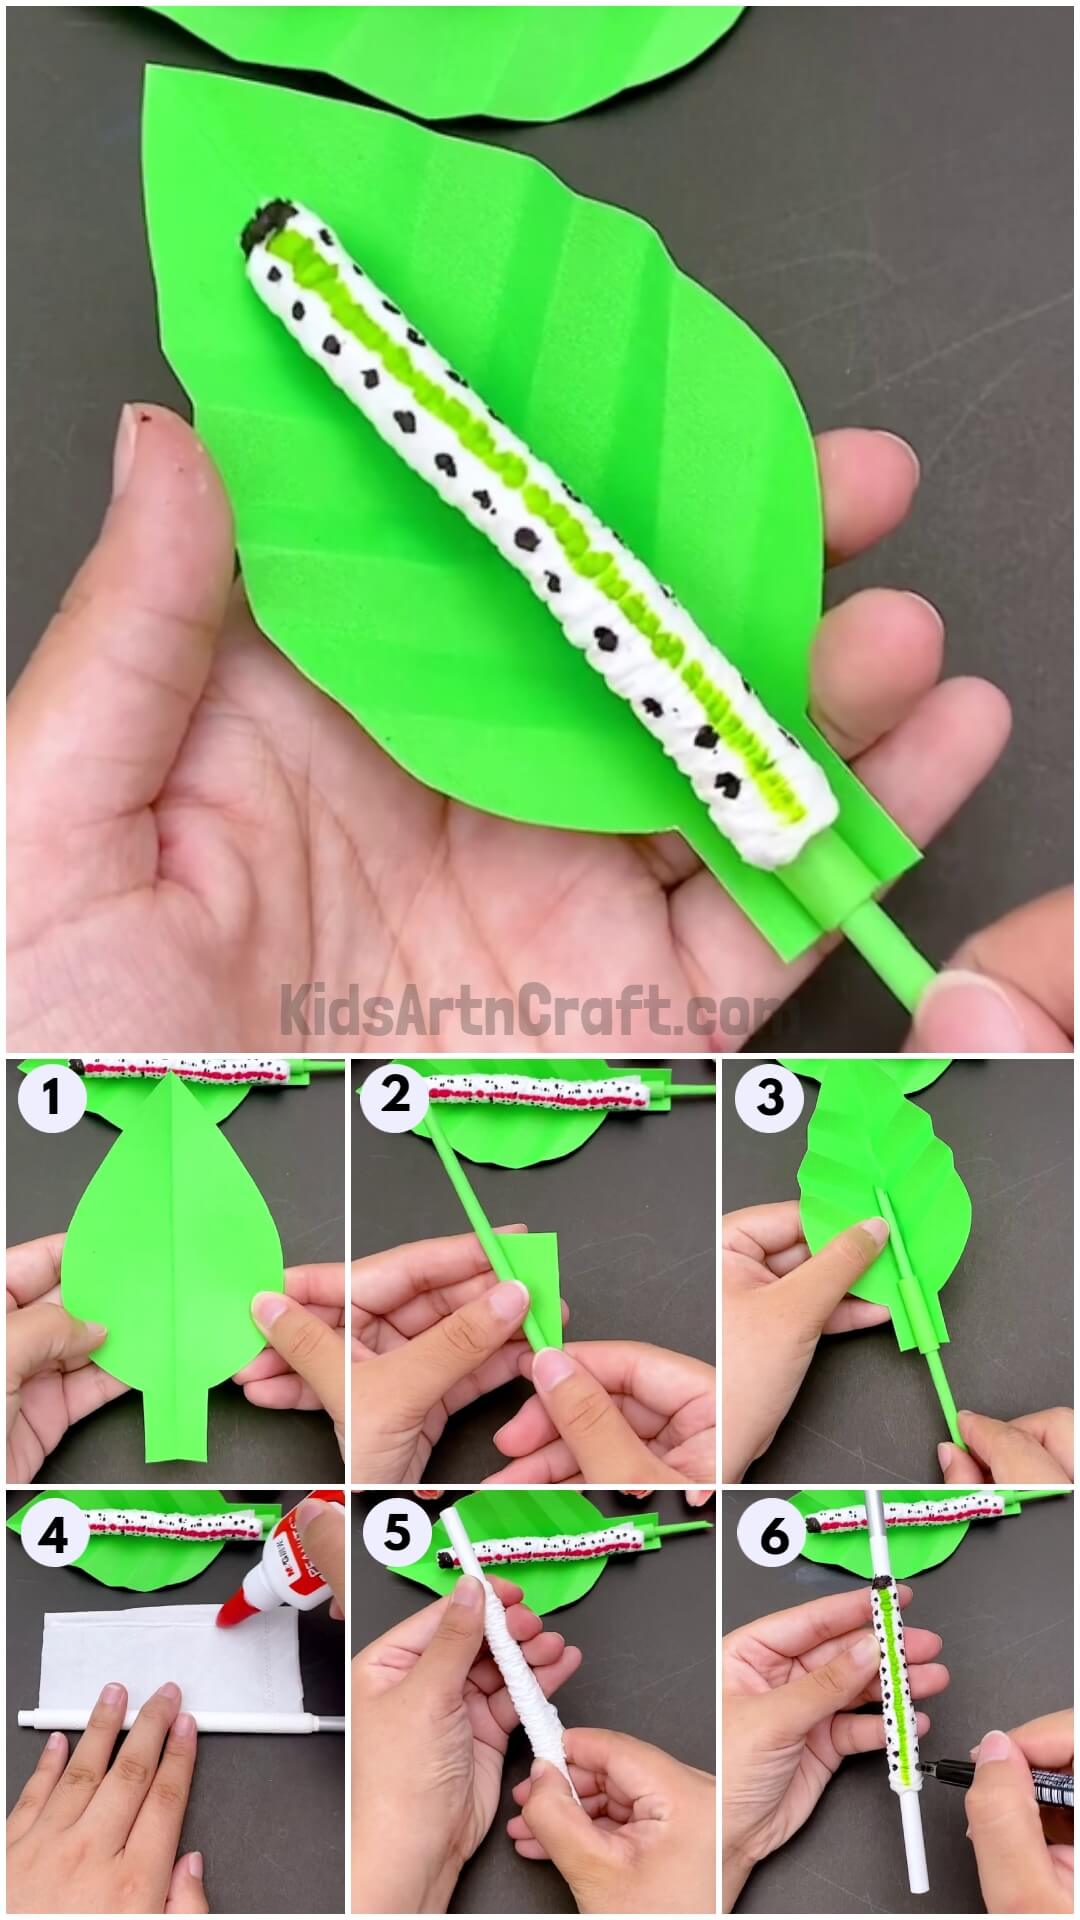
This tutorial will show you how to make a fun and easy craft project of a moving leaf worm. It only requires paper, markers, and a few other materials. It is suitable for both kids and adults!
Welcome to this step-by-step tutorial on how to make a Realistic moving leaf worm craft! This tutorial is about the preparation of a Realistic moving leaf worm in a few simple steps. This is a craft that works with your creativity and techniques so it can be done by kids and adults alike. Grab the Materials mentioned below and get creative!
Easy Realistic Moving Leaf Worm Craft

Read More: Creative Fall Leaf Lotus Craft Tutorial For Kids
Materials Required
- Craft paper (Green)
- Tissue paper
- Straw
- Scissors
- Marker pens
- Glue
Procedure
Step 1: Beginning With A Green Craft Paper

Begin with the green craft paper, bin, and rectangular shape. Fold the maximum length side in half and mark the center.
Step 2: Drawing A Half Leaf
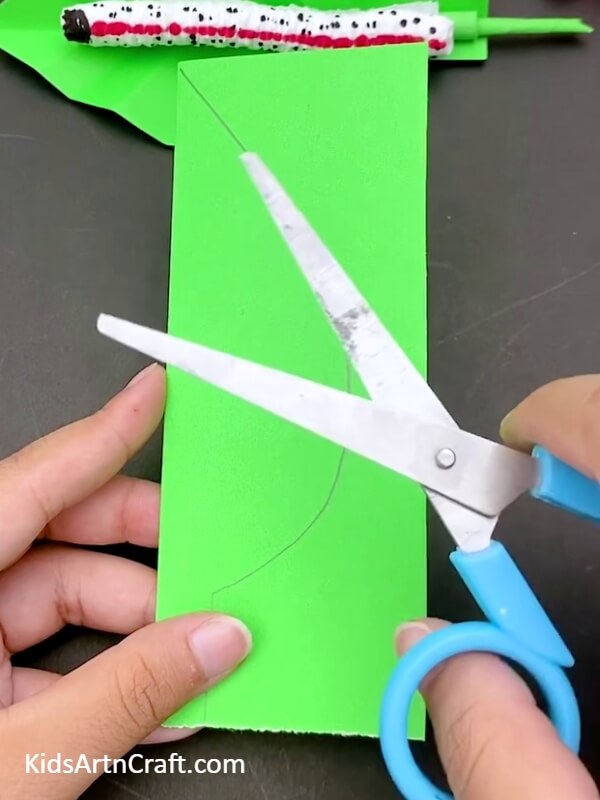
Take a pencil and draw a half leaf on the folded side of the craft paper as shown in the picture above.
Step 3: Cutting The Excess Off
Follow the drawn line, and using Scissors cut the excess off. And you will get something like this as shown in the picture above.
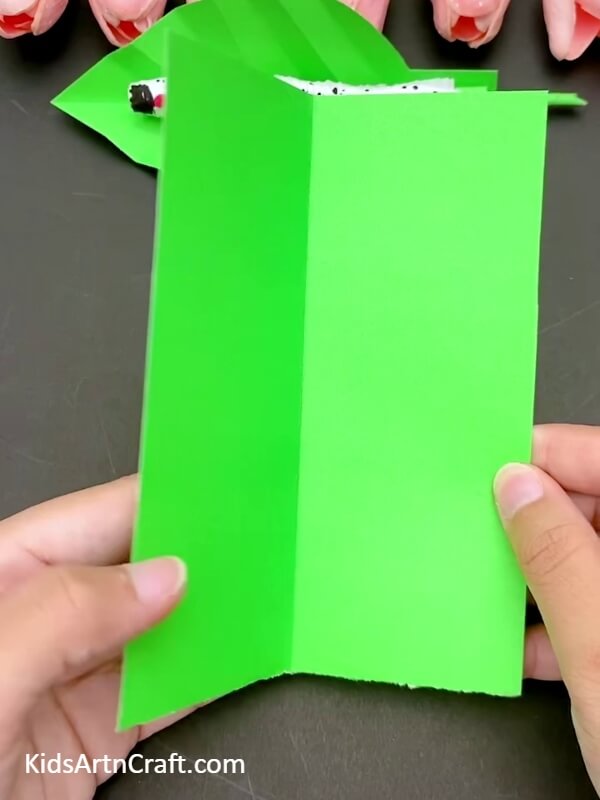
Step 4: Folding The Left Alternatively
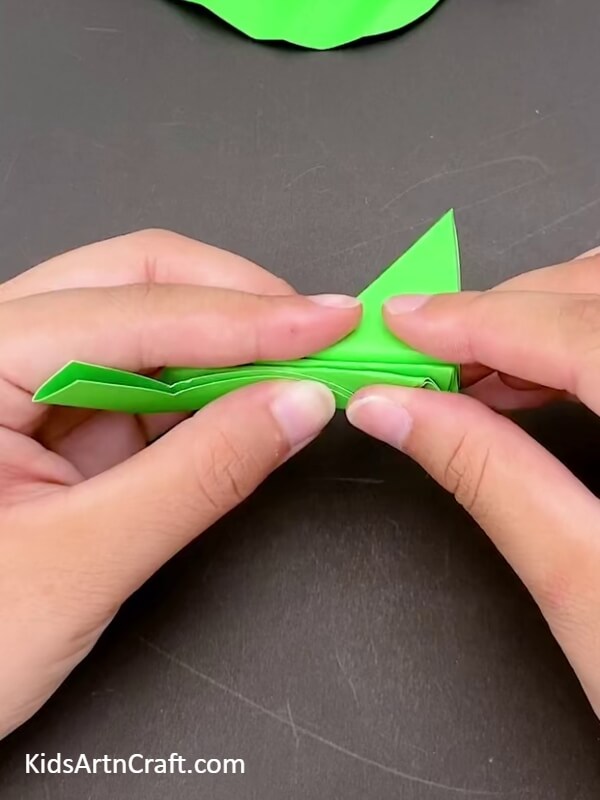
Fold the left into half as did before, and start folding it in zig-zag from one end to the other end of the leaf.
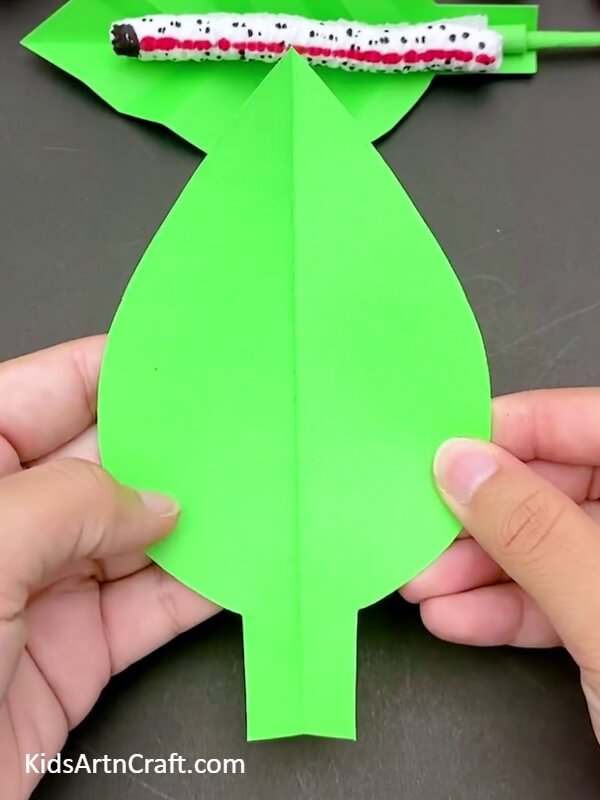
Step 5: Unfold The Leaf
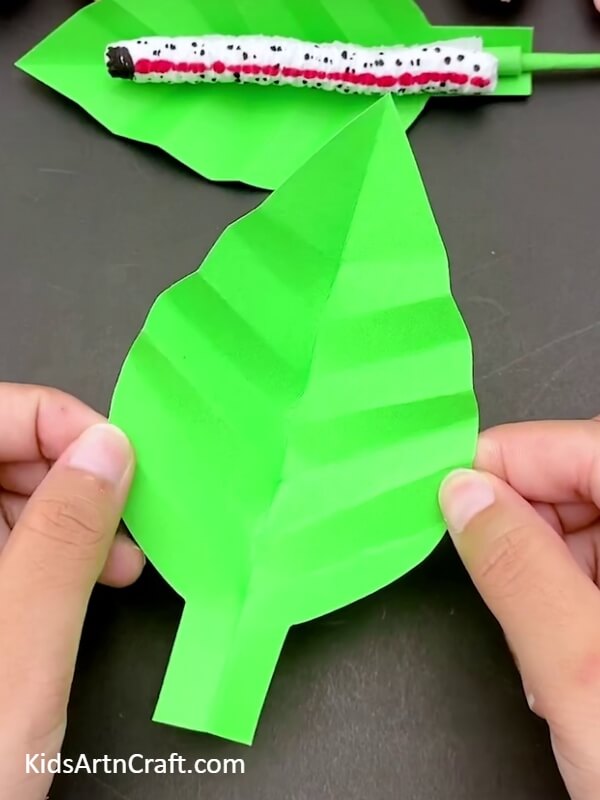
Unfold the folded leaf. After unfolding you will get something like a textured leaf as shown above in the picture.
Step 6: Making A Pipe Of A Craft Paper
Now that the leaf is done, take a strip of green craft paper and roll it to make a paper stick.
Step 7: Making Another Small Paper Roll
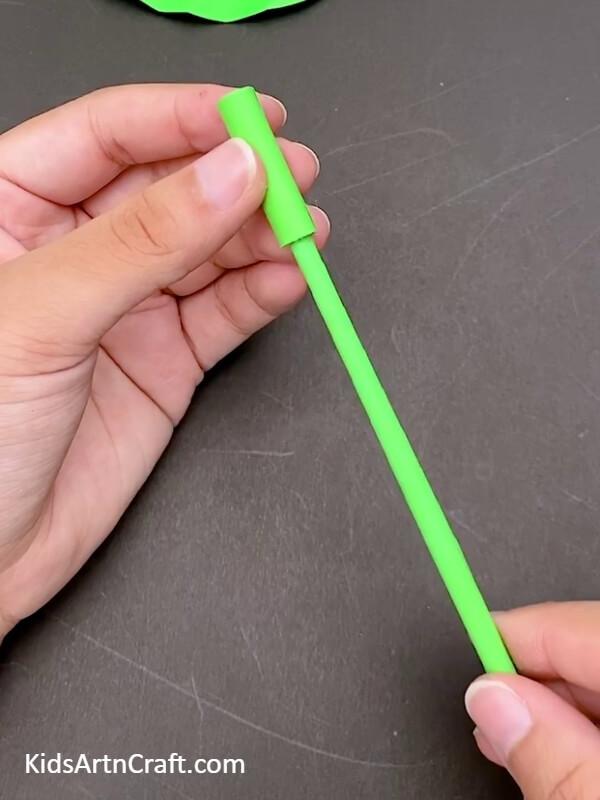
Take another green craft paper strip and roll it as shown in the picture, make sure the diameter of this roll is a little bigger than the previous one.
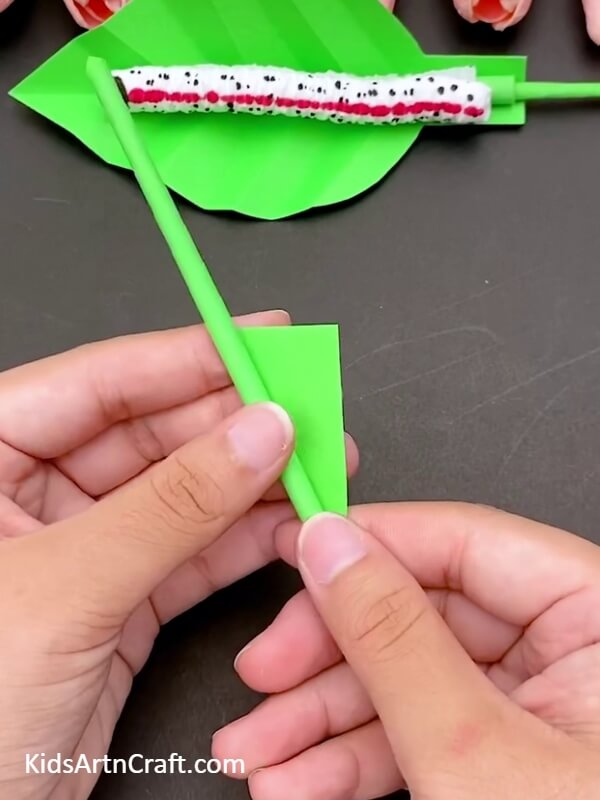
Step 8: Sticking The Small Roll On The Petiole Of The Leaf
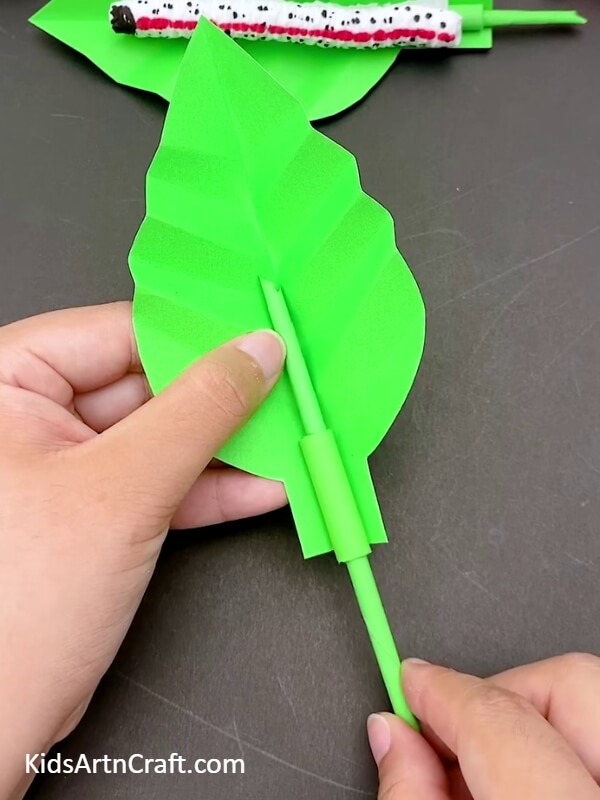
As the paper stick and roll are ready, insert the paper stick through the roll. And stick the base of the roll on the Petiole of the leaf using glue stick.
Step 9: Rolling The Tissue Around Straw

Now, that the leaf is done. Let’s start creating a worm, for that, you will need tissue paper. Wrap the tissue like 6-7 times around the straw and secure the end with glue.
Step 10: Scrunch The Tissue To Get A Textured Worm

Before letting the glue dry, continue by scrunching the tissue edges to get a textured worm as shown above.
Step 11: Drawing The Body Of The Worm And Dots
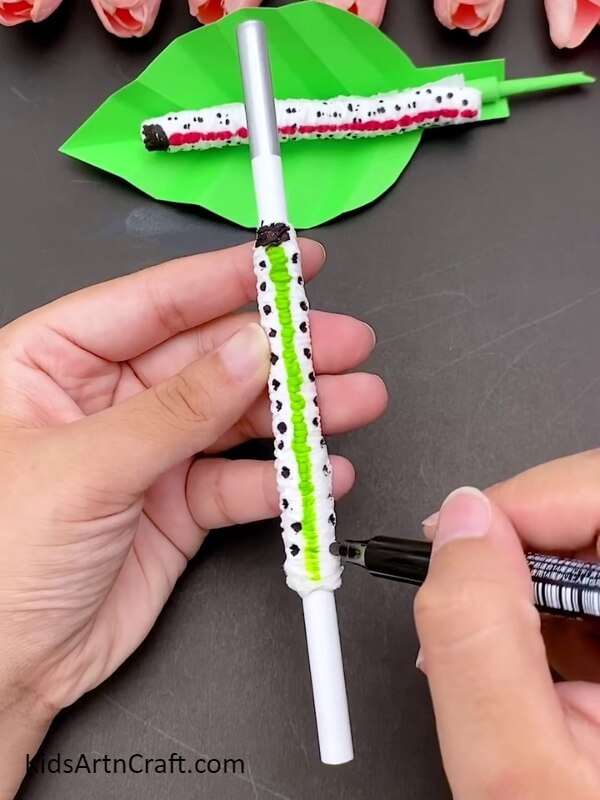
Let the scrunch dry and set, draw a line in the middle using a green or red marker. And using a black marker draw dots across the tissue. Let it dry and take away the straw.
Ta-da Your Realistic Moving Leaf Worm Craft Is Ready!
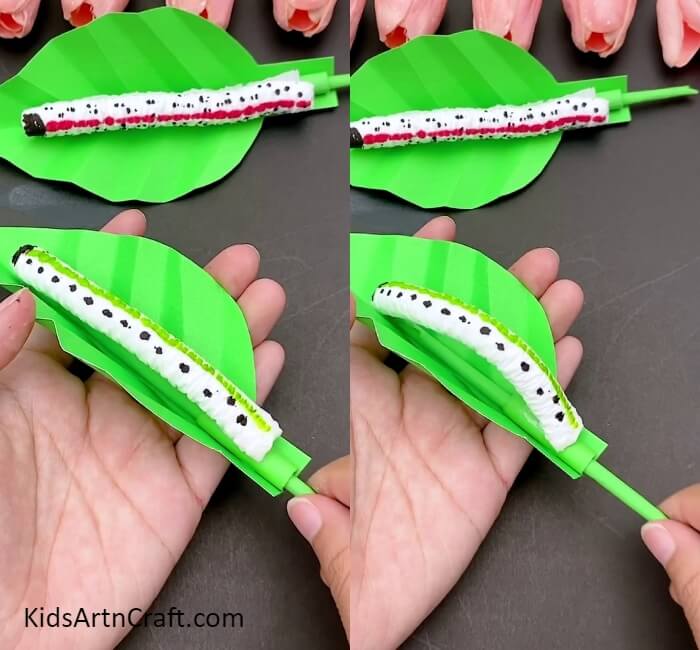

Now, that the worm is ready. Stick the front and back of the worm on the paper roll as shown in the picture above. The movement of the paper roll causes the movement of the worm. This simple and easy craft can be done in no time with easy tricks, give this craft a try and add more details like water droplets, bugs etc.
We believe that this craft idea was helpful. Do let us know your thoughts and views on this craft idea in the comment section below. Don’t forget to check out our website for other such tutorials.
Thank You for visiting our website.
Follow us on Youtube for art and craft tutorials and much more.
More Articles from Kids Art & Craft
- Easy Fall Leaf Craft Step by Step For Kids
- Beautiful Leaf Peacock Craft Step-by-step Tutorial
- Pretty Birds Singing Leaf Craft Tutorial For Kids
- DIY Leaf Fish Underwater Scenery Craft Tutorial For Kids
- Realistic Tree Craft Using Fall Leaves Step-by-step Tutorial