DIY and Crafts
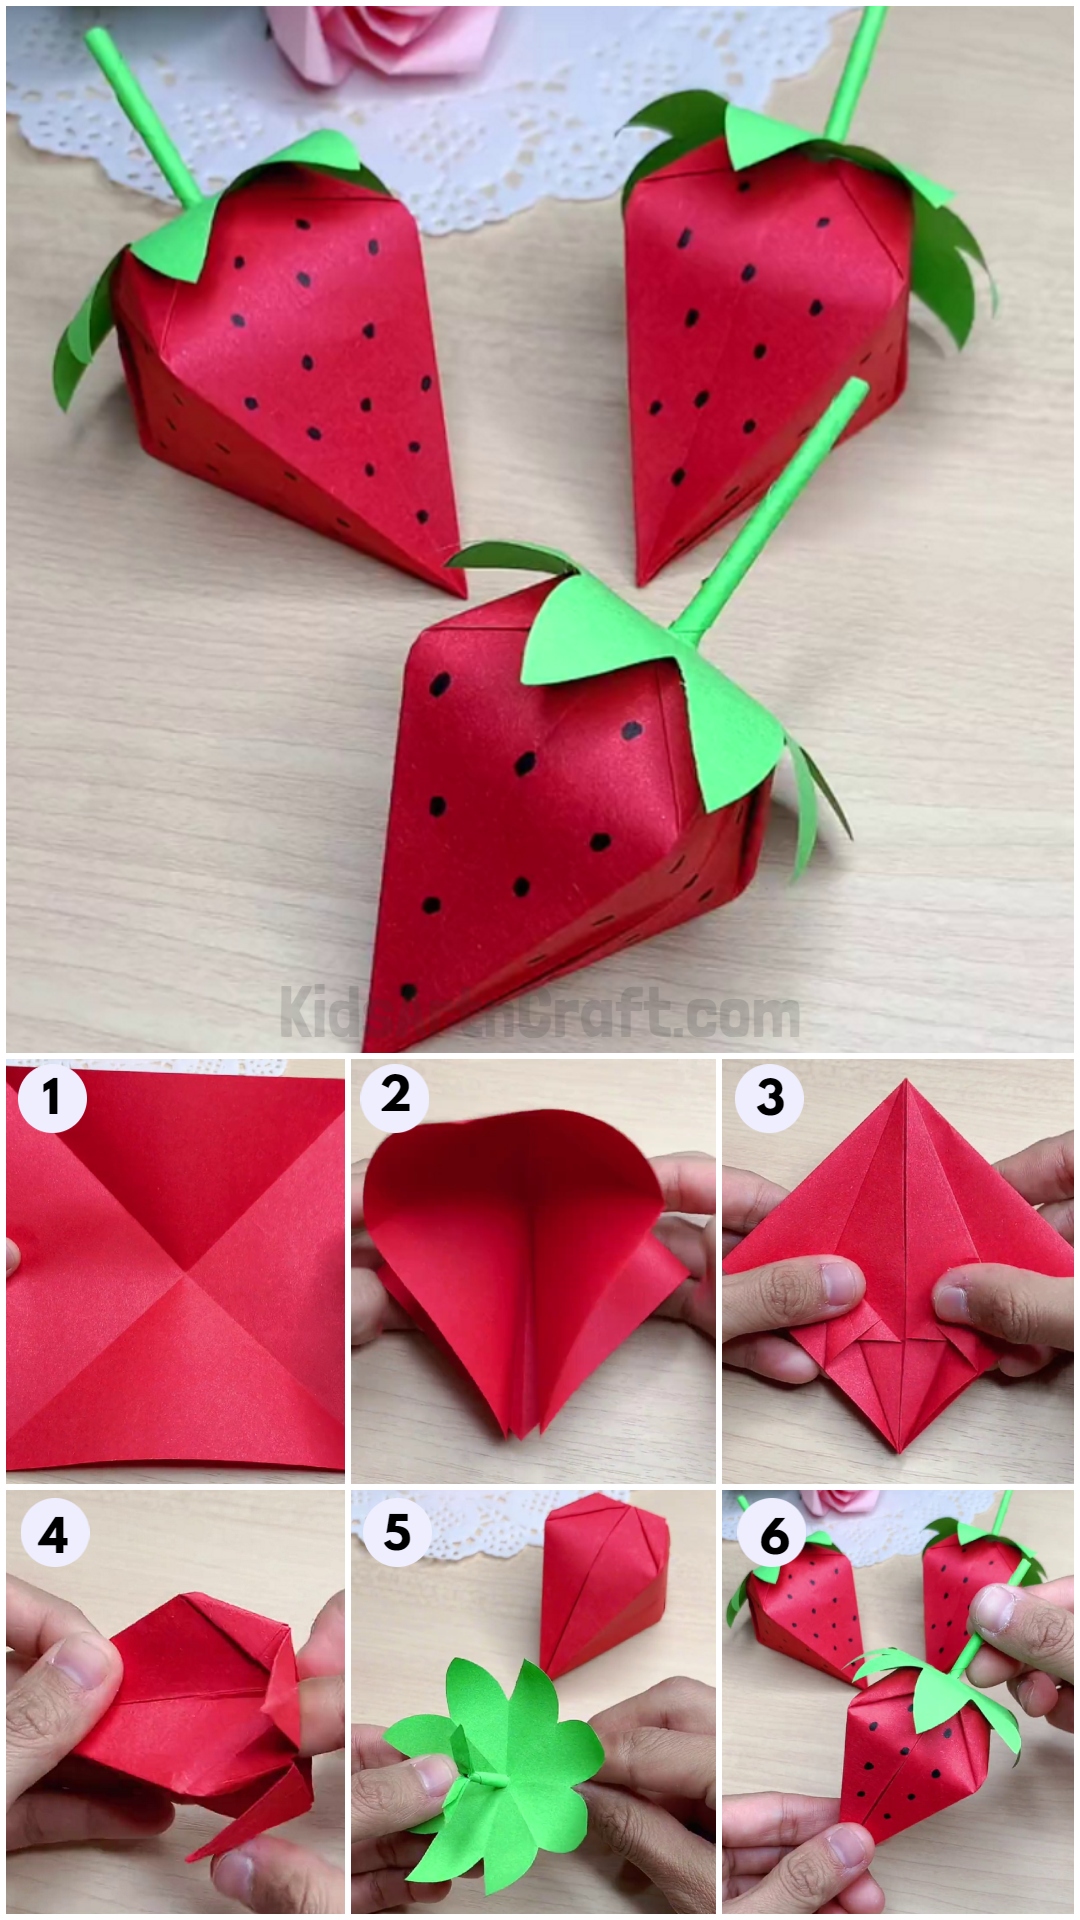
DIY Easy Paper Strawberry Craft Tutorial

Learn how to make a cute strawberry craft using a paper plate and other supplies. This easy DIY tutorial is perfect for kids and adults alike. Follow the step-by-step instructions to create a fun and creative craft!
Welcome to this fun and easy origami strawberry craft tutorial for kids! This tutorial will guide you step-by-step through the process of creating a beautiful origami strawberry that you can use as a decoration or a gift for someone special. With simple instructions and just a few materials, you can make this delightful origami strawberry craft in no time! So gather your supplies and have fun creating your own origami strawberry!
Simple Paper Plate Strawberry Craft For Kids To Make

Read More: DIY Paper Crafts Video Tutorial for All
Materials Required
- Craft Papers (Red and Green)
- Scissors
- Glue
Procedure
Step 1: Making Creases
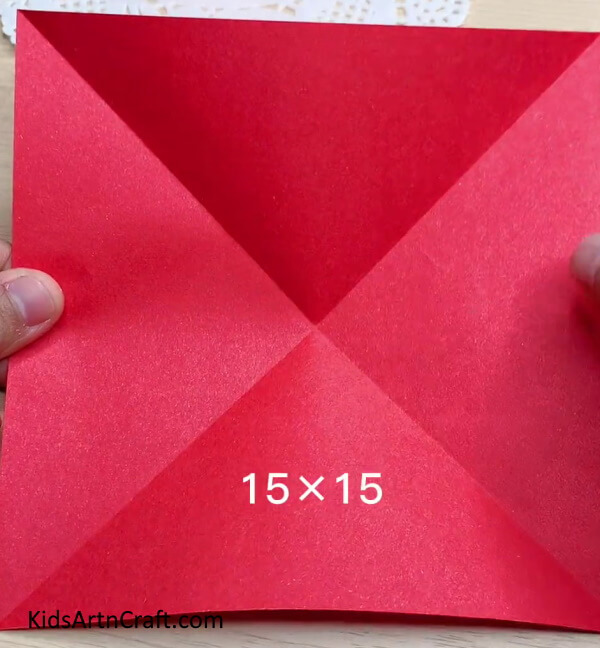

To make a paper strawberry, take a 15*15 cm red square craft paper.
Now, fold the opposite corners over each other to form diagonal creases. Now flip the paper and fold the opposite corners over each other to form vertical and horizontal creases on the paper.
Step 2: Forming A Diamond Shape
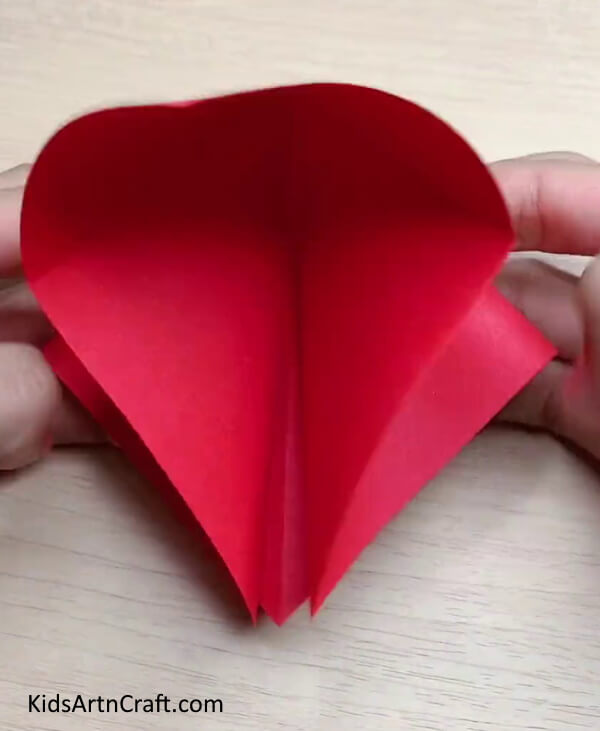

Now, flip the paper back again and hold it from the ends of the horizontal crease, push in along the diagonal creases, and overlap the vertical crease folds on the front and back to form a diamond shape.
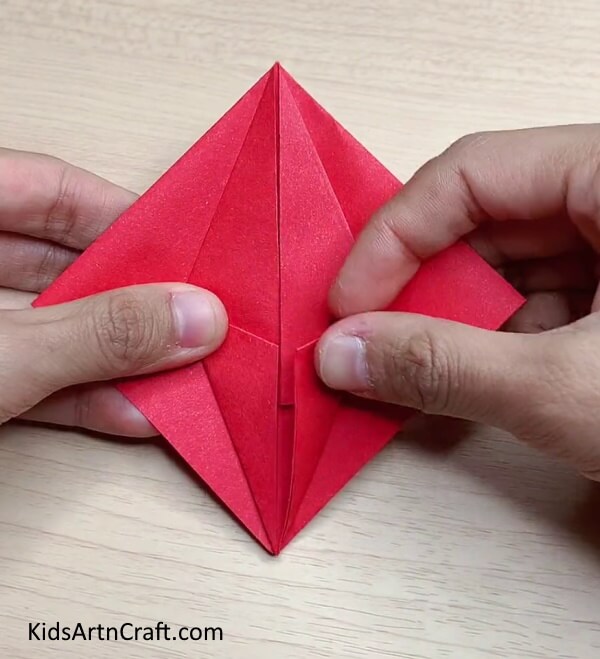
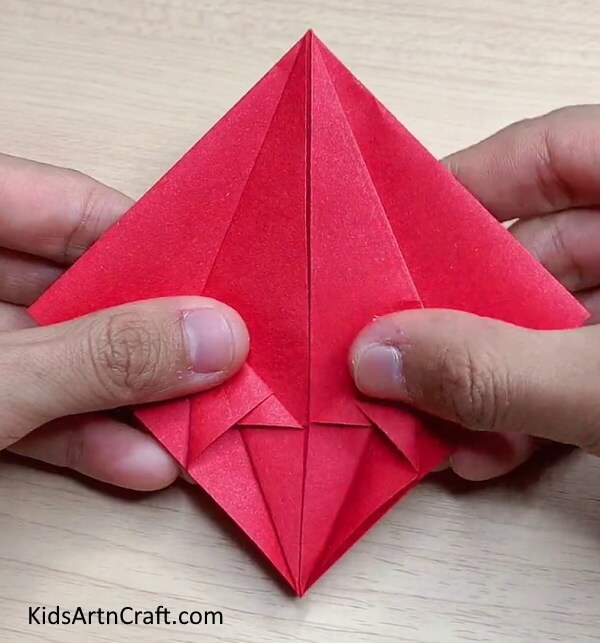
Step 3: Folding Folded Diamond Corners


Put the diamond shape in such a way that open folds are at the bottom and closed folds are at the top. Bring the top right and left corners to the middle.
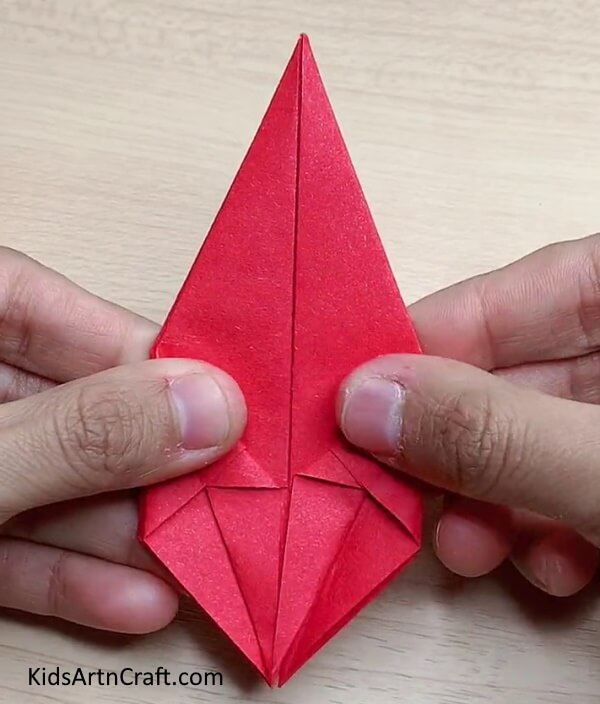
Step 4: Folding Bottom Corners of The Paper

Now, bring the bottom right and left corners to the mid and make creases.
Step 5: Making Tiny Arrows

Now, unfold and open the bottom folded corners from the middle and push them in along the creases to form tiny arrow shapes of them.
Step 6: Flipping And Repeating

Flip the diamond shape to the back and follow the same procedure as before to form tiny arrows over that side too. Your diamond shape is now a hexagon shape.
Step 7: Folding The Hexagon Sides
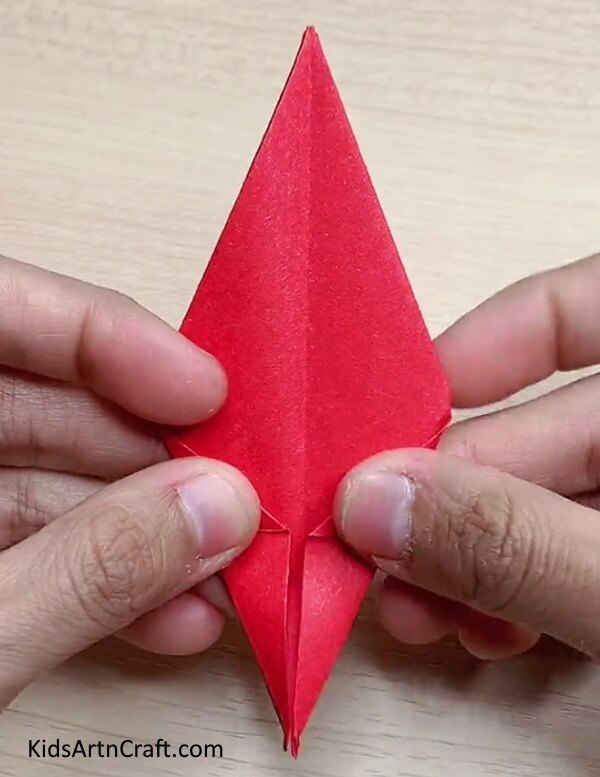

Open the paper from the adjacent paper sides to see the hexagon shapes without partitions and any folds. Fold the smaller adjacent hexagon sides to the middle, now, flip the paper to the back and do the same. Your hexagon is converted into a rhombus.
Step 8: Folding Corners Upward Along Creases


Now, fold the bottom corners of the rhombus (i.e. corners that you recently folded) upwards along a small horizontal crease you will see on it. Flip the paper and repeat the same.
Step 9: Folding The Adjacent Side Folds
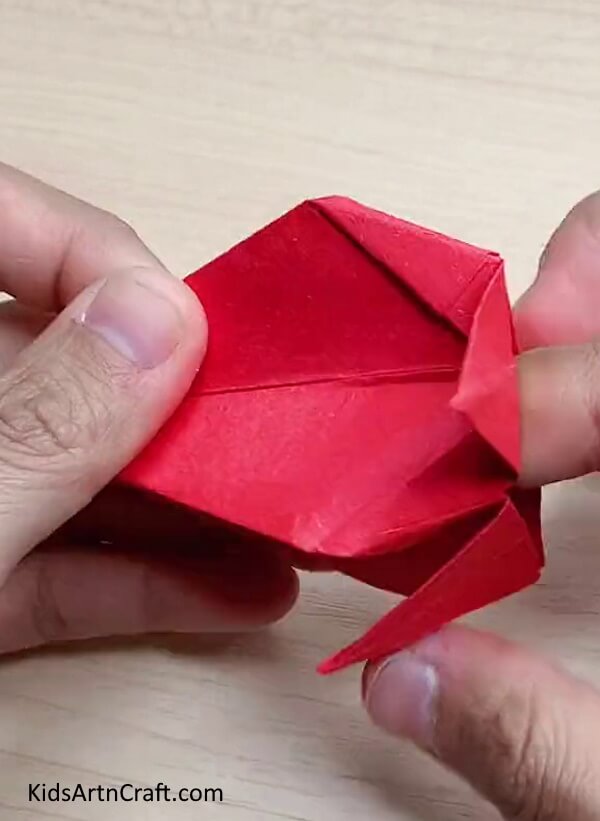

Fold open the adjacent rhombus sides with the portions and also fold their bottom ends to align with the previous folds. Now, put your finger inside the bottom opening of your figure and push out the 4 sides to see a 3D strawberry.
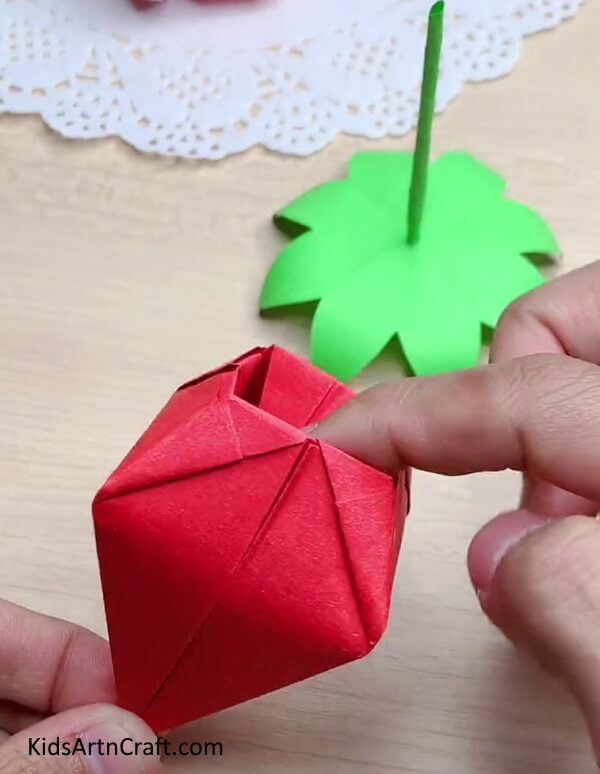
Step 10: Inserting The Triangles
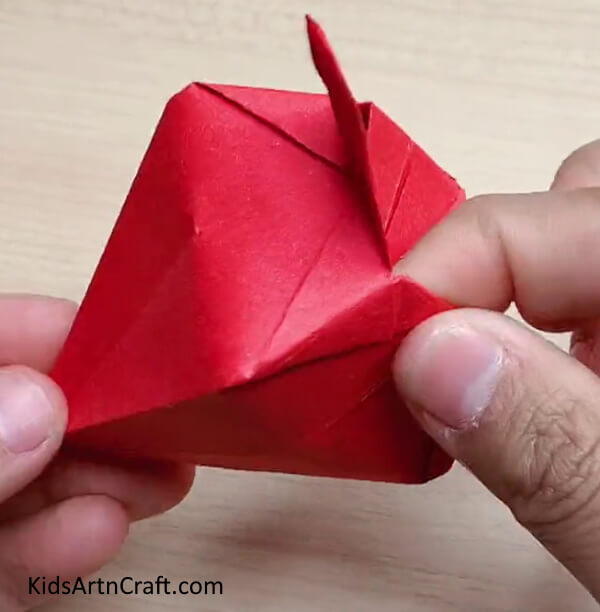

Over your strawberry, you will see 4 triangles coming out fold and insert them into the strawberry.
Step 11: Making The Crown Over Strawberry
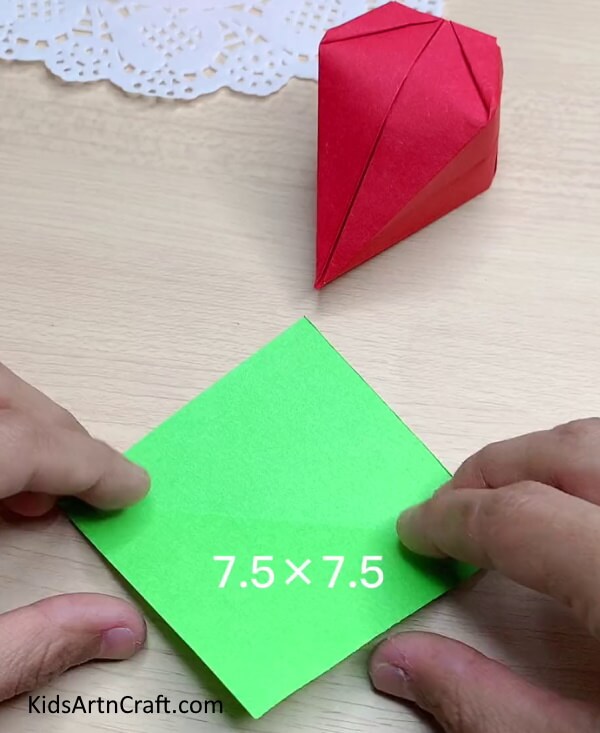

To make leaves, take 7.5*7.5 cm green square craft paper and fold it in half by folding the bottom corner to the above. You will see a triangle
Step 12: Folding The Triangle Sides
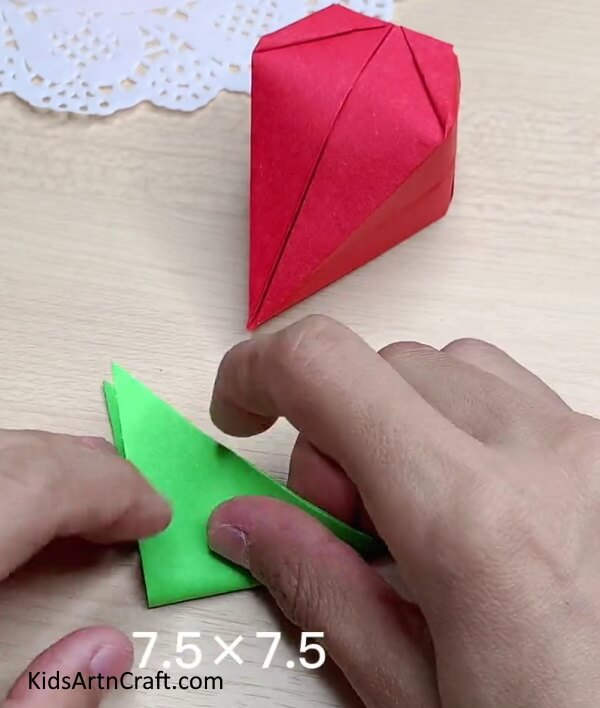

Fold the folded side of the triangle over it and again fold it to form a tiny triangle
Step 13: Making Leaf Shape

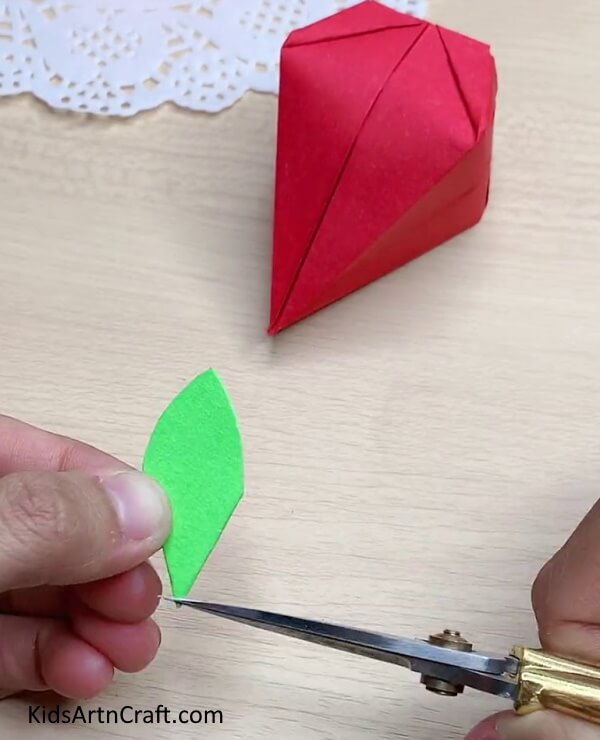
Shape the folded tiny triangle into a leaf shape and also cut out a point-like part from the corner of it as shown in the image using scissors.
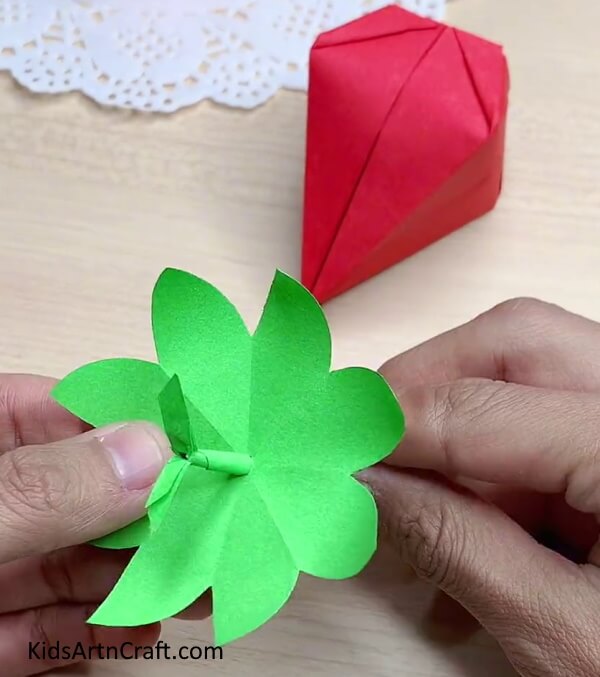
Step 14: Curling The Crown Petals
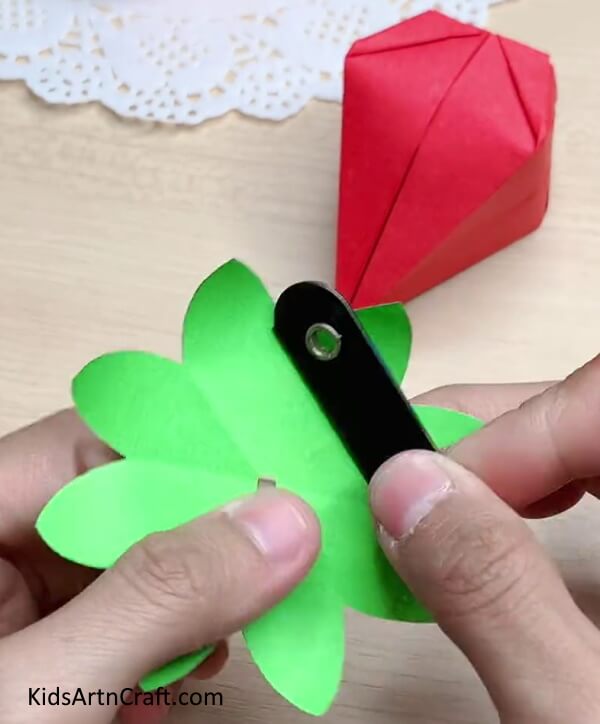

Unfold the triangle and you will see the crown of the strawberry using a sharp object, curl the petals of your crown.
Step 15: Inserting A Stem

Make a roll stick of green paper to make the stem and insert it in the hole.
Step 16: Taking A Tiny Bunny Toy
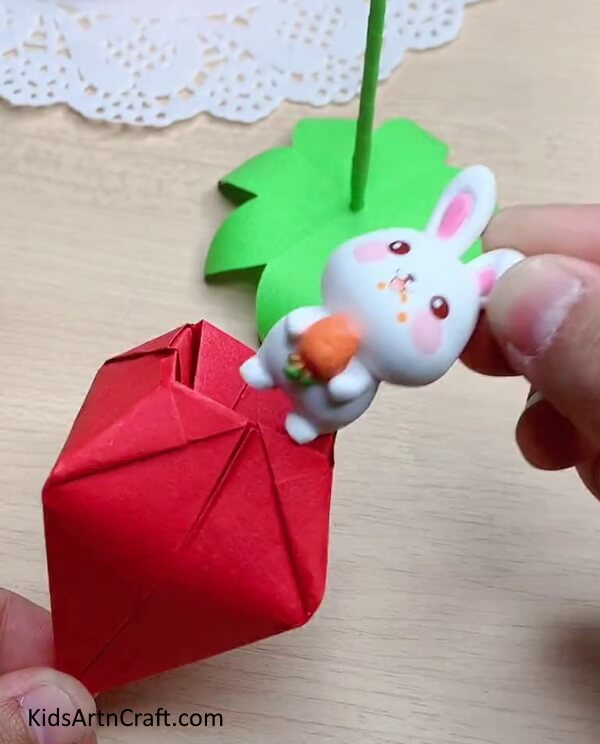

Take a small bunny toy to store it in the strawberry.
Step 17: Storing The Bunny

You can use this strawberry as a things holder and put it in the bunny as shown in the image.
Step 18: Applying Glue
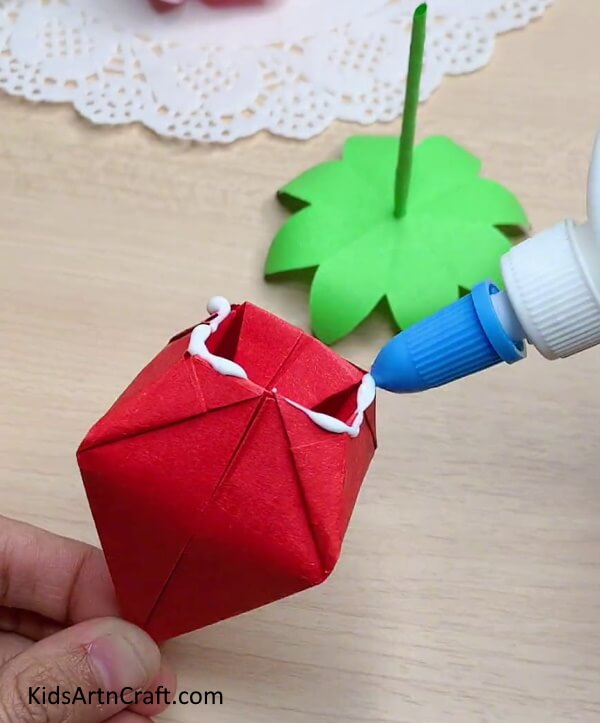

Apply glue on the top edges of the strawberry.
Step 19: Pasting The Crown Over Strawberry
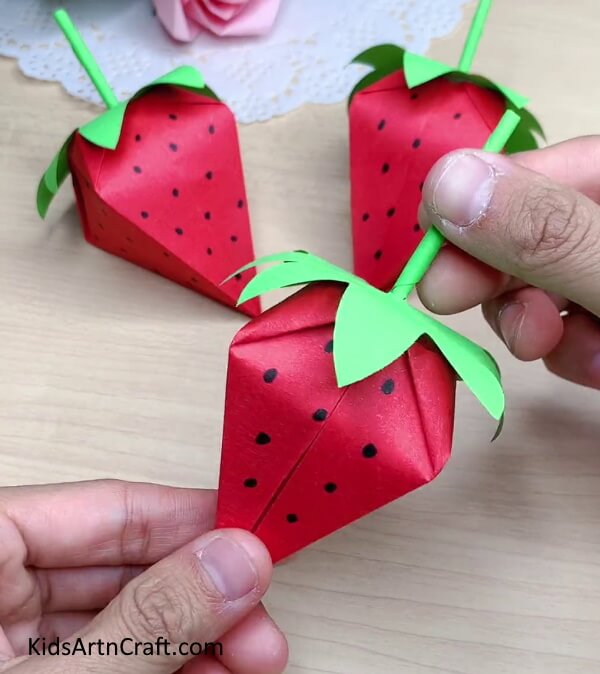

Stick the crown on the strawberry. And, it’s done.
Paper Strawberry Craft Is Ready!
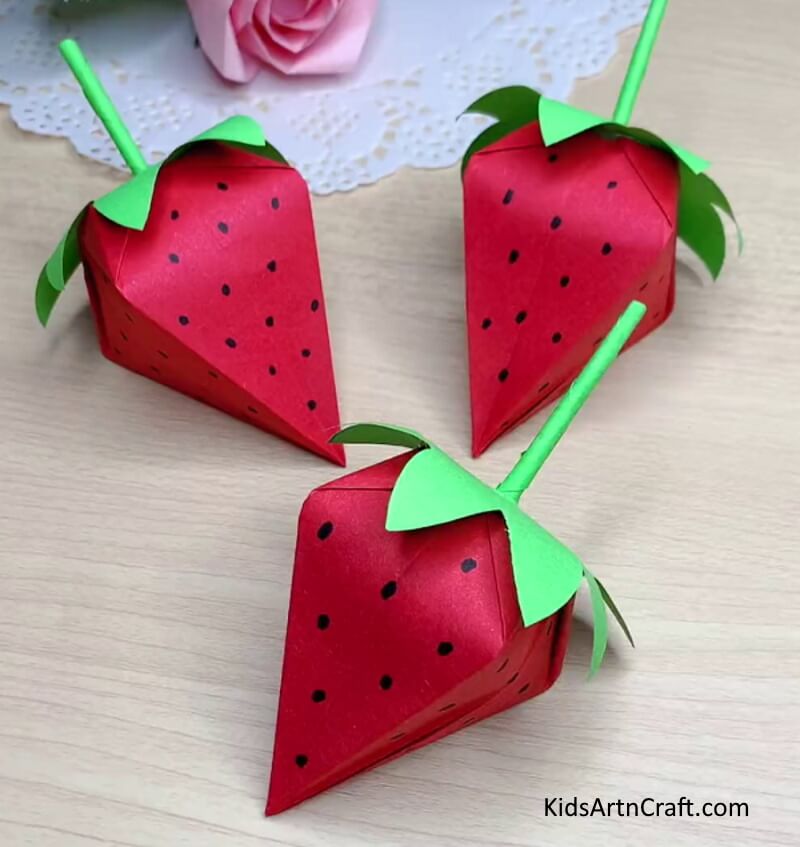

Congratulations, your origami strawberry craft is ready!!
This origami strawberry craft tutorial for kids is sure to be a hit with your little ones! This paper strawberry craft is the perfect way to add a splash of summertime fun to your home. Have fun showing off your creativity!
Some More Strawberry Craft Tutorial
Making a Strawberry Fruit With Paper For Children

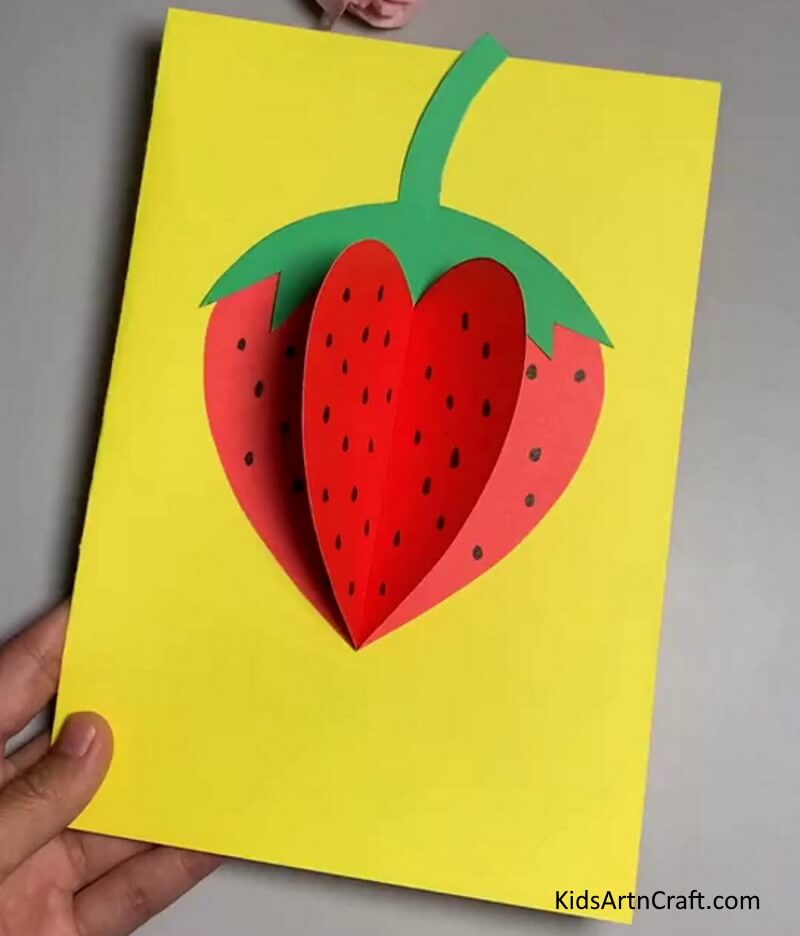
Image Source/Tutorial: Kids Art & Craft
This is a fun and easy project for children to make. They can create a strawberry fruit out of paper with a few simple materials. This project is great for encouraging creativity and developing fine motor skills. It is also a great way for children to learn about fruits and have fun at the same time!
Follow us on Youtube for art and craft tutorials and much more.
More Articles from Kids Art & Craft
- Creative Art & Craft Activities Video Tutorial for All
- Poppy Flower Crafts Using Salt Dough for Remembrance Day
- Cute Fruit Rock Painting Ideas
- Easy Paper Craft Activities At Home Video Tutorial for All
- Art & Craft Activities Video Tutorial for All