DIY and Crafts
Easy Paper Robot Craft Step By Step Tutorial

Make a cute paper robot craft with this easy step-by-step tutorial. With just a few supplies, you can create your own robot in no time. Perfect for kids and adults alike!
Welcome! Are you looking for a fun and creative craft project for you and your kid? If so, then this easy paper robot craft step-by-step tutorial is perfect for you! This craft is perfect for children of all ages and is sure to be a hit with everyone.
In this tutorial, we will walk you through the process of creating a unique paper robot craft that is sure to bring a smile to everyone’s face. We will be taking you through each step of the process to make sure that you have all the information you need to make your very own paper robot. So, grab some paper, and let’s get started!
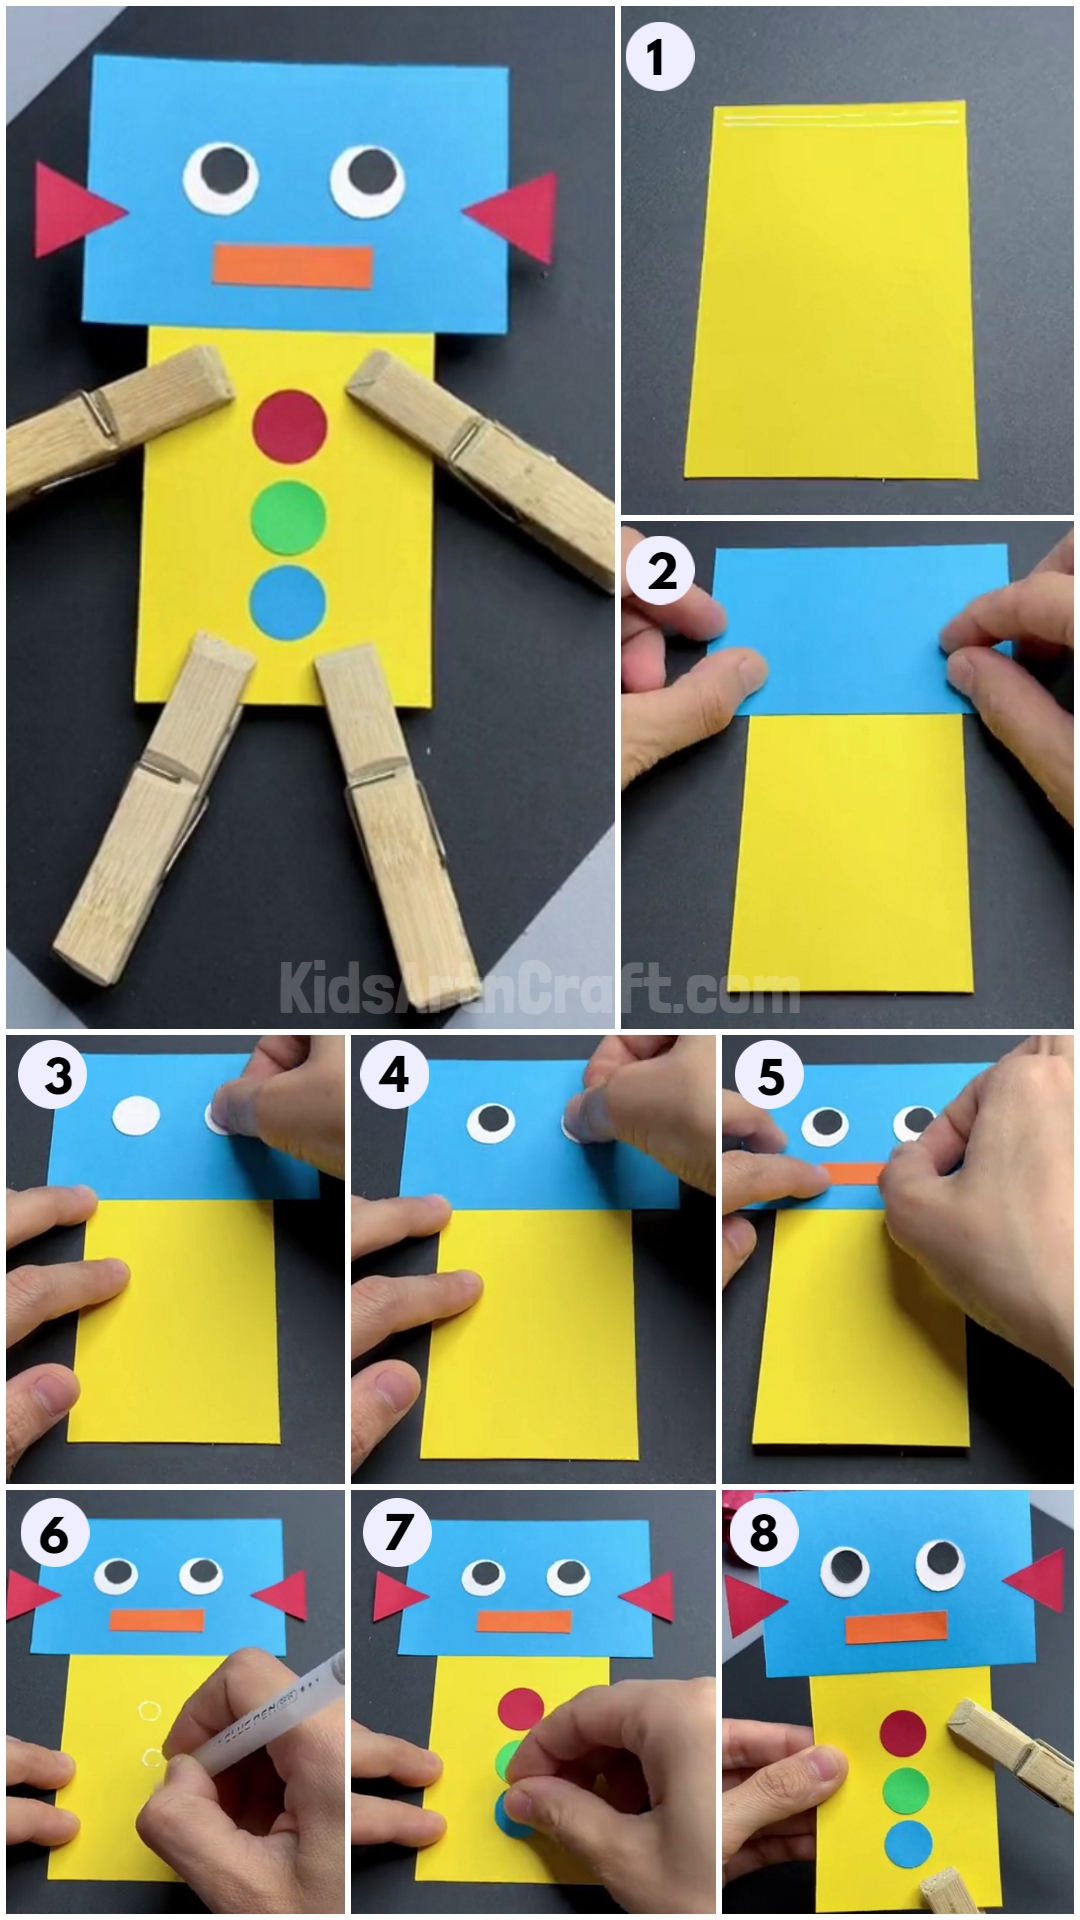
Fun & Simple Robot Craft Using Paper & Wooden Clothes Pins

Materials Required:-
- Colored Construction Papers
- Cloth Clips
- Scissors
- Glue
Read More: Easy Paper Crafts DIY Video Tutorial for All
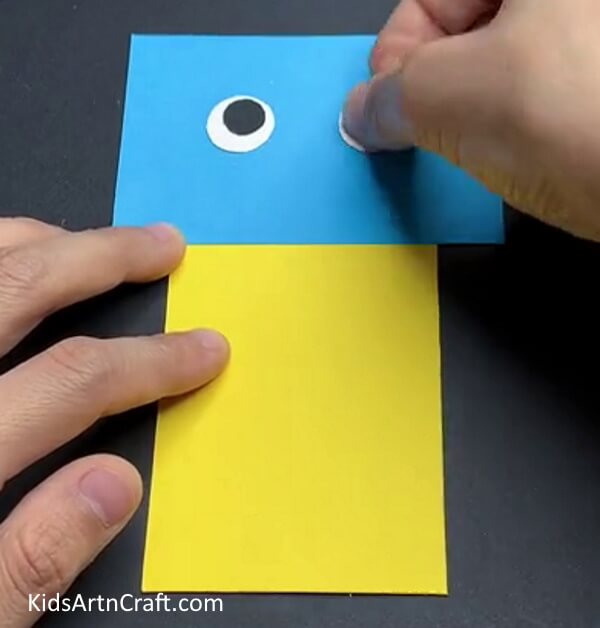
Step 1: Taking A Yellow Rectangle
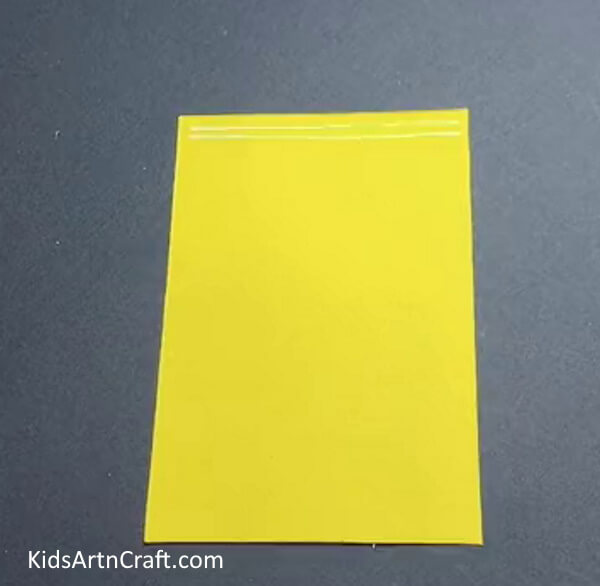

Let’s begin making a paper robot by cutting a rectangle out of yellow paper and applying glue on its top breadth.
Step 2: Pasting Blue Rectangle
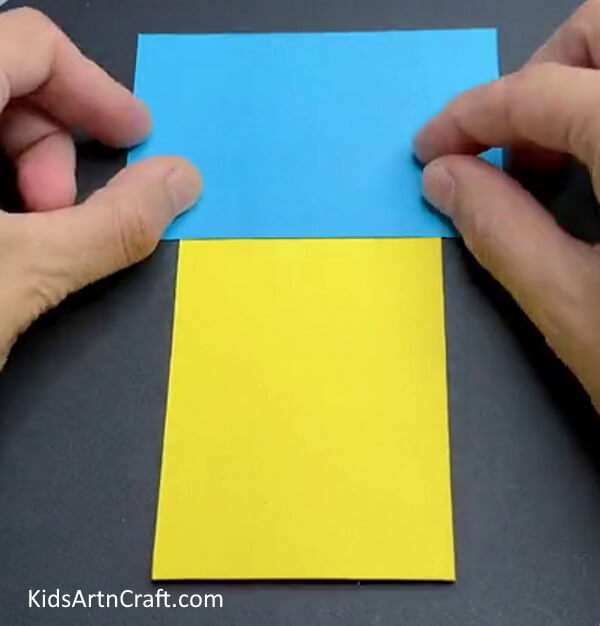

Cut another rectangle out of blue paper and paste its length on the breadth of the yellow rectangle.
Step 3: Making Eyes Of Robot
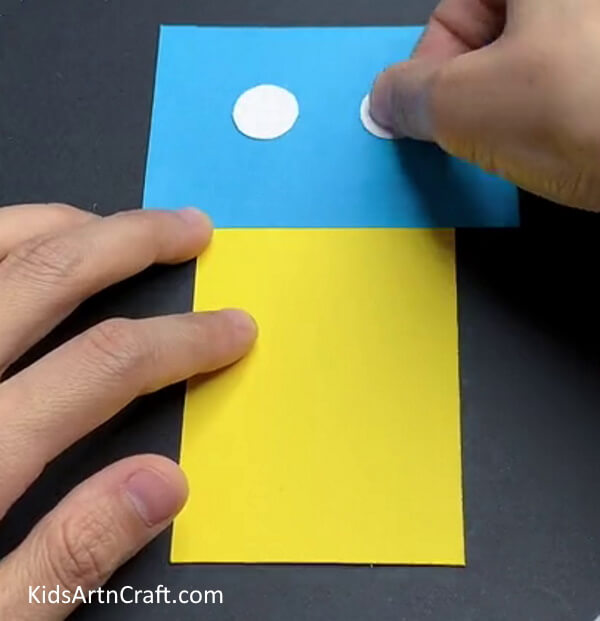

Now, cut two white small circles and paste them on the blue rectangle to make the eyes of the paper robot.
Step 4: Making Eyes

Cut two smaller black circles and paste them on white circles to complete the robot’s eyes.
Step 5: Making Mouth Of Robot
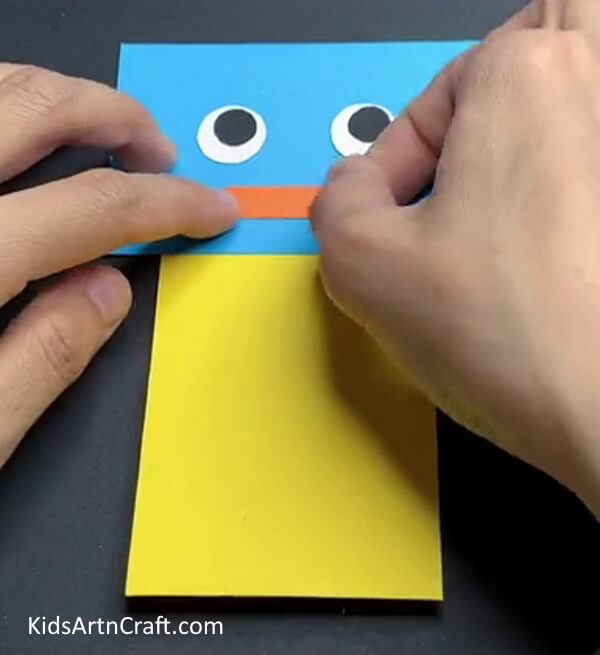

To make the mouth of your paper robot, cut a long small rectangle out of orange paper and paste it under the eyes using glue.
Step 6: Making Ears
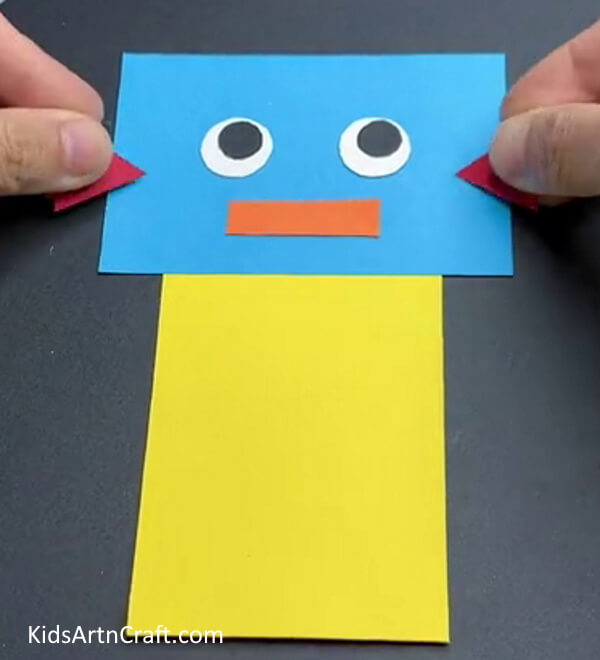

Cut two small triangles out of red paper and paste them on the side breadths of the blue rectangle to make the ears of the paper robot.
Step 7: Applying Glue
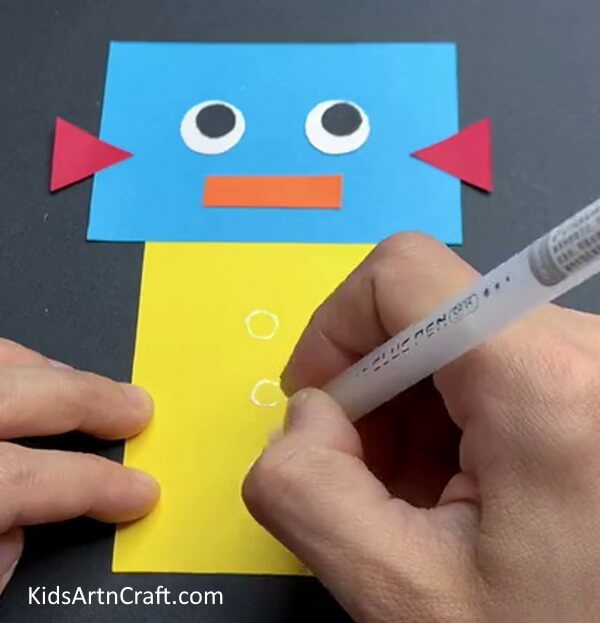

Apply glue on the yellow rectangle in such a way as to paste buttons in the vertical manner of the body.
Step 8: Pasting Circles
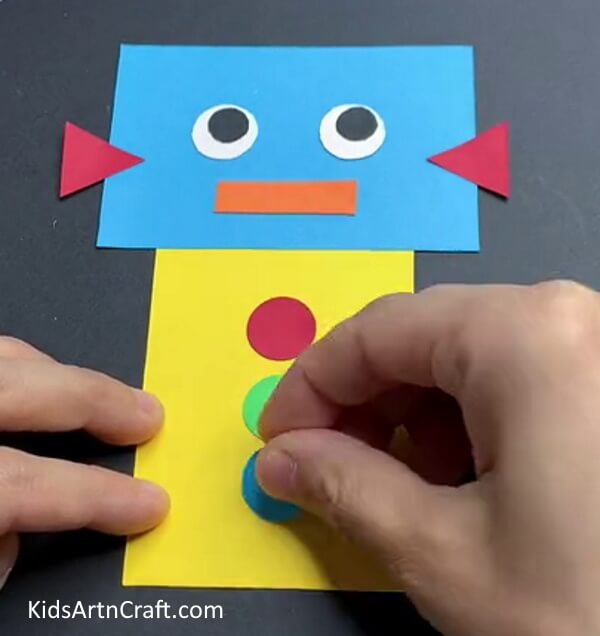

Cut three circles from different colors of paper and paste them on the yellow rectangle to make buttons.
Step 9: Paper Robot Craft


You’re almost done with your paper robot craft. All you need is to add the hands and legs of the paper robot.
Step 10: Adding Cloth Clips


As a final step, use cloth clips to make the hands and legs of the robot. Attach clips on the yellow rectangle in the place of the hands and legs of the paper robot.
Final Image – Easy Paper Robot Craft Tutorial
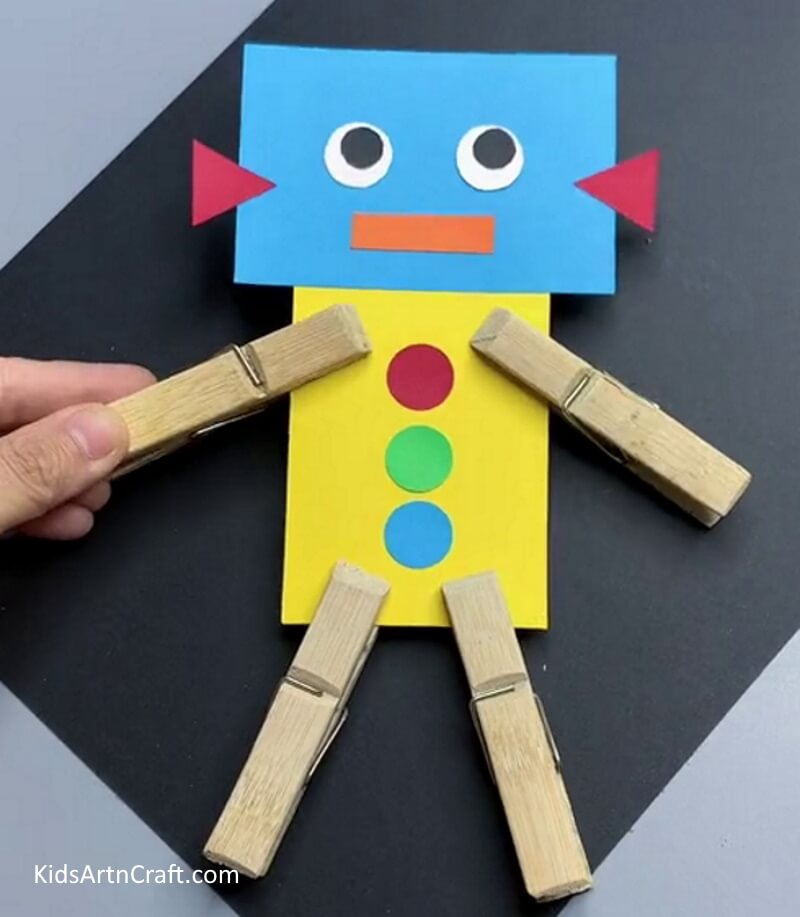

Here, you’re done with your paper robot craft. This Easy Paper Robot Craft Tutorial is a great way to get creative with the kids and have some fun! With just a few simple materials, you can make a fun and unique robot craft in no time. Give it a try!
FAQs Related To Easy Paper Robot Craft Step-by-step Tutorial
1. What materials do I need to make a paper robot craft?
To make a paper robot craft, you will need scissors, colored paper, glue, tape, and markers. You can also add other materials such as googly eyes, buttons, and pipe cleaners to make it even more fun and creative.
2. What tools do I need to make a paper robot craft?
You will need some basic craft materials including paper, scissors, glue, tape, markers, and some colorful craft decorations like ribbons and sequins to make a paper robot craft.
3. How do I assemble the paper robot craft?
To assemble the paper robot craft, simply print out the template provided, cut out the pieces, and assemble according to the instructions. Glue the pieces together and it’s ready to go!
4. How do I make the robot’s arms and legs?
To make a robot’s arms and legs, you’ll need to assemble motors, servos, and other components to create the necessary joints and linkages. Additionally, you’ll need to program the robot to control each limb. With the right tools and knowledge, you can build a robot with working arms and legs.
5. How do I attach the robot’s arms and legs?
Attach the robot’s arms and legs by following the instructions provided in the manual. Make sure to read carefully and secure each part firmly before connecting it to the body of the robot.
This concluding remark is that the easy paper robot craft step-by-step tutorial is a great way to encourage creativity and have a fun time with your kids!
Follow us on Youtube for art and craft tutorials and much more.
More Articles from Kids Art & Craft
- Easy Craft Ideas Make At-Home Video Tutorial
- Super Easy Paper Craft Activities Video Tutorial for All
- DIY Fun Craft Activities At Home Video Tutorial
- Recycled Bookmark Ideas for Kids
- Easy Paper Craft Activities At Home Video Tutorial for All