Popsicle Stick Crafts
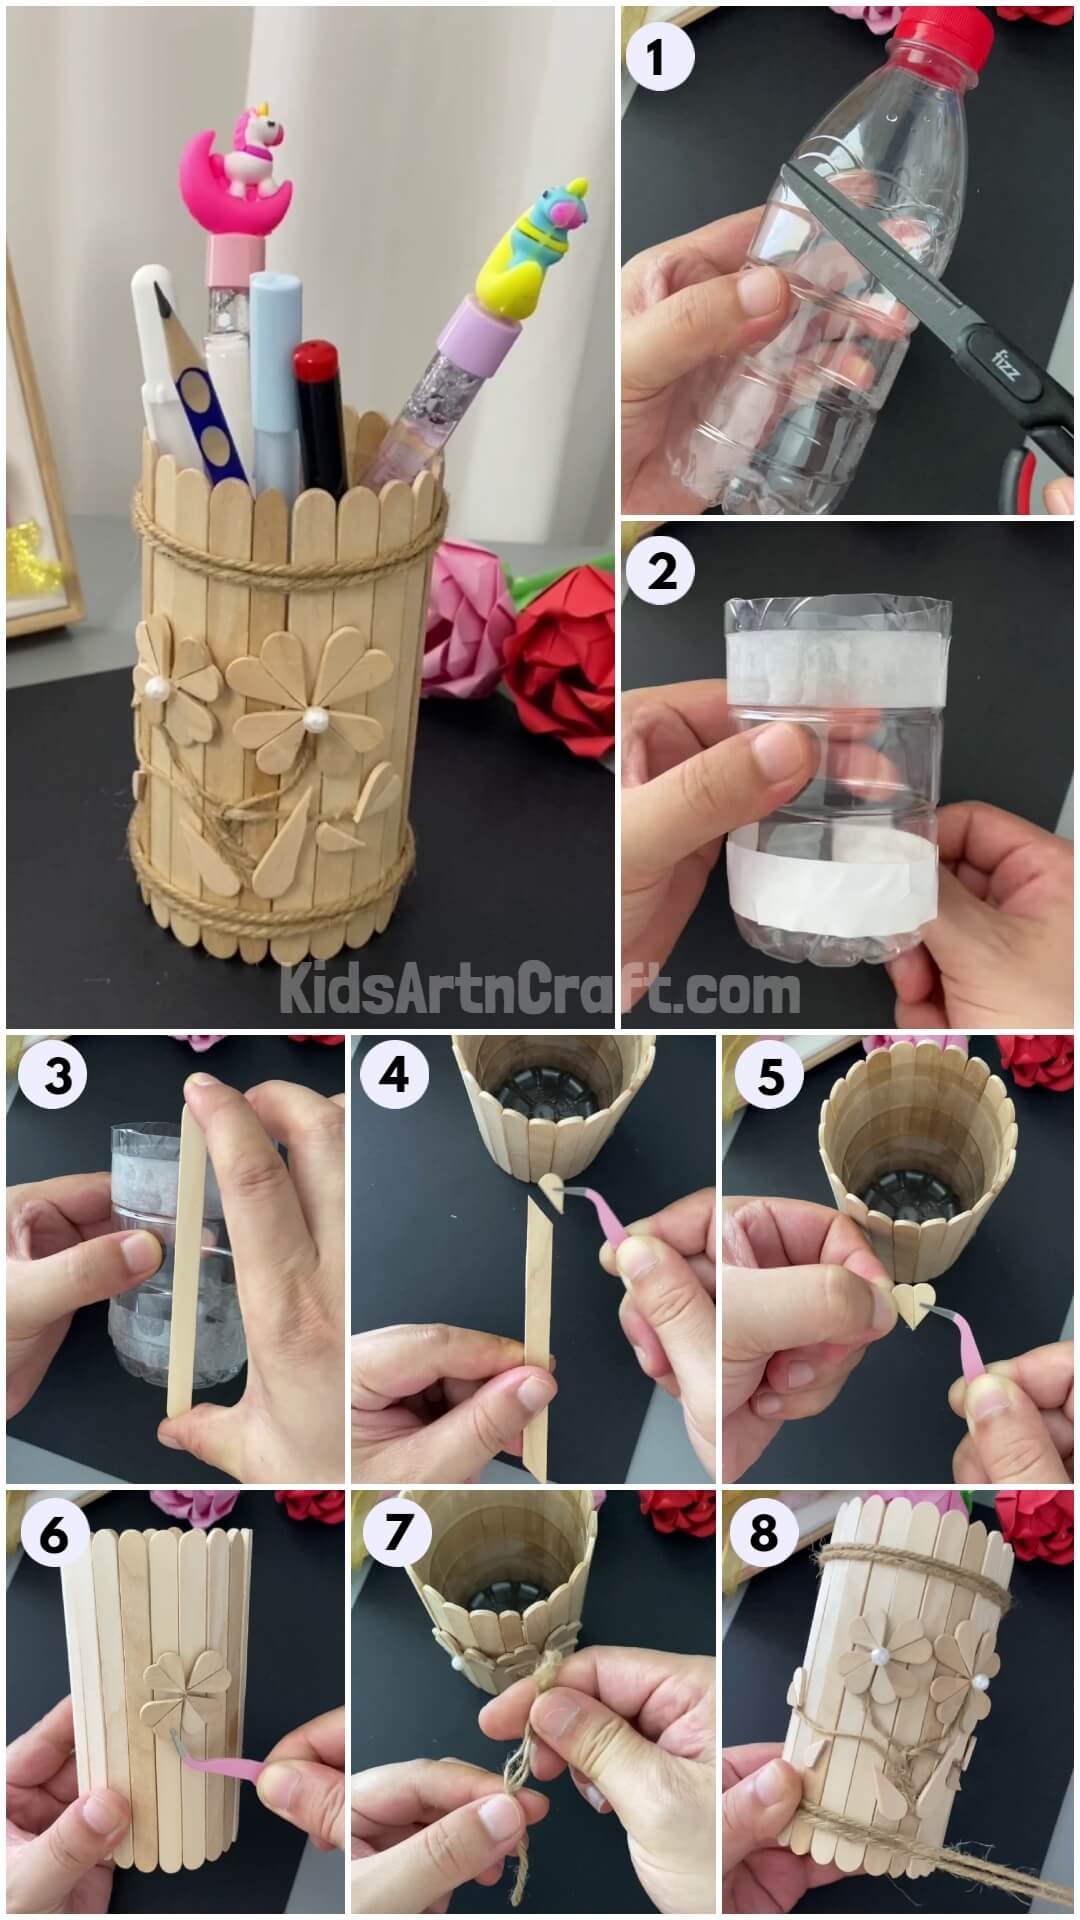
Beautiful DIY Popsicle Sticks Pencil Stand Craft Tutorial

Make a DIY pencil stand using up recycled materials! This tutorial will guide you to make a best-out-of-waste craft pencil stand in minutes!
A warm welcome to you in this amazing tutorial which will help you to create a cool pencil stand using popsicle sticks and plastic bottles! This is a recycled craft and through this craft-making, you can teach your kids the importance and benefit of recycling! This can be a fun learning hands-on sensory activity for your little ones! This tutorial will guide you to each and every step of this craft-making by giving clear and easy instructions! You will be able to create this craft in no time with us! So, what are you waiting for?! Read on to roll on!
How To Make Popsicle Sticks Pencil Stand

Read More: Christmas Popsicle Stick Crafts for Kids
Materials Required
- Plastic Bottle
- Scissors And Craft Cutter
- Double-Sided tape And Hot Glue
- Popsicle Sticks
- Craft Pearls
- Craft Tweezers
- Jute Rope
Procedure
Step 1: Cutting Out The Upper Part Of The Bottle
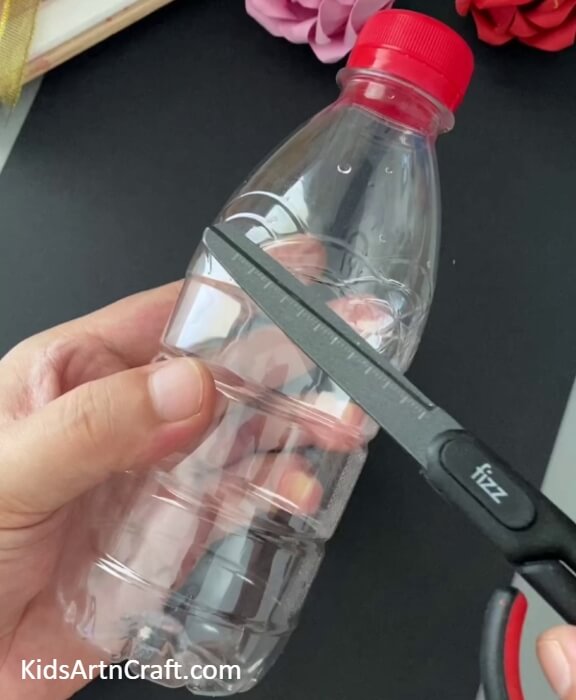

To start this craft take a plastic bottle and scissors. Using scissors, cut out the upper curvy part of the bottle from it.
Step 2: Applying Double-Sided Tape To The Bottle Base
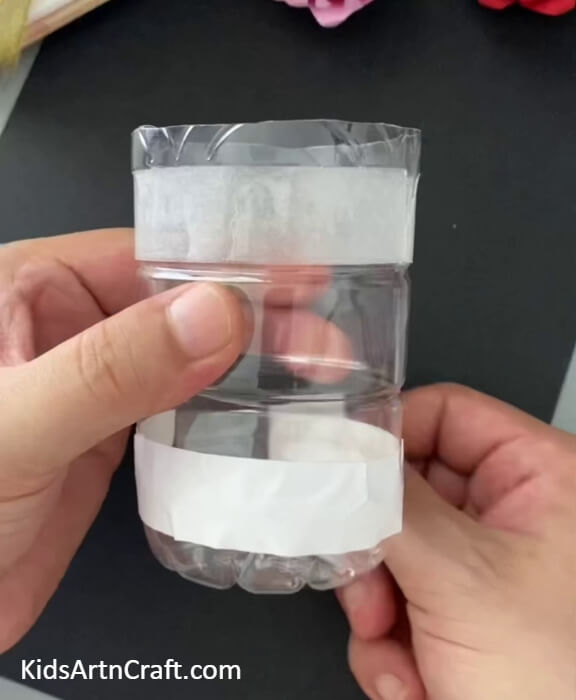
Apply double-sided tape to the other side of the bottom bottle base which you separated
Step 3: Sticking A Popsicle Stick
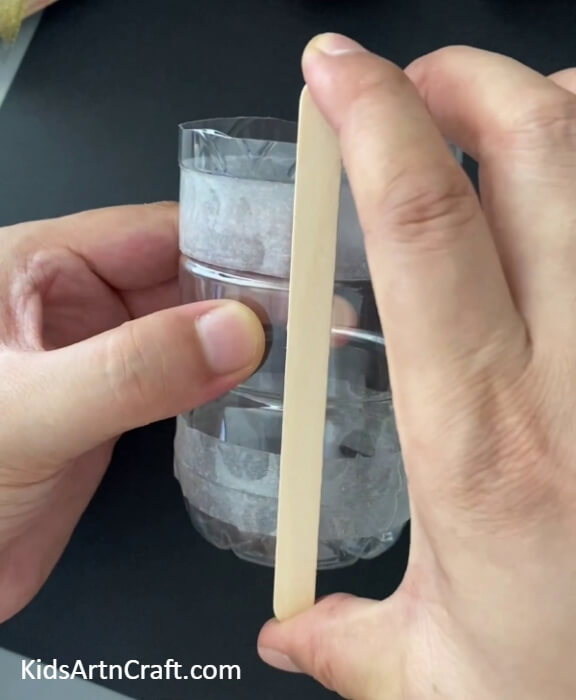
Paste a popsicle stick over the tape, straight.
Step 4: Covering The Bottle Base With Popsicle Sticks
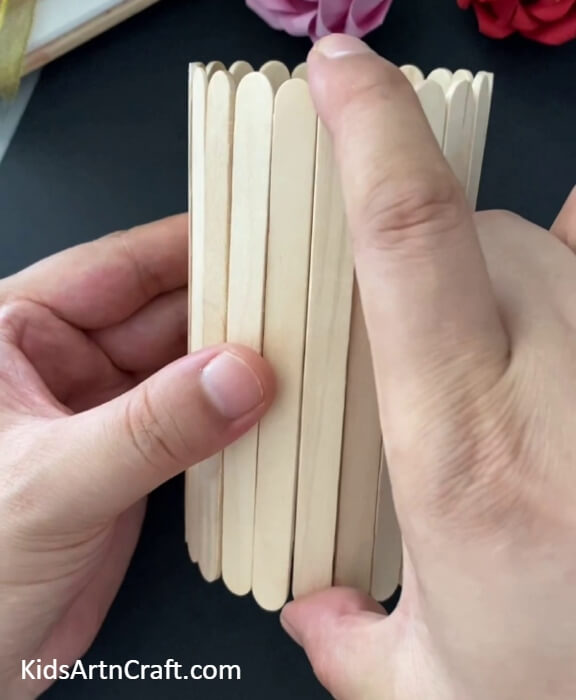
Paste popsicle sticks straightly around over the bottle base to cover it wholely as shown in the image.
Step 5: Slantingly Cutting Out The Ends Of Popsicle Stick
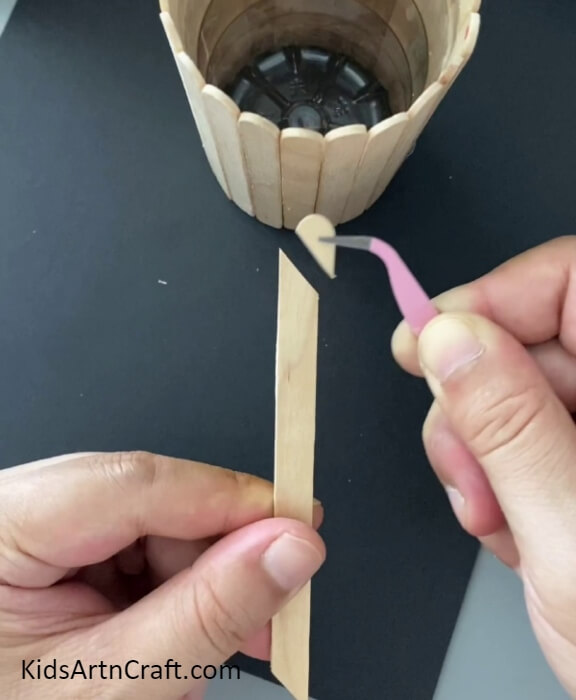
Using a craft cutter, cut out the curved ends of a popsicle stick slantingly to make them look like half-heart pieces and hold them using craft tweezers.
Step 6: Sticking The Ends To Form A Heart
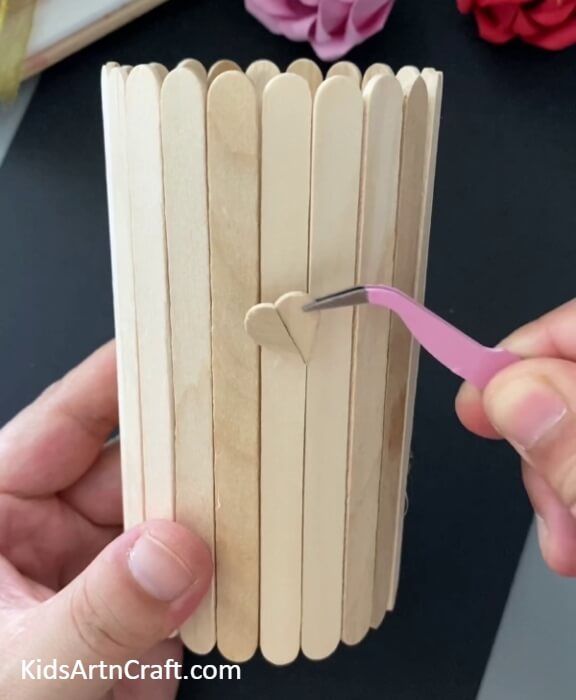
Using hot glue, paste both the curved cut-outs together to form a heart shape.
Step 7: Making A Flower
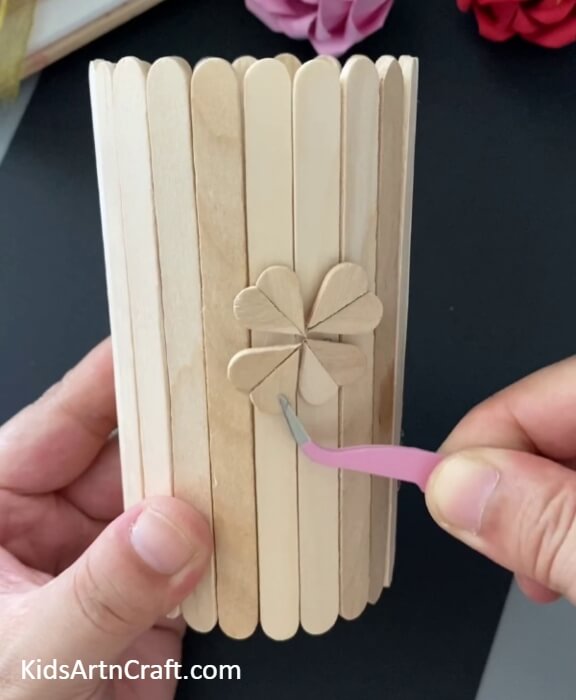
Create 3 more such hearts following the same way as before and one by one paste them onto the popsicle stick stand in a flower shape using hot glue and craft tweezers.
Step 8: Pasting A Craft Pearl
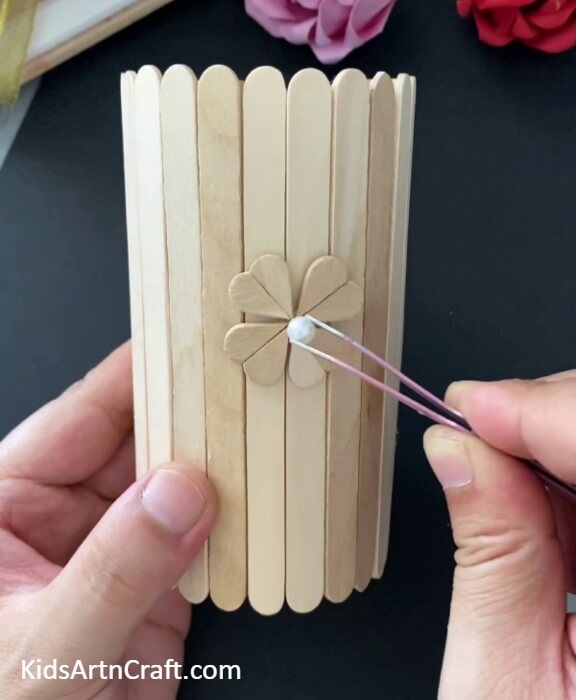
Paste a craft Peral onto the center of the flower using hot glue and craft tweezers.
Step 9: Opening The Twists Of A Jute Rope
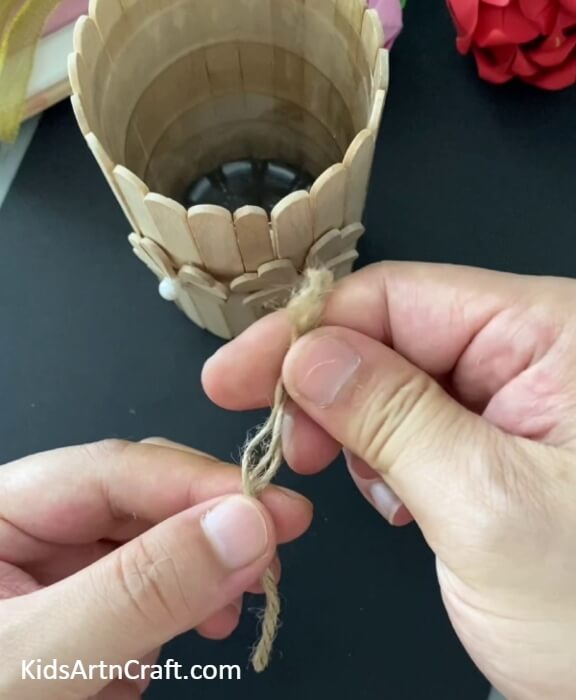
Take a piece of jute rope and roll to open the twists of the rope.
Step 10: Making Another Flower And Attaching Stems
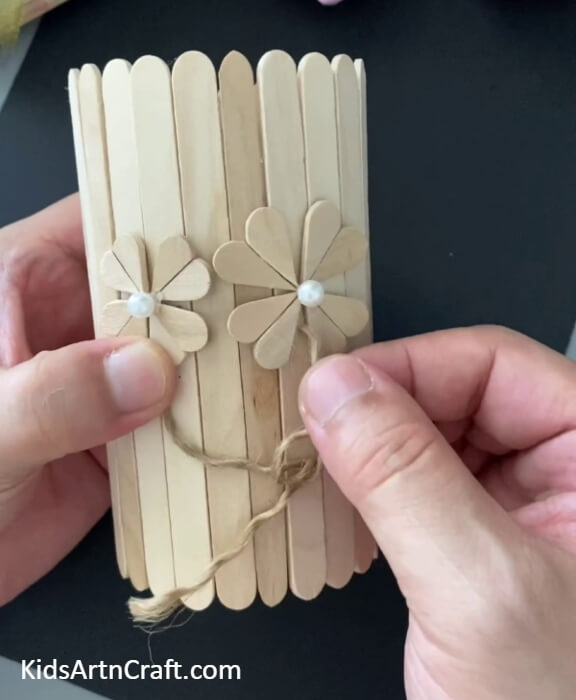
Following the same procedure as before, create another flower reside the first one as shown in the image. Now, make their stems using the opened jute rope, paste it beneath them, and come to the middle.
Step 11: Decorating The Stand
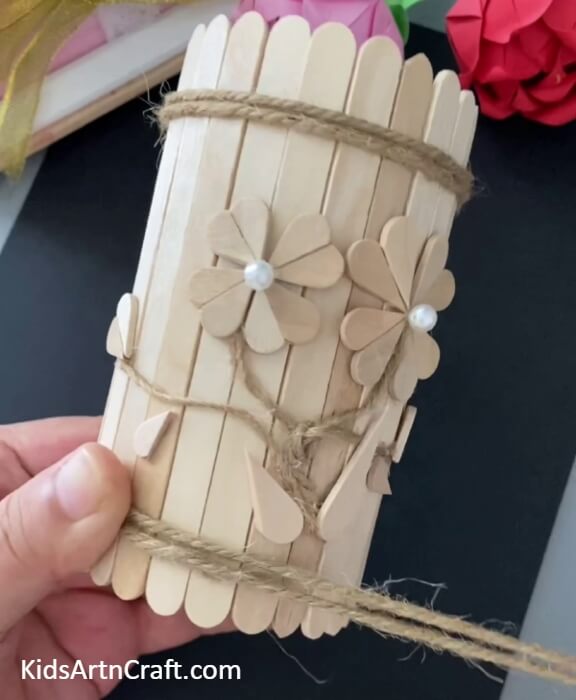
Cut out and paste more half-heart shapes, short and long, big and small randomly over the stand and also paste 2 tiny hearts beside the flowers. Attach a jute rope beneath them too and then braid all the stems altogether to the middle and stick over the base from the end. Also, circle 2 layers of jute rope above and below the stand.
Step 12: Securing The Jute Rope
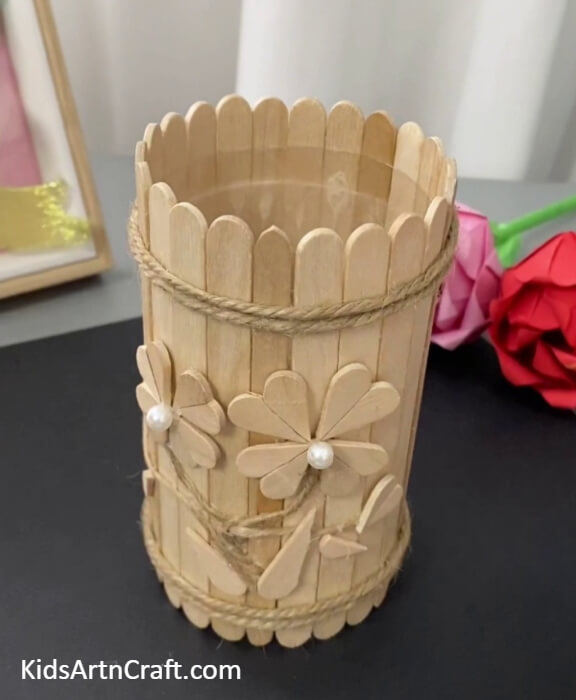
Secure the 2 layered jute ropes by tying knots on the stand and also sticking them onto the base using hot glue.
The Final Look Of Your Popsicle Stick Pencil Stand!
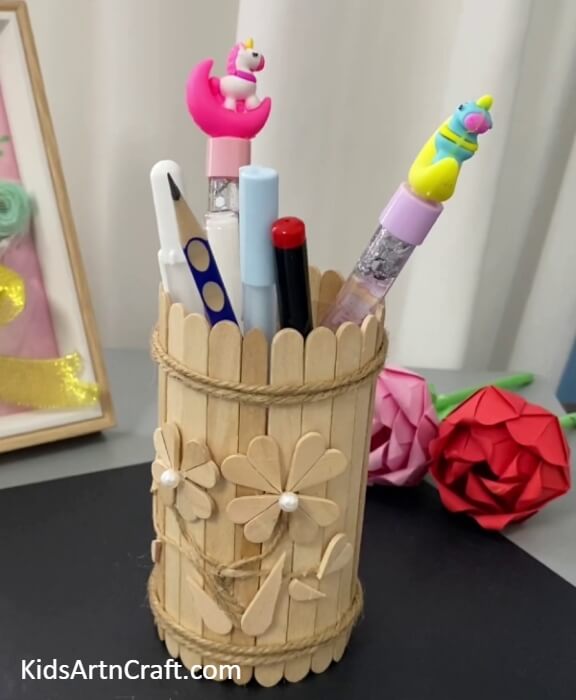
Woohoo! You are finally done with your popsicle stick pencil stand! Isn’t it quick and easy?!
This pencil stand craft is the perfect way to engage the kiddos in a fun learning crafty activity in the boring afternoon time to do something productive! You can also customize this craft by adding colors to it i.e. paint it, decorate it using stones and stickers, anything! Your imagination is the limit! Decorate it anywhere you like and you can also put flowers in it and use it like a vase!
Follow us on Youtube for art and craft tutorials and much more.
More Articles from Kids Art & Craft
- Learn To Make Popsicle Stick Dragonfly Craft
- Easy Popsicle Sticks Flag Crafts Tutorial
- DIY Hatching Baby Dinosaur Craft Using Popsicle Stick
- Pinwheel from Popsicle Sticks Easy Tutorial For Kids
- Popsicle Stick Shark Craft Tutorial For Kids