Kids Activities
Creative Walnut Reindeer Artwork Tutorial Idea For Beginners

If you’re a beginner, this craft is perfect for you! Create your own special reindeer artwork using walnuts and other materials. Have fun and make something original this holiday season!
Welcome to this step-by-step tutorial on how to make our creative walnut reindeer Artwork craft! This tutorial is about Artwork, it contains art ideas on how to make your own Reindeer using walnut in just a few simple steps. A few materials, such as walnuts, Canvas, Black marker, and a glue stick can do the job easily. Grab the Materials mentioned and let’s get creative!
Creative Walnut Reindeer Artwork For Kids
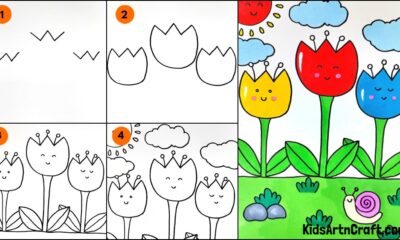
Read More: Learn To Make Easy Heart Shaped Paper Mouse Craft
Materials Required
- White Canvas Board
- Walnuts
- Adhesive Glue
- Black Marker Pen
- Color pens
Procedure
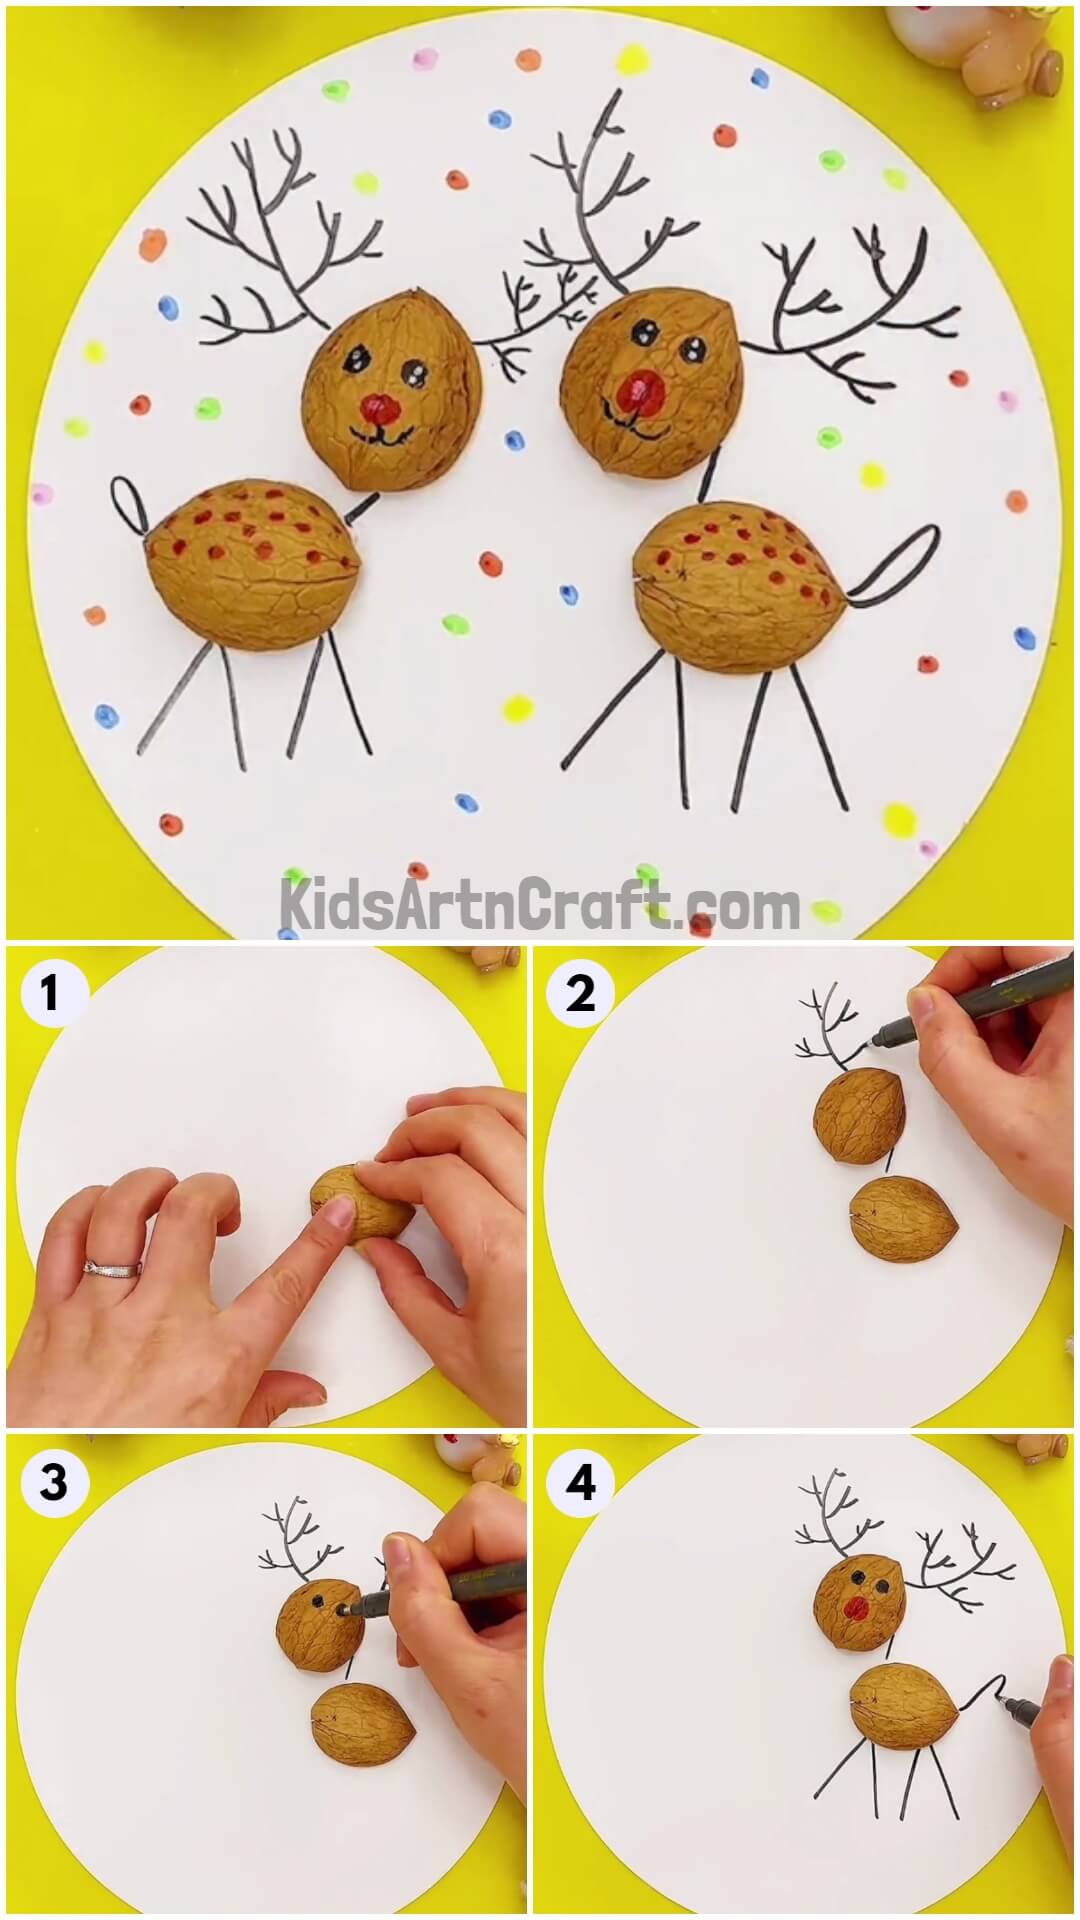
Step 1: Cut The Walnut In Half
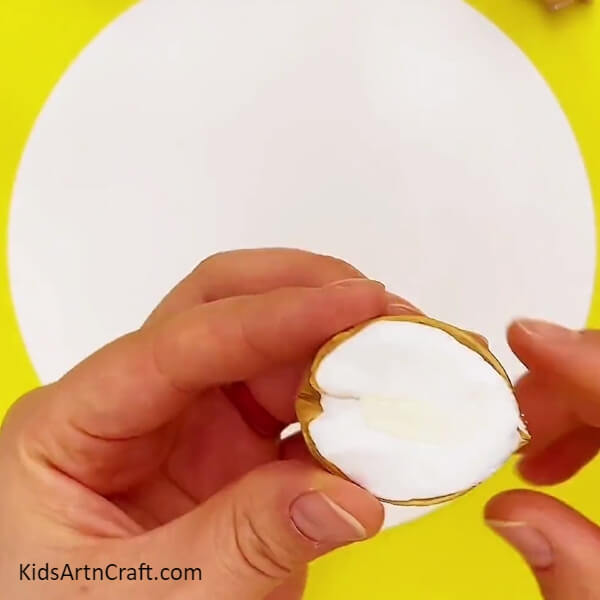
Let’s get started! Take a walnut and cut the walnuts into half and you will get something like this as shown in the picture.
Step 2: Glue The Walnut As The Body Of The Reindeer
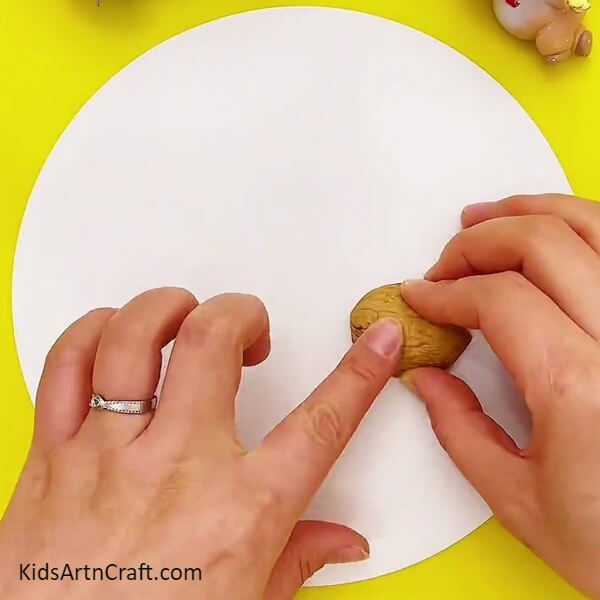
Apply glue on the inside of the Walnut and paste it on the Canvas to make the body of the Reindeer.
Step 3: Glue The Other Half As Face
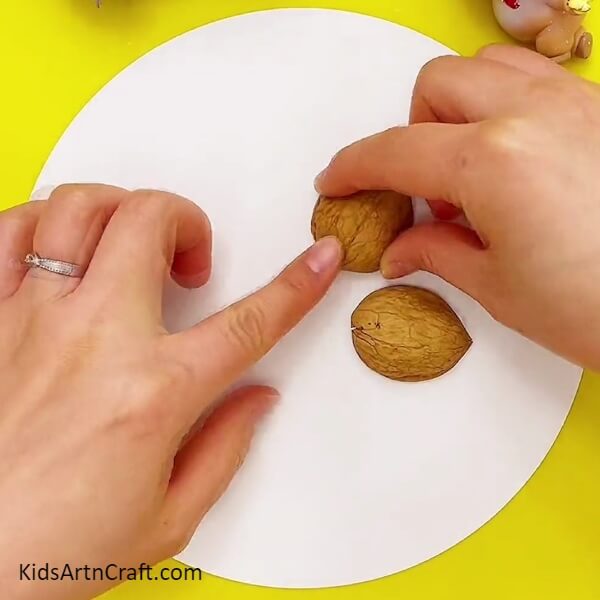
Take the other half of the Walnut, apply glue, and paste it a centimeter above the body, to make the face of the Reindeer.
Step 4: Connect The Head And Body With A Marker
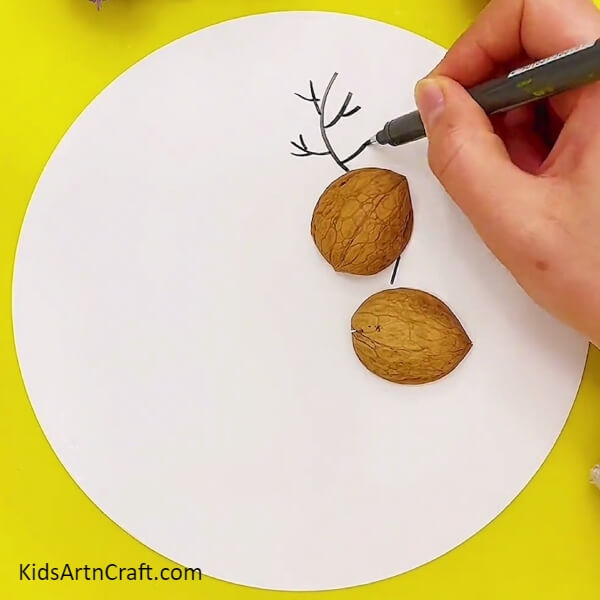
Draw a small line connecting the body and head of the Reindeer. And draw an antler as shown in the picture above.
Step 5: Draw Another Antler
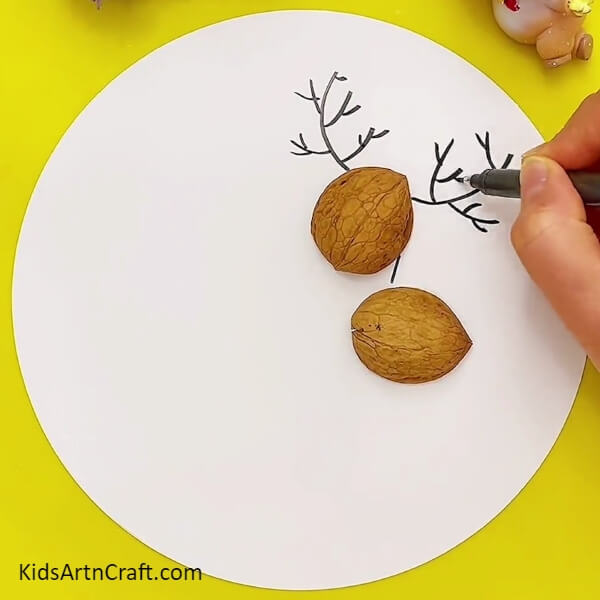
After the previous step, draw another antler like the previous one, using the same black marker pen.
Step 6: Draw Eyes For Your Reindeer
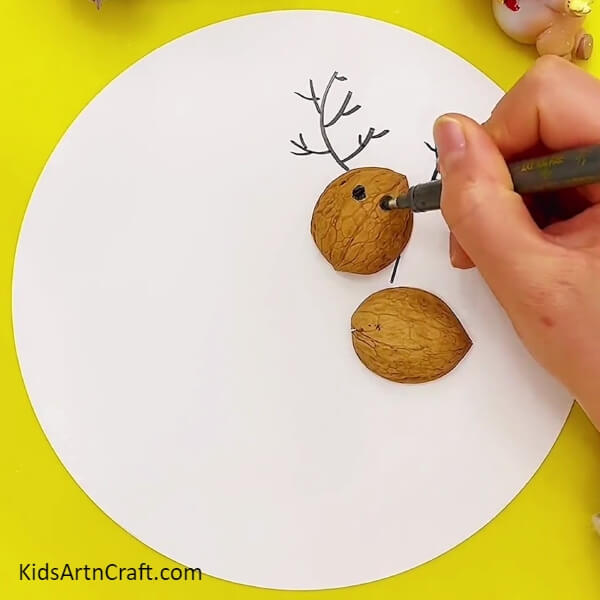
Now that the Antlers are done, let’s move on to eyes. Using the same black marker draw two bold eyes on the head exactly as shown above.
Step 7: Draw Legs And Tail

Now that the eyes are done, draw four legs using the same marker and draw a small tail attached to the body of the Reindeer.
Finally, Finish Up With Details
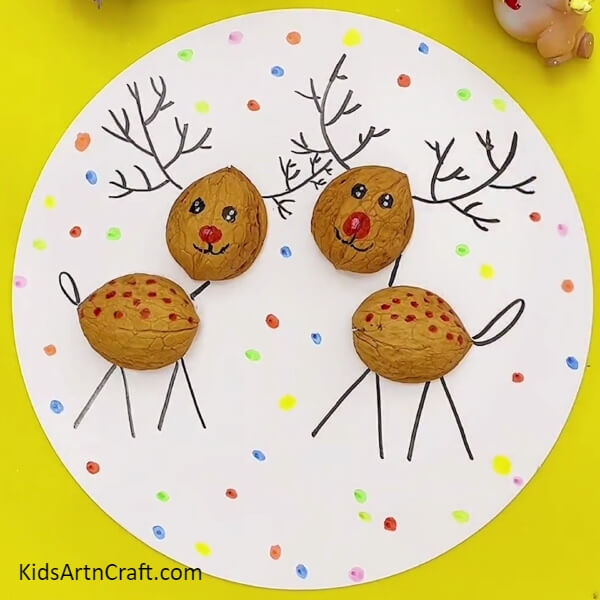
To end that Artwork, draw the mouth using a black Marker, and using a red marker draw dots at the back of the Reindeer. To get more creative, add some Colorful dots using colorful Sketch pens as shown in the picture above.
Hope you liked this step-by-step tutorial on the Creative Walnut Reindeer Artwork idea. Give this Creative idea a try and create your own Walnut Reindeer Artwork. Do let us know your thoughts and views in the comment section below. Be sure to check out our other articles for such ideas.
Thank you for visiting our website.
Follow us on Youtube for art and craft tutorials and much more.
More Articles from Kids Art & Craft
- DIY Easy Paper Chick Craft For Kids
- DIY Heart Shape Cat Craft for Valentine’s Day
- Heart Shaped Paper Mouse Craft Step by Step Tutorial
- How to Make Easy Paper Snowflakes Tutorial
- DIY Paper Tree Crafts for Kids Easy Tutorial