Drawing
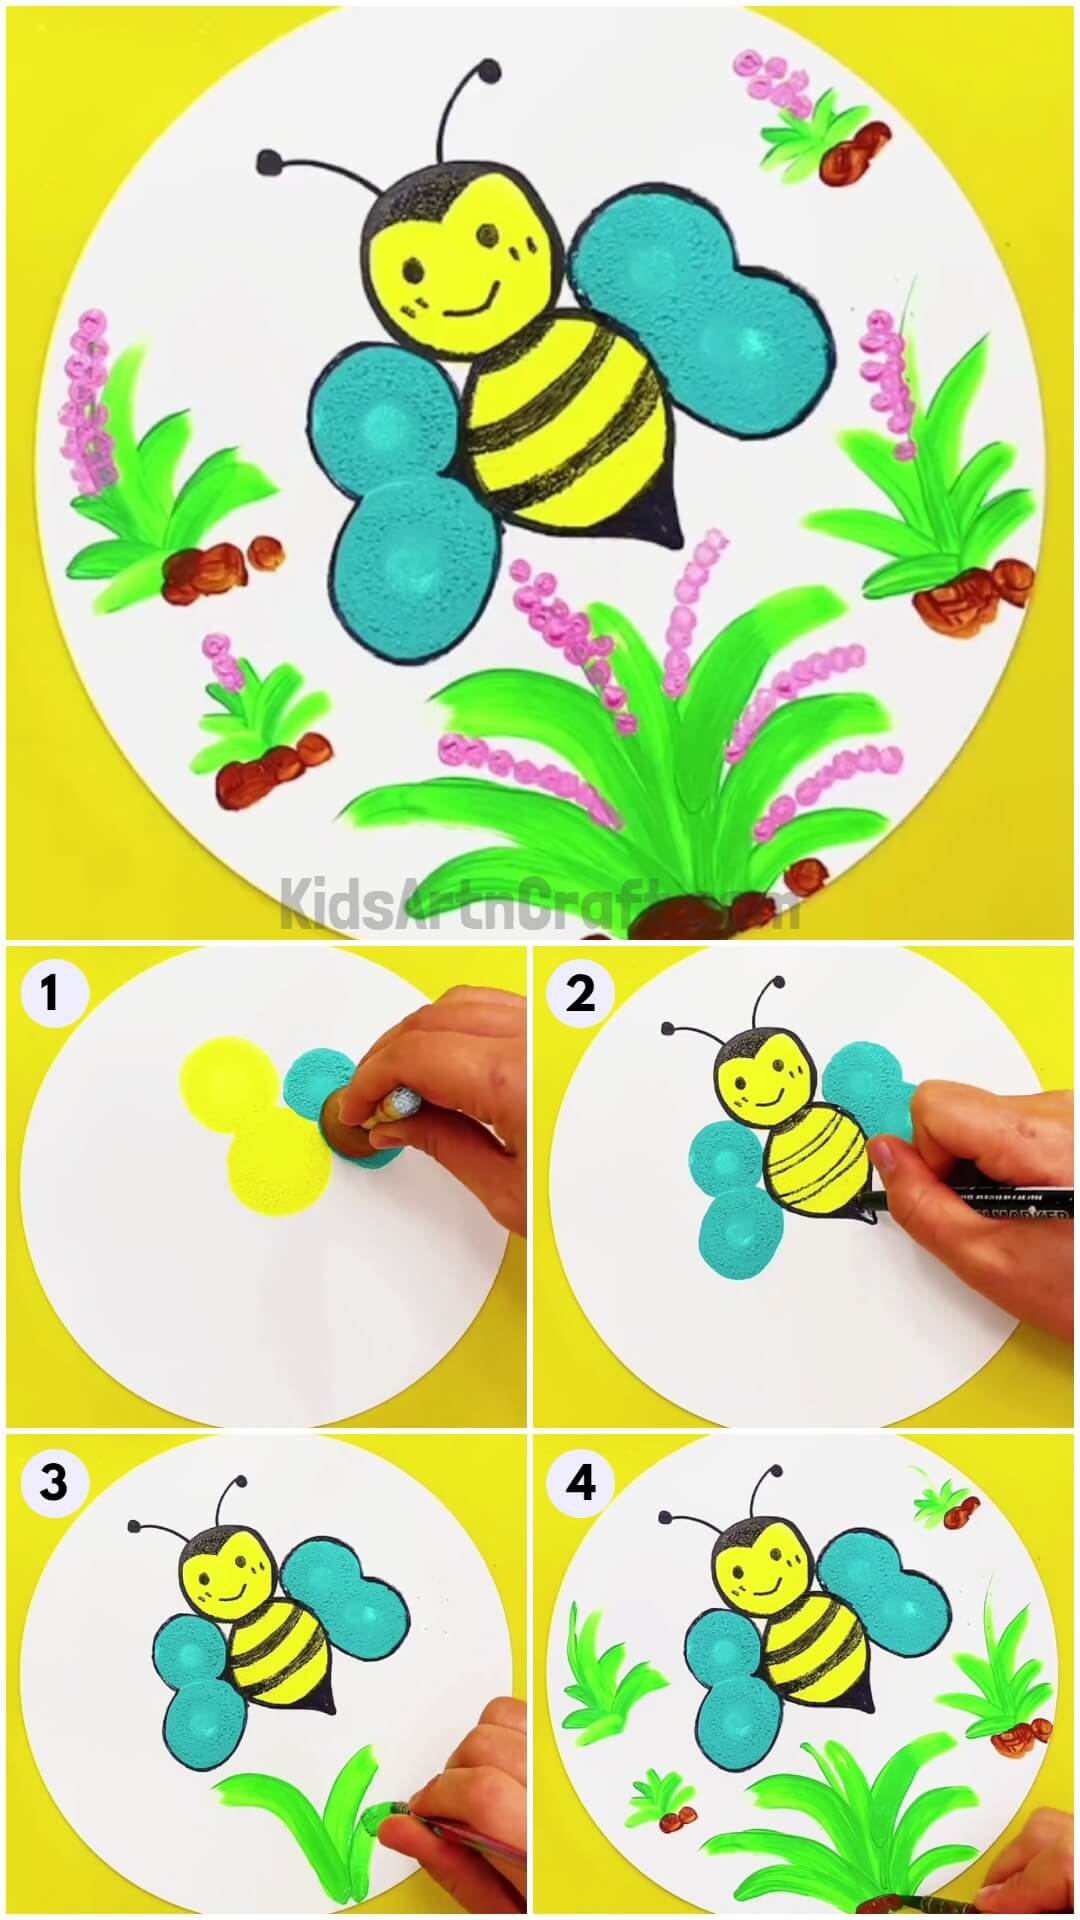
Paint Stamping Bee Art Step-by-step Tutorial

Step-by-step tutorial on Paint Stamping Bee Art – unique and artistic craft ideas for kids – Free time creativity.
Greetings kiddos! This tutorial artwork helps you to create an excellent piece of art by having paint stamping as a main source. Without any delay let’s jump into the process starting with the required materials.
Simple Paint Stamping Bee Art For Kids

Read More: How to Learn 3D Drawing on Paper Video Tutorial for Kids
Materials Required
- Paint Stamping
- Acrylic Paints
- A Brush
- Black Marker
- An Earbud
Procedure
Step 1: Stamp The Body Of The Bee


To begin with, take a white chart and a paint stamp. Dip the stamp in yellow paint and stamp a couple of circles below the first stamp of the circle as an outline of the body of the Bee.
Step 2: Stamp The Bee Wings
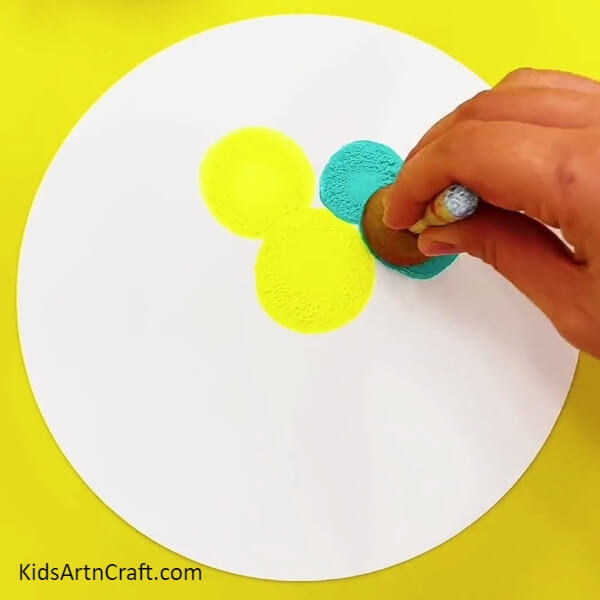
Then take another color and dip the paint stamp of a smaller size in the paint for the wings. Once again stamp two circles of the dipped paint starting from the gap between the two yellow circles. Remember to stamp wings on both sides of the Bee’s body.
Step 3: Perfect Outline Of A Bee
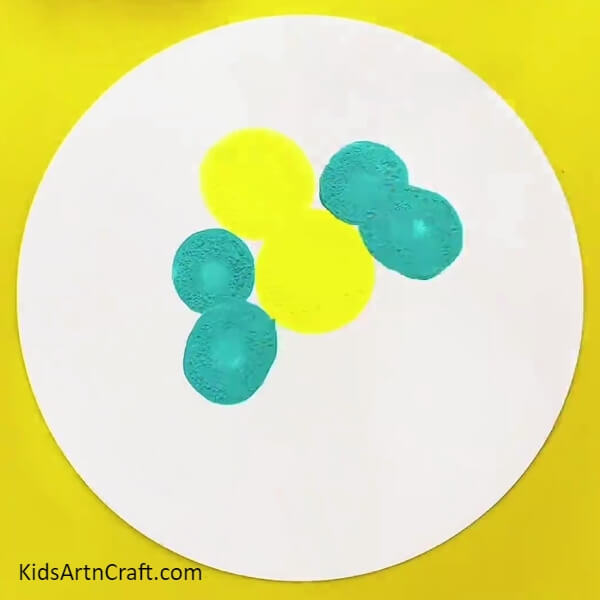
Take a look to make sure that your Bee is stamped perfectly in a slanting position as it helps to create an illusion of a flying bee.
Step 4: Bold The Outline With A Marker

Then outline the Bee shape using a black marker. Start with the Bee’s head and face.
Step 5: Add Details To The Bee’s Structure
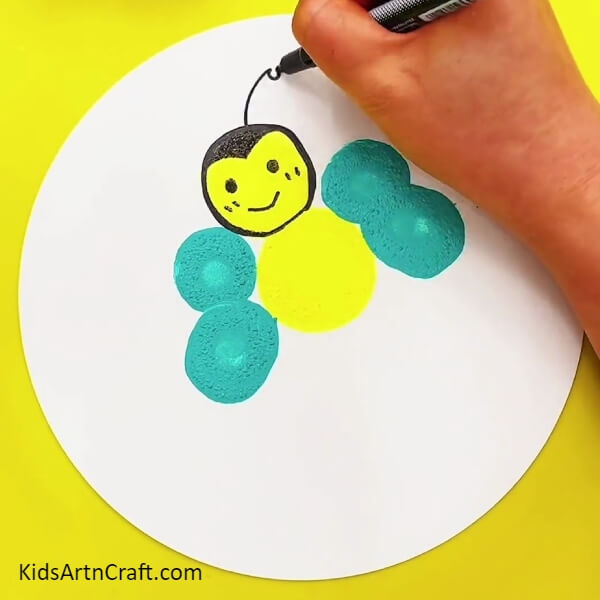
Then draw the antenna, eyes, and charming smile on the face of our Bee friend.
Step 6: Adding Details On Bee’s Belly

Moving below to Bee’s body draw double pair of stripes on its belly and a stinger at the end.
Step 7: Tracing Bee’s Wings
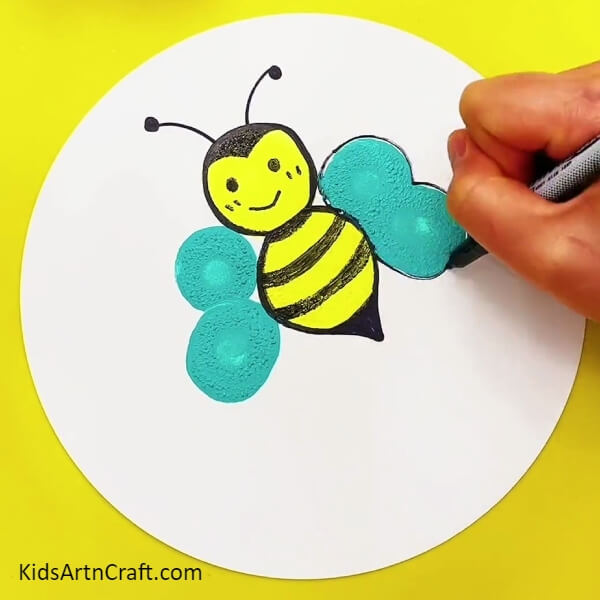
Next, trace the wings on both sides.
Step 8: Background Detailing
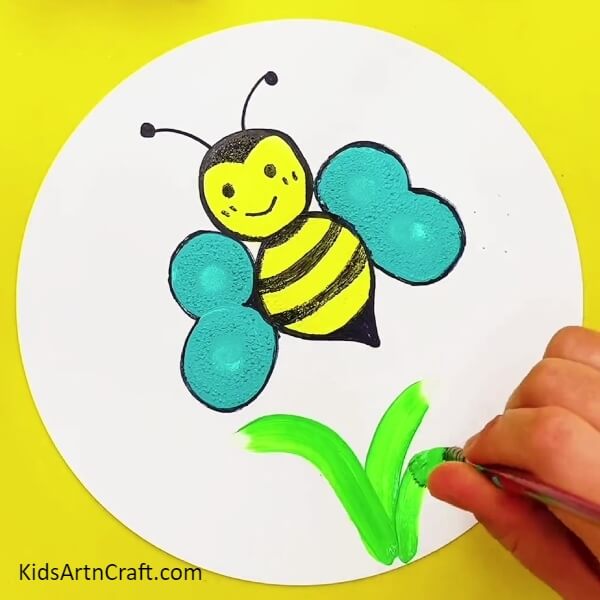
Then to make the background more colorful draw lush grass using a brush of green paint.
Step 9: More Grass On The Sides
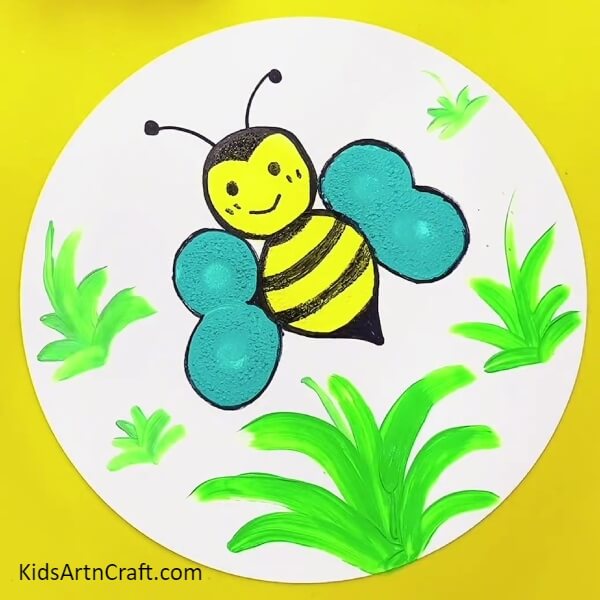
Strokes of green paint on different angles in the background make the Bee appear floating in a green garden.
Step 10: Paint The Ground For The Green Plants.
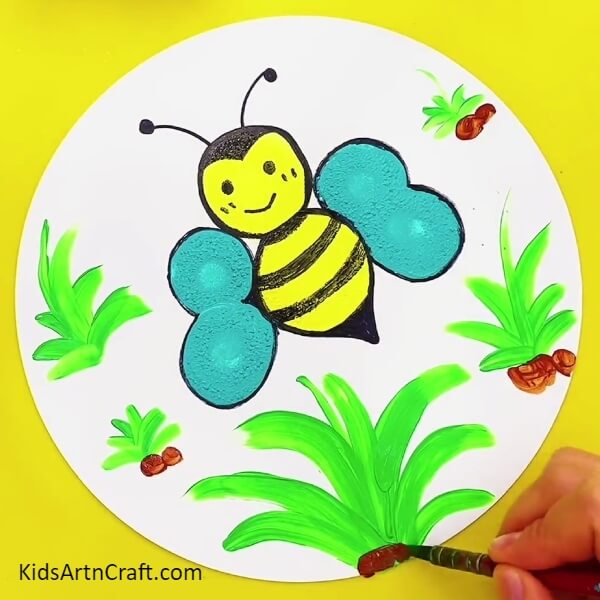
In the next step, take brown paint with a brush and paint two stone-like or ground structures underneath the plants.
Step 11: Add Pretty Pink Flowers
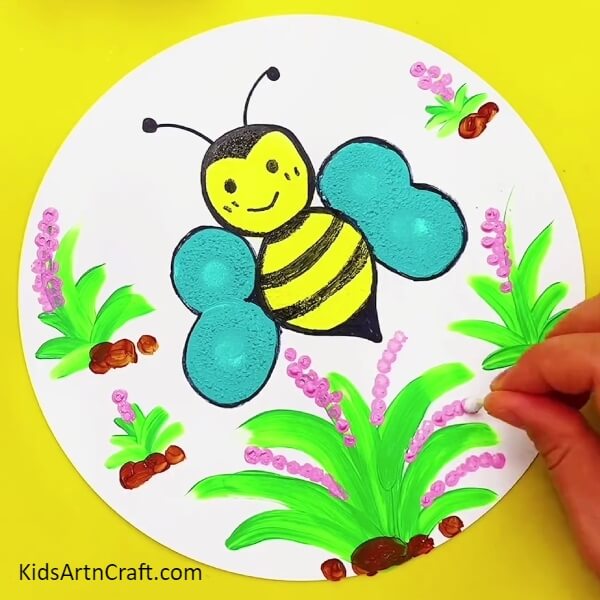
To make the Bee appear floating in the garden let’s add flowers to the plants. Take an earbud dipped in pink paint and stamp small circles vertically.
Your Craft Is Ready!!
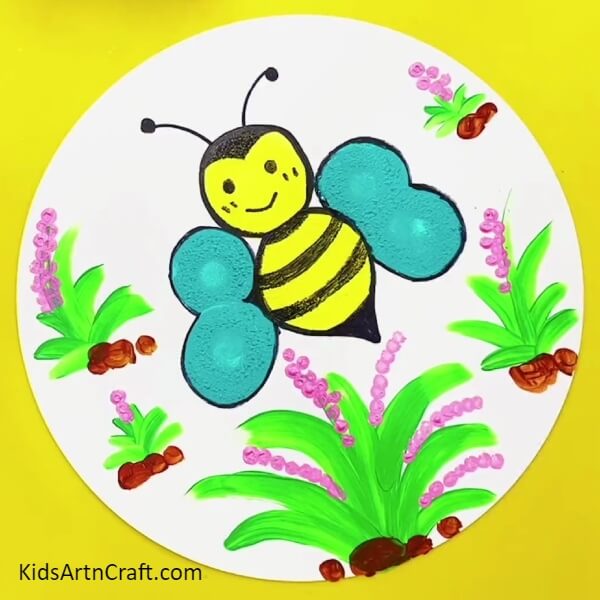
Tadda! Now our little happy Bee is enjoying its daylight in a garden full of pink flowers and plants.
Thanks for viewing our craft ideas hope we have definitely kindled your creativity in arts and crafts. Don’t forget to check out our other exciting unique methods and ideas. Visit again!
Follow us on Youtube for art and craft tutorials and much more.
More Articles from Kids Art & Craft
- Easy Drawing Tricks Video Tutorial for Kids
- Easy Drawing with Crayons Video Tutorial for Kids
- Easy Crayons Drawing At Home Video Tutorial for Beginners
- DIY Bees Clay Art Tutorial for Kids
- DIY Easy Paper Bee Craft for Kids